1260 Memorial Drive
Atlanta, Georgia 30316
404-458-1330
Braids Galore: Top 5 Favorite Braided Hairstyles You Should Try!
Mikey MoranSpring is finally here.
You know what that means?
No more hiding in your bedroom, binge-watching Netflix originals, and declining any offer to step outside due to the cold weather; it's time for some rocking spring hairstyles.
What better way to welcome the warm weather than with some fun and unique braid hairstyles?
Trust me, I get it; sometimes, braids can be dull or unoriginal. It seems like whenever the sun comes out, the braided looks come along, too. 💙
But this is the year of innovation, bringing back something old and making it new again.
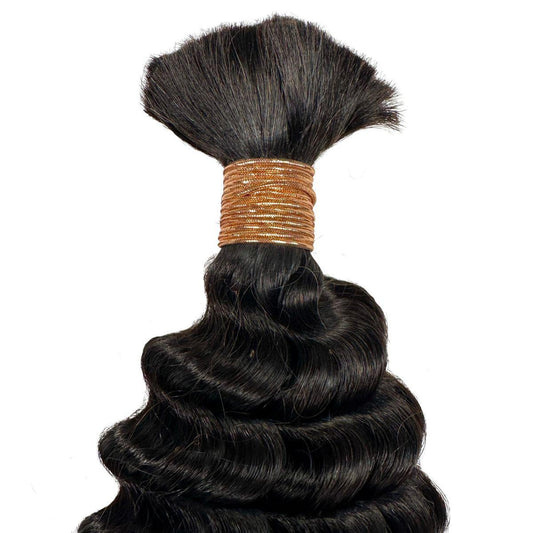
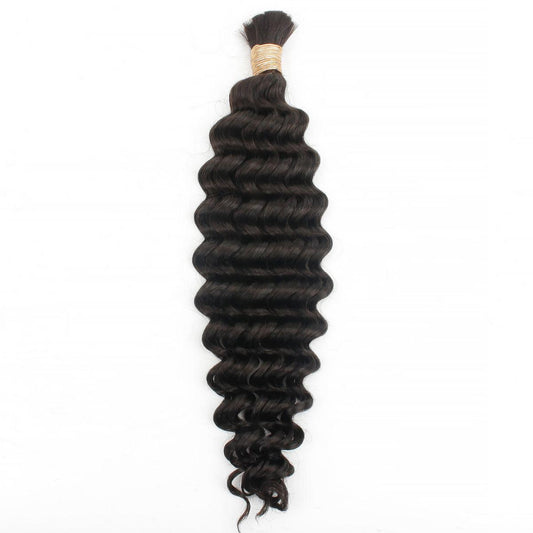
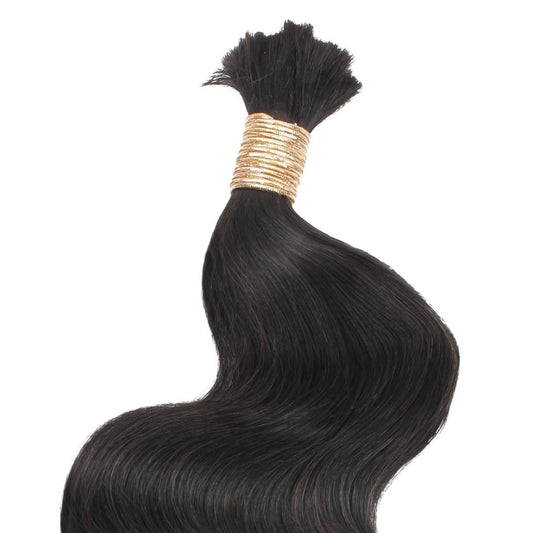
Trust me; braids can be fun if you are adding long bulk human braiding hair with them.
Simple braiding patterns do not mean they have to be uninteresting or annoying; you'll have a go-to look with every outfit change you create.
If you're in love with unique hairstyles as much as we are, we hope you enjoy this impressive list of five braided hairstyles with long extensions for the spring.

Crown Braid
The crown braid hairstyle is gorgeous and is not something that we see often.
It is also known as a halo braid, and although this look is most popular at wedding events, proms, or a romantic evening out, it can still take someone's breath away on a casual walk on a breezy spring day.
I know at first glance, this hairstyle can seem stressful to create, but it's a straightforward process that you'll find fun doing day in and day out.
So, bring out your long hair extensions, and let's dive right into this beautiful braid.
Materials
- Bobby Pins
- Argan Oil Eco Styler Gel
- Medium Brown Braiding Hair
How to Style:
- Wash your hair, and your style will look and feel a lot better on clean and fresh strands.
- Moisturize the hair and the ends; you don't want your locks getting dry. Doing this protective style can further any damage you may already have.
- Take your bristle brush and smooth down your hair. This will work all of the moisturizers deep into the scalp.
- Once you brush the hair back, apply your argon oil eco styler gel; this will help lay the hair down a little flatter while still adding moisture to the sleek look.
- Once it is smooth, secure the low ponytail with a scrunchie or rubber band to your liking; make sure it's not too tight to where you will get a headache or not loose to where the style starts to come undone.
- Now, you want to take the braiding hair that matches your mane texture and begin to braid down on both sides and seal the ends with a small rubber band.
- You want to tie a scrunchie in the middle of the two braids so that It can attach to the low ponytail.
- You should have a braided ponytail going down on each side of you at this point.
- Now, with your real exposed hair that is in a low bun or puff, you want to separate and make two twists that you can lay flat on the back of your hair; make sure to secure them with bobby pins.
- The reason you are doing this is so there is no massive bulk in the back of your head after you do the hairstyle.
- Take one side of the braiding braid and begin to wrap it around your head to form the crown. Once it comes to an end, take the other half and repeat this step.
- You can tuck the bottoms of the braid underneath each other, but if you want a little added security, then, by all means, take some bobby pins or clips to keep the crown in place.
- In the end, take your toothbrush and use a little bit of that eco-styler gel to lay down your baby hairs and edges for a clean, glossy finish to this style.
This hairstyle is perfect for the spring because the hair is off your neck and away from your face.
This brown braid is even higher if you are going natural and you want to protect your locks for the months to come.
This style is a go-to braided look that I think everyone should give a try this season.
If you wrap your hair in a scarf, this style will last even longer; talk about having braids for days!

Fishtail Braid
The fishtail braid is an iconic hairstyle that has grown more and more popular throughout the past several years.
This look is edgy, simplistic, and cute for the warm spring season.
You can do this hairstyle with tracks or using any texture weave that matches yours well.
Materials
- Auburn Braiding Hair
- Rubber Bands
- Dry Shampoo
- Clip-In Hair Extensions
How to Style:
- This style works better on hair that is not freshly washed; try this style three or four days after your wash day.
- Dry shampoo will be a good alternative to use if your hair is dirty. First, you want to create a part of your hair to the side.
- Next, tease the roots and separate your hair in the parts where you want to add your clip-in extensions to create volume.
- Spread them evenly across the hair. Maybe use three clip-ins in the back of your head and two on each side.
- Let the rest of your hair fall back down, making sure all the necessary tracks are not showing.
- Now, on to the braiding part; start with the top of your head where the thick part is, and grab three sections of your hair.
- Begin to braid by using smaller pieces of the hair from the outside and intertwining it on the inside.
- This method may sound a little more complicated through words, so it would be best to look at a YouTube video that best explains the braiding method.
- After repeating this method, when you get closer to the end of your hair, switch the braid to the side and continue braiding all the way throughout.
- Use the rubber band to seal the hair in place.
- Go back and pull the strands of the braid to create a fuller look.
Fishtails are beautiful and can last for a few days before you must redo them.
In the springtime, you want as much hair getting in your way as possible, so try this look out soon and let us know what you think of this awesome braid!

Milkmaid Braid
So, a milkmaid braid is a little different than a crown braid, the main difference being that it has two braids around the top of your head instead of just one.
You can choose between twists or different kinds of braids to change up the look. Another sign of a milkmaid braid is two strands will be left out in the front of your hair to accentuate the style.
Material
- Paddle Brush
- Copper Braiding Hair
- Rat-tail Comb
- Hair Spray
How to Style:
- To master the perfect milkmaid braid, you have to brush out the hair of any knots or frizz.
- Moisturize your mane so the style will not dry out or damage your locks.
- Now, for this next part, you can put in your clip-in extensions if you have them to create a fuller look and complete the braid.
- Next, you want to create a center part in the middle of your head; this is common for this style.
- Use a rat-tail to ensure that you have the same amount of hair on both sides. If you want to frame your face, then try to leave a little bit of hair out.
- Now that you have a part on both sides of your hair tie it up and create two separate ponytails.
- Since the extensions have already been put in, there are three strand twists on both sides, and you will have two long braids.
- Next, you want to secure the braids on the top of your head, having each one cross over the other, resulting in two braids across the front of your hair.
- Hide the ends of the twists by tucking them or using bobby pins to keep them in place.
- Prevent flyaway by using hairspray.
The milkmaid braid is unique and looks fantastic when you use hair extensions.
So, if you're in need of a flirty, fun hairstyle for springtime, you should give this look a try.

French Braid
The French braid is another go-to hairstyle for the springtime.
What's cool about this look is that you can do it yourself. French braids also last for a long time once you have it in.
This braid can be similar to that of the three-strand twist. The difference is that it is held together by the crown of the head all the way down to the neck.
Materials
- Paddle Brush
- Water Wave Braiding Hair
- Rubber Bands
How to Style:
- Make sure your hair is clean and free of knots.
- You don't want anything to get in the way while you're twisting down your tresses.
- You want to take a small piece of braiding hair and place it in front of your head; the braiding hair will be the two strands, and your real curls will be the third piece.
- From this point on, you can start the French braid, which is the three-strand twist.
- When you get close to the bottom, you can add one more piece of braiding hair to the end and finish off the braid.
- You can always keep adding, but you'll save time and money by just using the extensions at the beginning and the end of the twist.
- Seal it with a rubber band, and now you are good to go.
The French braid is an iconic plait that goes right down the middle of your head.
This is an edgy and statement hairstyle. It's a great look for warmer weather because the hair is out of your way and away from your face. I can't wait to try this braid out in a few weeks.

Goddess Braids
Last but not least, possibly one of the hottest trending hairstyles for the springtime, yes, you guessed it, goddess braids.
This style is a cornrow, usually ranging from medium to large size; it's the best when coming down to promoting growth and a significant protective style.
To complete this hairstyle using hair extensions, it is best to do the feed-in method or even go to a professional, for it would take only thirty minutes to an hour to do.
The most common style is the two-goddess braid look. I will list all the materials needed to use this method. Or can check our latest Boho Braid Wig!
Materials
- Honey Blonde Braiding Hair
- Moisturizer
- Deep Conditioner
How to Style:
- It is best to deep condition your hair before doing this style; tight braids mean it will be pulling on the strands and lead to breakage if your curls are dry.
- Bulk human braiding hair is the best to use for this braiding style.
- They are lightweight and will not pull too hard on your scalp.
- First, comb out your hair and make sure that there is moisturizer all throughout.
- Part your hair down the middle of your head and make sure both sides are even.
- You can initiate the braid by taking a piece of the braiding hair and starting the braid on one half of your head.
- The best method to use is the three-strand twist. As you're grabbing your hair, you should add braiding hair little by little.
- This will help to create a gradual increase in the size of the cornrow.
- Once you are done, repeat these steps on the other half of your head.
- Once you're done, you will have two rocking goddess braids.
- Spray a little hair sheen to keep moisture in the scalp and prevent dandruff or dirt from building up.

Which Braided Look Will You Conquer This Season?
I hope you have some inspiration for some flirty and fun braid hairstyles to try this spring.
Remember, the warm weather is not just for boho braids or Senegalese twists. Let your creative spark fly, and go for something new this season.
Spring comes and goes so fast, so take advantage of all these marvelous braided hairstyles. 🌷🌷
If you have a braided look you love to do, let us know in the comments down below.
Make your hair look shiny with this Hair Glossing Treatment!

