1260 Memorial Drive
Atlanta, Georgia 30316
404-458-1330
Mastering Boho Braids: Advanced Techniques Used by Professionals
Mikey MoranAre you looking for a natural alternative hairstyle to Bohemian Braids, or do you want to add a bit of flair and vibe to your bohemian for that light and airy style?
This is a less painful and low-maintenance protective styling method.
Our bohemian braid extensions are the perfect solution to your length extension and are versatile for any occasion or event.
In this comprehensive article, we will walk you through to understand the process of achieving the perfect braiding technique and the quality of your hair.
Grab your combs and hair supplies, and let’s elevate your hairstyle.

Understanding Your Braiding Hair
The first step for that natural blend and natural-looking bohemian braids styling is choosing the correct extension.
You need to understand the affordability, type, and quality of the braid extension that you will use since it will affect the outcome of your bohemian braids.
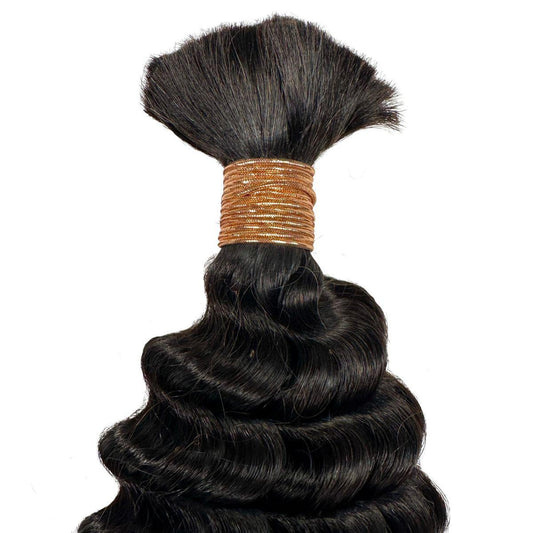
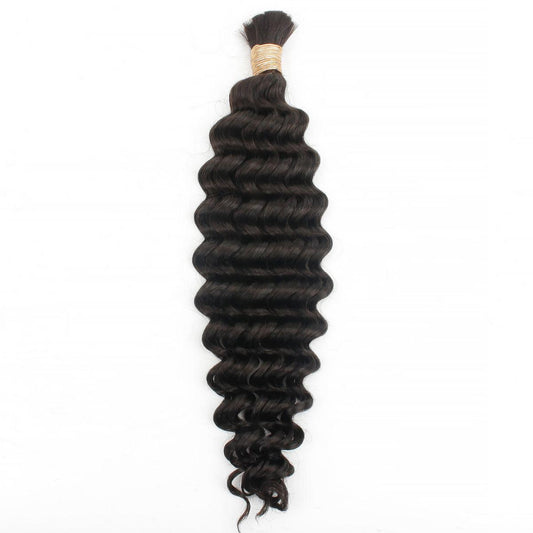
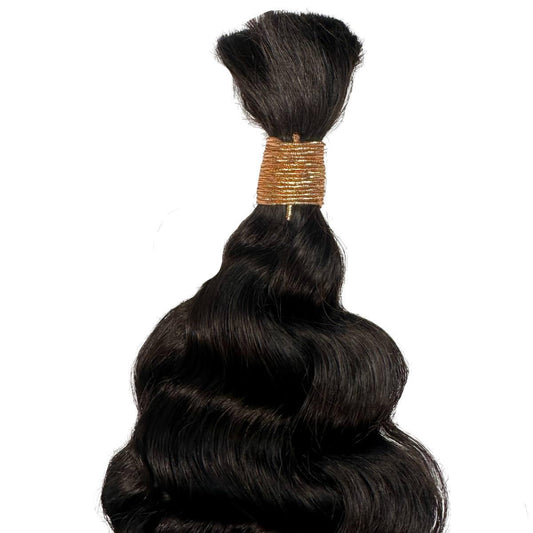
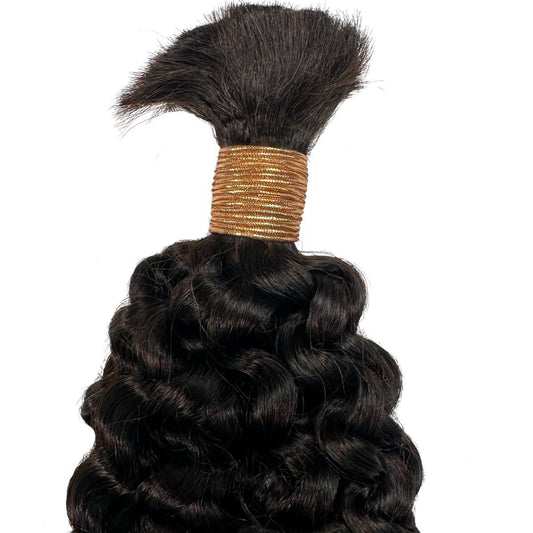
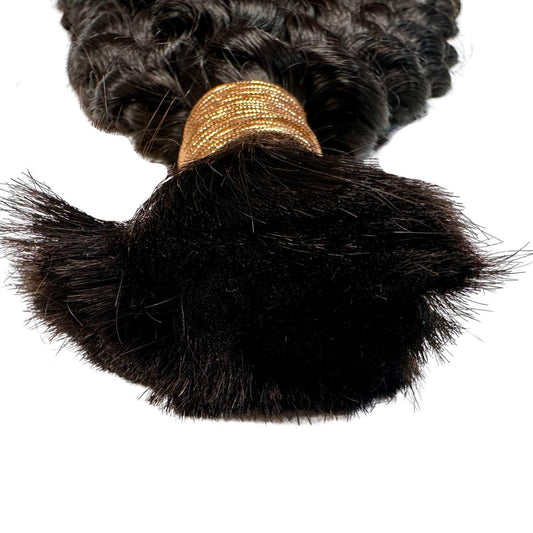
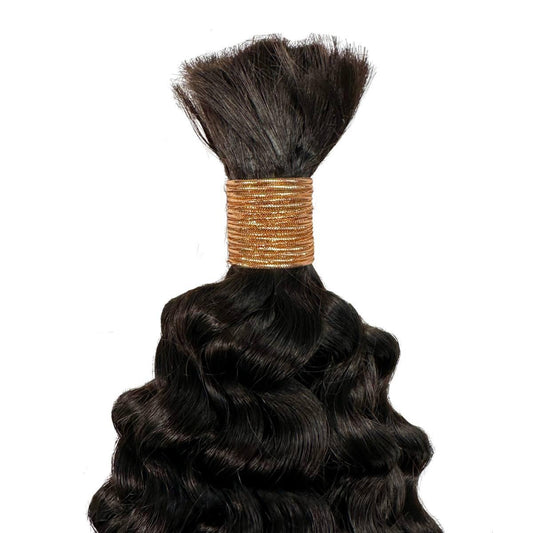
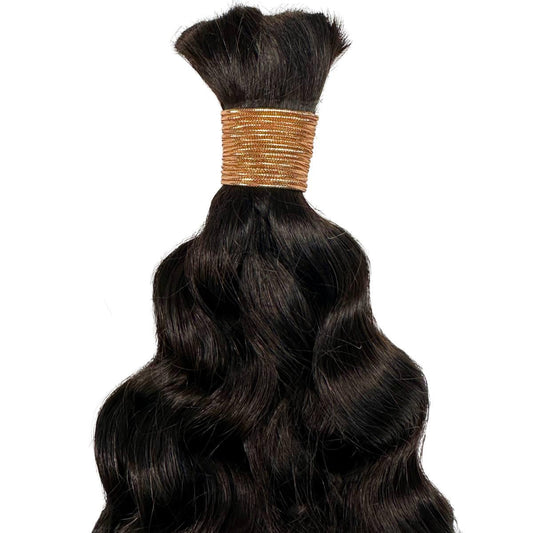
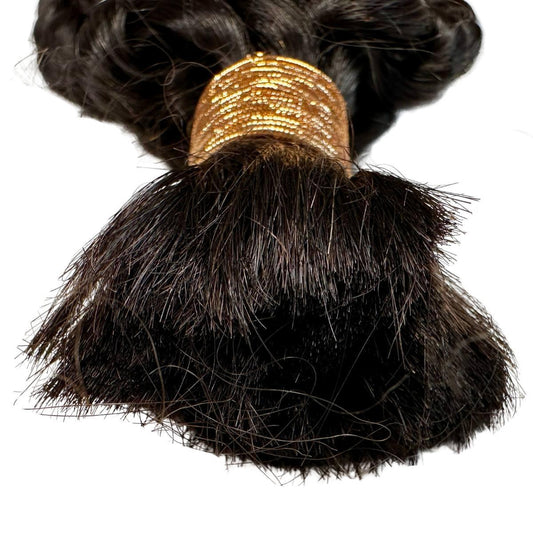
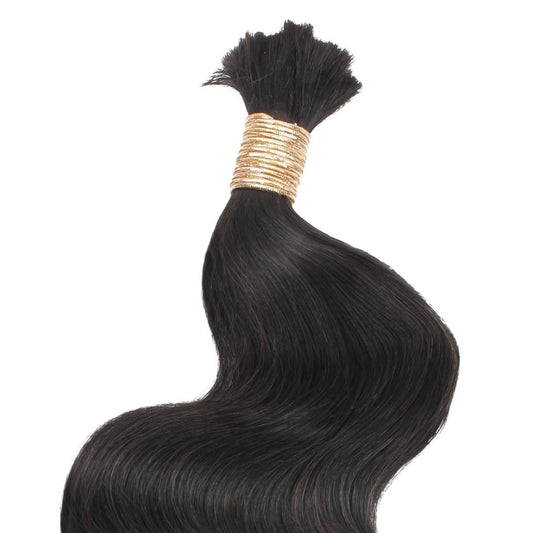
Our bohemian braid extensions are high quality, affordable, lightweight with different textures, and have a natural feel and blend, making them a favorite among hair stylists and others. Choose a hair extension that closely matches your texture for that seamless blend.
If you desire that pop of color or highlights on your braids, choose a color that contrasts with what you want. Our extensions are made with high-quality human hair, which is soft, tangle-free, and easily manageable and will deliver unmatched quality.
Gathering Your Required Tools and Supplies
Choosing and prepping your hair tools and supplies before braiding will save you a lot of time and ensure a smooth braiding experience. You will need the following:
Well-Prepped Hair: It’s advised that you start with clean, moisturized, and straightened hair. This will make your partings less stressful and elevate your look.
Combs and Supplies: Gather all your tools like tail combs, hair bands and clips, light hair oil, and styling creams. For an easier technique, you can use a braider’s comb with front spacing for easier parting and precise braiding. Crocheting is another effective braiding method.
You can crotchet using our lovely premade braid extensions by feeding them into your natural cornrows. You can also use a braiding gel for that firm and smooth hold when parting your natural hair, eventually giving your braids a shiny and firm grip.
Three-Way Mirror and Braiding Rack: This tool will help you see your entire head while parting and braiding your hair, creating a clear and precise pattern.
Having a braiding rack will also make separating and organizing your braiding extensions easier. Though unnecessary, you can improvise and use a long chair or stool with a flat surface.
Dipping Bucket with Hot Water: After you have finished braiding your hair, you will need a bucket or a basin with hot water to dip the finished braided tips to seal the ends.

Creating Clean and Uniform Partings
The size of the braids you want to rock will determine the partitions or sections you will make, either small cute box braids or larger bold braids.
Starting with a rat tail comb, begin by sectioning your hair into two sections ear to ear, parting them into five sections, and clipping the front part away with a hair clip or a hair band to allow you to start working from the back towards the front.
Beginning with two rows at the back, create a clean and precise section; they can be triangles, squares, or any design and shape you desire, keeping the sections as clean and uniform as possible for that polished look.
Using the brick layering method to braid your hair will give you that natural layering braid look.
To save time, you can use a braiding rack to make your braiding process easier and more efficient.
Starting by Braiding Your Natural Hair
Braiding first with your natural hair will give you that perfect, clean base. Always start with stretched or straightened hair for optimal results.
Also, make sure that your roots are not too tight to avoid scalp tension and painful braiding techniques. Start by separating one section into three equal and neat strands, braiding in the same manner as you would a traditional braid.
Incorporating the Extensions
You can incorporate your braid extension after securing your base midway through the braid. Holding the braid securely and gently against your hair, slowly incorporate your extensions by weaving them with your natural hair for that voluminous look.
Afterward, increase the sizes of the extensions as required to create a natural feed, gradually increasing the number of braid pieces as you move down the braid.
This is crucial in creating bohemian braids, as it will maintain an even tension and prevent any bumps on the braids.

Achieving the Desired Length
Add more extension pieces as you move down the braid until you achieve the desired thickness and fullness. This is a critical step in achieving a polished and desired look.
To ensure uniformity in your braids, prep the hair extension prior by separating the hair into desired pieces and thickness; this will save you much braiding time.
Braid your hair gently, ensuring the braids are not too tight or loose, keeping the tension consistent. Also, note that not all your sections on your head will require the same braid thickness, so adjust the number of separated pieces according to the thickness that you desire or the look that you are going for.
If you are not satisfied with the outcome of a single braid, don’t hesitate to take it out and start again, it’s best to repeat and correct mistakes rather than ending up with a disappointed look.
Sealing the Ends and Braids Aftercare
After achieving the desired length and volume, you must secure the ends to ensure they don’t unravel and are well sealed.
You can dip the ends gently and half the size of the braids in hot water for a few seconds, being careful not to burn yourself. Alternatively, you can use a lighter to melt the ends, though done carefully too slightly.
Another method is to create a little knot at the end and bind it with a clear, small elastic band or apply a small amount of hair glue to seal the ends. Choose the best and most comfortable method that works for you.
After successfully sealing and binding your ends, you can apply a light oil to soothe and calm your scalp and a light mousse or a hair spray on the braids to set them and lay the flyways like our Glow Shine Spray.
You can accessorize boho braids and style them according to your personality and look.

Professional Boho Braids Techniques
With this comprehensive guide, you now know how to braid your hair and the tools you require to go around braiding your hair.
To achieve that desired look and style, you must use a precise technique to ensure that you don’t braid too tightly or heavily braids to not strain your scalp.
Our Deep Wave Boho Braids extensions are high quality and will ensure that every individual, even a beginner, can comfortably achieve a salon’s best quality appearance at home, allowing you to enjoy your new style.
We have many bohemian extensions in different textures and lengths to match everyone’s preference. They testify to an upgrade and innovation in bohemian styling, providing a seamless and comfortable look.
Our braid extensions can last weeks if they are well-prepped, braided, and well-taken care of. Our bohemian extensions will offer a relaxed and seamless fit that will compliment your look since they are well crafted with love and care, ensuring that you find the perfect match for your style and comfort.
Now that you have the right tools and knowledge, unleash your creativity and embrace your bohemian vibe. Look confidently.

