


1260 Memorial Drive
Atlanta, Georgia 30316
404-458-1330
Simple Braid Hairstyles Perfect for the Summer
Mikey MoranI am pleased to write this article! The main reason is that the season is changing, and I hope I have said goodbye to cold mornings.
There is something about flowers blooming and bumble bees that makes me happy.
Can you tell I'm a Southern girl?🌞
I love a sunny day with a tall glass of lemonade, a slice of red velvet cake, a comfy outfit, and a gorgeous hairstyle. You know we are always looking for a reason to change our fashion and hairstyles.
I promise you the following styles will be conversation starters and will also give your hair a rest from heat styling.
Braided styles provide flexibility for your hair. The cool thing about the techniques below is they are easy to re-create yet are so unique it will look like you put a lot of effort into styling.
I hope you enjoy the hairstyle suggestions below. Make sure you let me know what you think of them by commenting below.
Let me know what other hair questions or suggestions you have as well. You know what time it is!
We always have to find a reason to dance and sing throughout the day. Go ahead and press play on your Solange playlist, and let's get started!

Supplies for Braiding
- Elastic bands
- Eco-style gel
- Rattail comb
- Wide-toothed comb
- Hairspray
- Bobby pins
- Brush
- Hair moisturizer
- Jamaican Castor Oil

Braided Rose Hairstyle
The braided rose hairstyle is perfect for a special occasion as well as for work.
Step #1
Separate hair into a section in the crown of your head.
Step #2
Separate the section into three.
Step #3
Braid each section going downward.
Step #4
Use an elastic band to secure each braid.
Step #5
Repeat the same steps for the other two sections.
Step #6
Pull out the front of each braid to create flower petals.
Step #7
Pull the braid out all the way down.
Step #8
Spray with hairspray.
Step #9
Repeat the above steps on the remaining braid.
Step #10
Wrap your braid inward, creating a rosette.
Step #11
Secure it with a bobby pin to keep it in place.
Step #12
Repeat the above steps on the remaining braid. I love this style as a unique alternative to add interest and creativity to what may be a boring style.
It only takes a few minutes to do. Let me know if you try it! I can't wait to see your photos!
Don't braid too tight though and avoid making it a tension-based hairstyle by accident!!

Floral Bun Hairstyle
The floral bun hairstyle is an alternative to the standard bun. It adds a touch of creativity and flair.
Step #1
Tie your hair into a ponytail using an elastic band.
Step #2
Split the ponytail into three sections.
Step #3
Braid each section.
Step #4
Pull sections of the braid apart.
Step #5
Roll braid into a rosette.
Step #6
Pin the braid in place.
Step #7
Braid the second section and secure the end with an elastic band.
Step #8
Pull the braid apart.
Step #9
Wrap it under the third unbraided section and around the braided bun you just pinned.
Step #10
Pin the end of the braid on top of the first braided bun.
Step #11
Braid the last section and secure the end with an elastic band.
Step #12
Pull it apart. This style can be as messy or as neat as you want it to be.
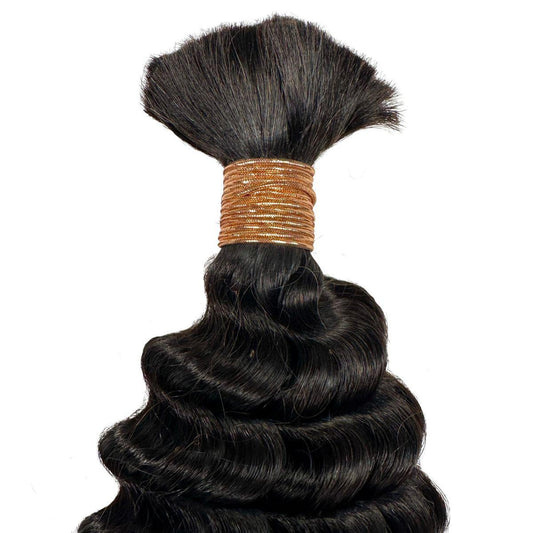
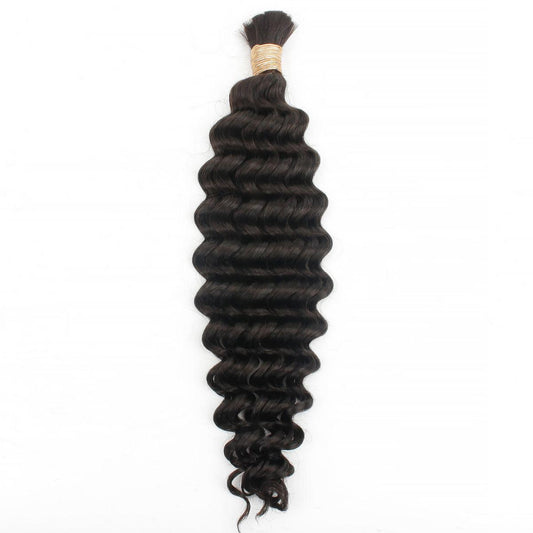
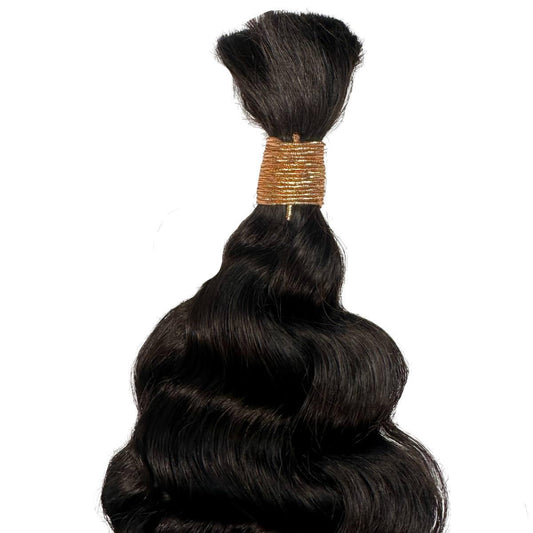
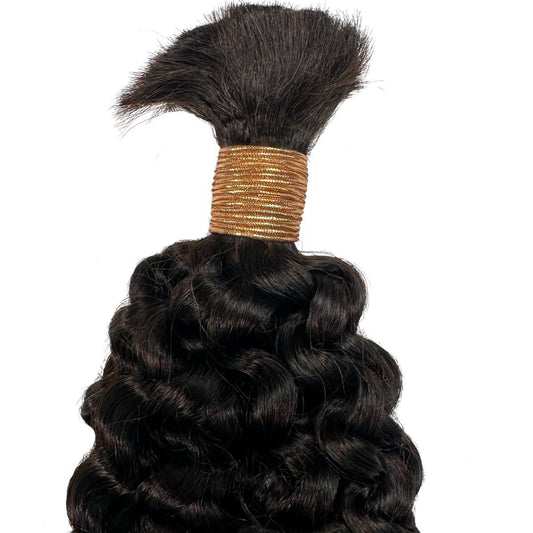
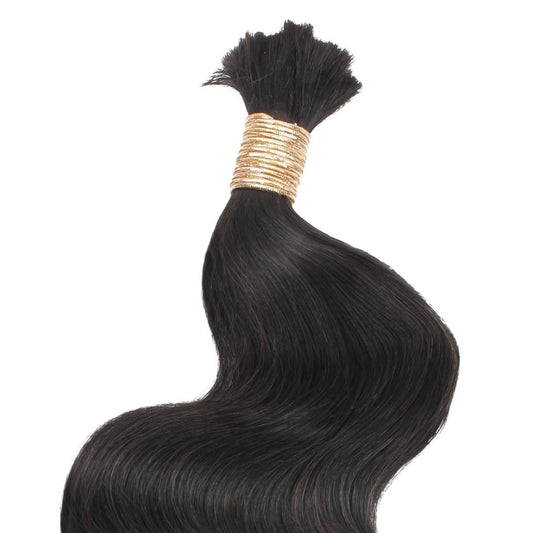
Use our Burgundy Bulk Human Braiding Hair for this style!

Rope Braided Side Bun
The style I am sharing is simple yet classy.
It is a simple style to create on your hair or a braided wig, which is helpful if you can't get to your stylist until next week.
Step #1
Brush your hair to remove tangles.
Step #2
Add a moisturizer or oil to your hair.
Step #3
Add a small amount of gel to the front to keep the style smooth and sleek.
Step #4
Separate a section of your hair from the hairline to the top of your head.
Step #5
Separate the section into a front and back portion.
Step #6
Cross the front section over the back section.
Step #7
Twist the combined sections one time.
Step #8
Take another section from the front.
Step #9
Combine the back section with the new section you just created.
Step #10
Twist the combined sections one time.
Step #11
Continue this process all the way to the end of the braid.
Step #12
Make sure you smooth your hair over to the side your braid is on to keep it neat.
Step #13
Once you get to the end, twist the braid into a bun using a clockwise motion.
Step #14
Tuck the ends of the braid.
Step #15
Secure the bun with bobby pins.
Step #16
Use hairspray to control your flyaways and to set your hairstyle.
Step #17
You can apply a bit of gel to tame any shorter pieces if you need to.
Step #18
Pull on the braid gently to loosen it.
Check out this article on How to Loosen Sew-Ins.

Braided Rose
Here's a great hairstyle hack to give you a fresh and updated look without having to use a lot of products or heat on your hair.
Step #1
Part the front of your hair from ear to ear.
Step #2
Secure the top section with an elastic band.
Step #3
Create a part in the ponytail right above the elastic band.
Step #4
Take your ponytail over the top of the elastic band.
Step #5
Pull the ponytail through the part.
Step #6
Create a three-strand braid and secure it at the end.
Step #7
Pull the braid apart to flatten out the braid.
Step #8
Roll the braid up into a bun and create a rosette.
Step #9
Pin in place with bobby pins.
Step #10
Style the back of your hair in any desired style.
Check Hair Tools for such Quick Switch-Ups!

Fishtail Flower Braid
Honestly, when I see any style that mentions a fishtail braid, I get nervous. It sounds hard, right?
Creating a fishtail braid is easy, so this braided style will not be hard.
Step #1
Part the front of your hair from the temple to the temple.
Step #2
Secure the top section with an elastic band.
Step #3
Split your ponytail into two sections.
Step #4
Grab a small section of hair from the edge of the left section.
Step #5
Cross it over the top and add the small section to the right side.
Step #6
Grab a small section of hair from the edge of the right section.
Step #7
Cross it over the top and add the small section to the left side.
Step #8
Continue the process until you braid the entire ponytail.
Step #9
Wrap the braid above the elastic and pin it in place.
Step #10
Wrap the end of the braid into the center.
Step #11
Pull the braid apart and fill it out.

Get Cute While You Live Your Best Life
Private Label Extensions always brings you the latest trends to keep you ahead of the game.
We know our #PLEbabes depend on us, and we enjoy keeping each of you beautiful. The styles I shared are too simple not to try. 👌🏿
Whether you're wearing a protective style or desire to do something different with your hair, either of them will be perfect.
Make sure you tag us in your photos @privatelabel, and you may see yourself on our Instagram feed!