1260 Memorial Drive
Atlanta, Georgia 30316
404-458-1330
10 Ways to Elevate Your Ponytail Game
Mikey Moran“I’m cute with bundles, my natural hair, or a ponytail!"
I need you to repeat this statement over and over because the hair doesn’t make you.
You make the hair.
Don’t get me wrong! I love my Private Label bundles because I can transform and channel my inner Beyonce.
Not the “Crazy in Love” Beyonce. I rock my natural extensions to connect with the Coachella and the “On The Run 2” Beyonce.
Speaking of Beyonce, do you remember the classic ponytail she wears that seems to have a mind of its own?
Well, I’m going to help you not only create a great ponytail but elevate your game to another level.
Now the one like Beyonce’s won’t be included, but I just had to mention it. I will also be sharing some of my favorite celebrities and influencers who are slaying it and making it their own.
You know what time it is!
Now, I’m sorry if you are not feeling the new Jay-Z and Beyonce album, but I am. Do me a favor and listen to it (if you haven’t) or listen to it again and comment with your favorite song.
To get started, I’m going to start with “Top Off” because I’m rooting for Meek Mill.

Choose Your Style and Wear The Heck Out of It
The following style suggestions will give new life to the same old ponytail that you may only wear on bad hair days or in between hair salon visits.
After this, you will wear your ponytail extensions proud because it will be a conversation piece.
I’m excited to help you get your glow on.
So let's jam and get into the details of my ten style tips. To find out how to create your basic ponytail, because you want those edges smooth and sleek, you can find more information on the Private Label blog.
1. Rock a Galaxy Colored Kinky Ponytail
Go ahead and fill your online cart with your Brazilian kinky bundles and share your unboxing video with us by tagging us!
Once you get your bundles, you can color them. To make the colors look as vibrant as possible, you will need to bleach your extensions first. Once you lighten and condition your extensions, allow them to dry thoroughly.
Once your extensions are dry use the following hair colors to get the vibrant colors I know you will love:
- Adore Violet Gem #114
- Adore Neon Pink #140
- Adore Baby Blue #172
- Adore Clover #165
- Adore Orange Blaze #319
Quick Note: Private Label now sells Adore hair color at their hair stores.
Step #1
Section your extensions and saturate each section with a different color (make sure you alternate the colors).
Step #2
Allow the color to stay on for about an hour.
Step #3
Rinse the color out.
Step #4
Condition the hair after rinsing the color out.
Step #5
Allow your extensions to air dry or skip this step and go to step 7 if you want curls.
Step #6
You can wear the extensions as is or you can style them by rolling sections with flexi rods.
Step #7
Once the hair is dry, remove your flexi rods.
Step #8
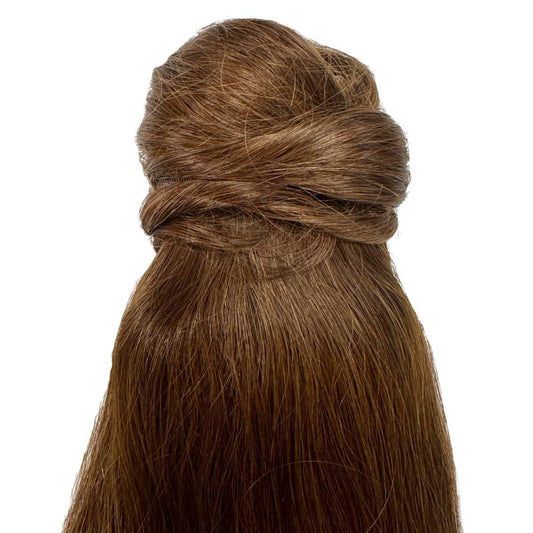
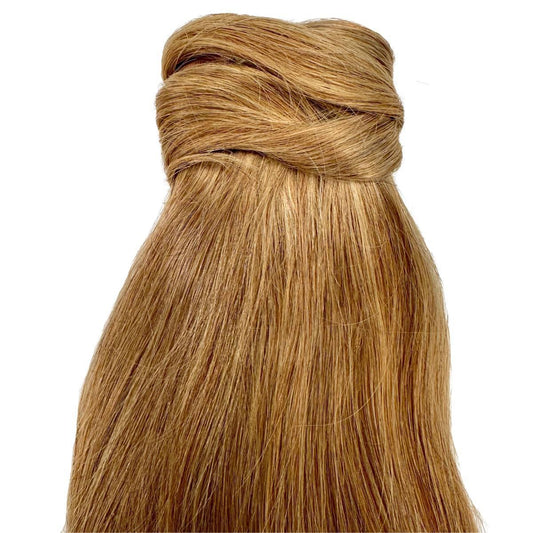
Grab your extensions and wrap them around the base of your ponytail.
Step #9
Secure the extensions with bobby pins.
Step #10
Use a few or as many human hair bundles as you want depending on how full you want your ponytail.
Step #11
Once you are done securing the extensions, take a few strands and wrap them around the base of your ponytail.
Step #12
Secure with a bobby pin.
Step #13
Fluff and separate your curls to get the desired look Oh, girl, you are too cute!
Where are going?!
Because you are too sweet to stay in the house!
2. Diagonal Double Laced Braid
Okay, it may sound difficult but it isn’t at all, and I can guarantee you people will be asking you about this style all day!
It’s a simple style with a quick and easy twist which makes it perfect for a night out or a day at work. I love that this can be done on a wig as well.
Let's get started on this style and don’t give up!!!
Step #1
Comb your hair to remove tangles
Step #2
Part your hair in a diagonal part, and clip the two sections out of the way with butterfly clips
Step #3
Grab the upper section of hair and section off into three pieces
Step #4
Cross the left strand under the middle strand and cross the right strand under the middle strand
Step #5
Start braiding in hair from the left side into the braid. Once you braid all the hair use an elastic band to keep it neat
Step #6
Unclip the lower section and repeat steps three through five but braid in hair from the right side this time.
Step #7
Use an elastic band to keep the braid neat
Step #8
Pull the braids apart just a bit to make them fuller
Step #9
Starting at the top of the braid, pinch the inside edges of them together and secure them together with bobby pins
Step #10
Use another elastic band and secure the braids together at the end
Step #11
Remove each elastic band from each braid
Step #12
If you don’t want the elastic band to be seen take a section of your hair and wrap it around the elastic
Step #13
Pin the hair in place with a bobby pins That’s all there is to it! It may take a few tries or an extra pair of hands, but you can do it!

3. Short Hair Ponytail
They say “long hair don’t care,” but short hair doesn’t either!
Check out this ingenious way to give your short hair a ponytail minus the extensions. Say goodbye to the struggle ponytail with this style tip.
Step #1
Tease the crown section of your hair if you want extra volume
Step #2
Using your elastic band, create a low ponytail and leave the hair loose on the sides.
Step #3
Pull tight on your ponytail without compromising volume
Step #4
Use bobby pins to secure the loose sides of your hair to the top base of the ponytail.
Step #5
To create fullness tease the ends of the hair
Step #6
Use a headband to add more interest to your style
Step #7
Spray with a small amount of hairspray to keep everything in place
4. The Undercut
A fly undercut style gets me every single time.
I guess it’s because I want one but I have judgy kids who are telling me not to do it.
However, I really should, especially since I am natural and about eight months post big chop. I don’t know!
What do you think? Let me know if you think I should or should not get an undercut.
Private Label is the Huffington Post of hair, and there’s a bomb article on undercuts and style variations if you are interested.
Here’s how to rock an undercut with a ponytail:
Choose an excellent barber to give you a nice undercut. I see some people rocking lines and all types of designs. Yes, I do get jealous. Once you get your undercut, here’s how to style your updated ponytail.
Step #1
Put your hair up in a ponytail and smooth it by using eco-style gel
Step #2
Apply wrapping foam to the undercut area
Step #3
Brush your undercut to get it smooth
Step #4
Take a strip of wrapping paper or a silk scarf and tie down your undercut
Step #5
Wrap your hair down for at least fifteen minutes (longer if your hair is curly)
Step #6
Remove the wrapping paper or scarf after your hair is completely dry
Step #7
Don’t forget to lay those edges with Private Label Extension edge control.

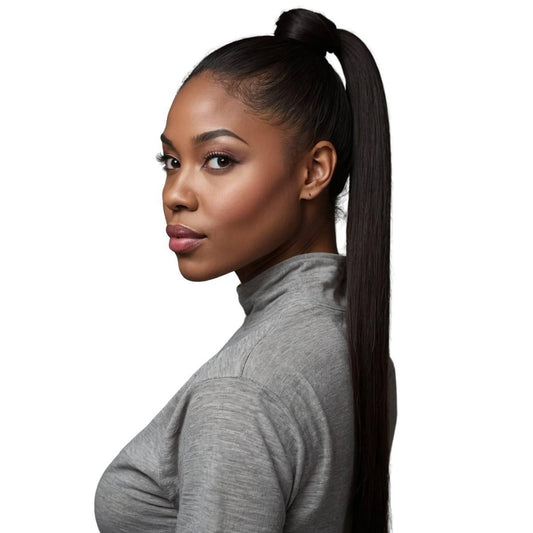
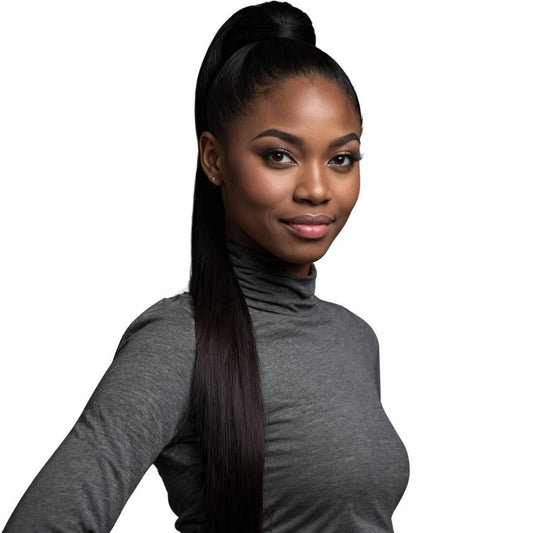
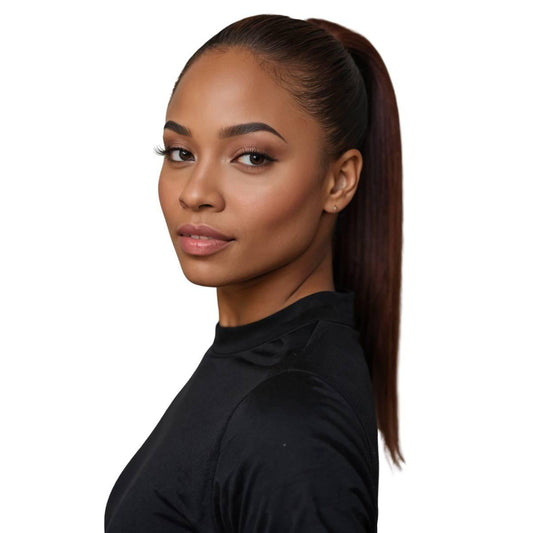
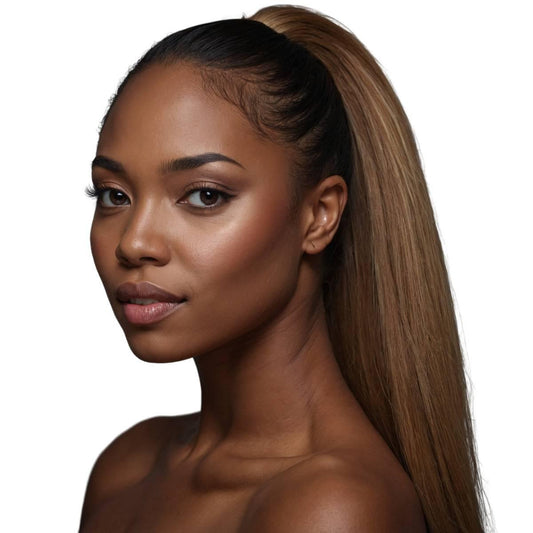
5. Sleek Ponytail
A sleek ponytail is just modern and breathtaking.
When styled correctly, it’s the perfect hairstyle for a special night or to switch it up. Ciara does the sleek ponytail so well.
To recreate this style you won’t need many styling tools. Here’s a step-by-step tutorial:
Step #1
Part your hair in the center
Step #2
Pull all your hair to the mid-back of your head and secure with an elastic into a ponytail
Step #3
Smooth the edges with a gel or edge control
Step #4
Spray heat protectant on the ponytail
Step #5
Part the ponytail into sections
Step #6
Flat iron each section
Step #7
Comb the sections and add a small amount of oil to the ponytail.
You are ready for a real night out!
Put on a cute dress and celebrate how far you’ve come!
6. Wrap A Ponytail
You may have never thought of using a head wrap on your ponytail, but this can change your hair game all the way up.
Head wraps and ties come in all kinds of prints. I guarantee you can find one to fit any outfit you’re rocking!
Let me give you some easy steps to wrap your ponytail and get out of the door quickly.
It doesn’t matter if you are rocking extensions, your natural hair, or a wig you can still use this as a hairstyle option.
Option #1
Step #1
Pull your hair up into a high ponytail
Step #2
Lay your scarf out on a flat surface
Step #3
Fold the scarf to form a triangle
Step #4
Fold the pointed end of the triangle over to meet the opposite edge of the scarf
Step #5
Fold the opposite edge of the scarf over
Step #6
Wrap the scarf around your head and tie a knot off to the side twice
Step #7
Twist the ends together
Step #8
Take the end of the twist and pull it over and between the scarf and your head
Step #9
Repeat step 8
Step #10
Wrap once to create a bun
Step #11
Take the end of the scar and tuck through the bun you create

Option #2
Step #1
Repeat steps 1-5 in option #1
Step #2
Wrap the scarf around your head and tie it three times in front
Step #3
Twist the scarf tail ends and tuck into the scarf
Option #3
Step #1
Repeat steps 1-5 in option #1
Step #2
Wrap the scarf around your head
Step #3
Bring the two ends around to the front
Step #4
Tie into a knot twice
Step #5
Twist the two ends together
Step #6
Tuck it into the side of your head wrap
7. Bubble Ponytail
Every time I see a bubble ponytail I instantly fall in love.
In my opinion, it’s a nice twist on a classic hairstyle.
If you need additional length to make this hairstyle look more dramatic, add extensions (install the same way you would for the galaxy colored kinky extensions above or use braiding hair) and once you put your hair in a mid-crown ponytail (or you can create a high or low ponytail because it’s all up to you).
Here’s how to create the rest of the look:
Step #1
Take an elastic and slide it up about an inch from the base of your ponytail
Step #2
Repeat step 1 by moving down an inch each time you apply an elastic band
Step #3
Make sure the elastics or rubber bands are small enough that they create the bubble in the ponytail without having to twist twice
Step #4 Also, fluff each section before you apply the elastic to make sure it gives you a nice bubble effect
See, isn’t this cute and easy?
8. Deep Side Part
This style may not seem like a hard one to create, but I will tell you it is visually stunning.
I know you see women wearing the deep side part and want to wear it yourself. This style reminds me of Aaliyah in “Romeo Must Die”. This style would be beautiful if you are a vlogger or makeup artist and want to create a review for the upcoming Aaliyah line.
Tag us if you wear this look! Let's get to styling!
Step #1
Flatiron or straighten your hair with a hot comb
Step #2
Once your hair is straight, create a deep side part
Step #3
Section out a bang and clip it out of the way
Step #4
Use beeswax to your hair by sectioning your hair and applying it to the root section
Step #5
Comb your hair to distribute the beeswax and to smooth it down
Step #6
Use a rattail comb to make sure the hair is smooth
Step #7
Apply edge control to your edges
Spray holding spray to set the style
Step #8
Pull the hair back to the mid-crown and secure with an elastic band
Step #9
Remove the clip from the bang
Step #10
Apply beeswax to sections of the bang
Step #11
Repeat steps 5-6
Step #12
Comb the wax through the hair
Step #13
Spray the bang area with holding spray and comb through creating a swoop
Step #14
Blend the bang area hair with the back hair Use another elastic band to hold the bang hair in place with the rest of the ponytail
Step #15
Spray with hairspray to set the style
Step #16
Wrap some wrapping paper around your head or use a scarf to set the style in place
Step #17
Wrap your hair up in a bun or at this step you can leave your hair out, and you’re good to go
Step #18
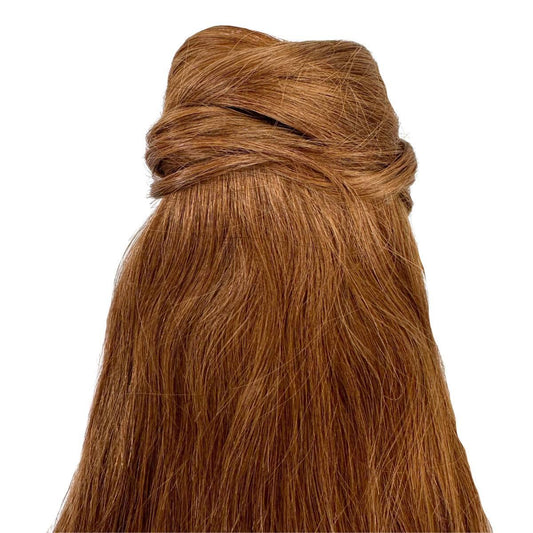
Wrap extensions around the base of your ponytail and use bobby pins to secure
Step #19
Comb out the ponytail to remove any tangles and wrap a piece of hair from the extensions to conceal the weft
Step #20
Remove the wrapping paper
Step #21
Spray with holding spray one more time
Step #22
Spray hair shine on the hair to boost the shine I’m in love with this hairstyle! I can’t wait to see how yours!
Make sure you tag us!
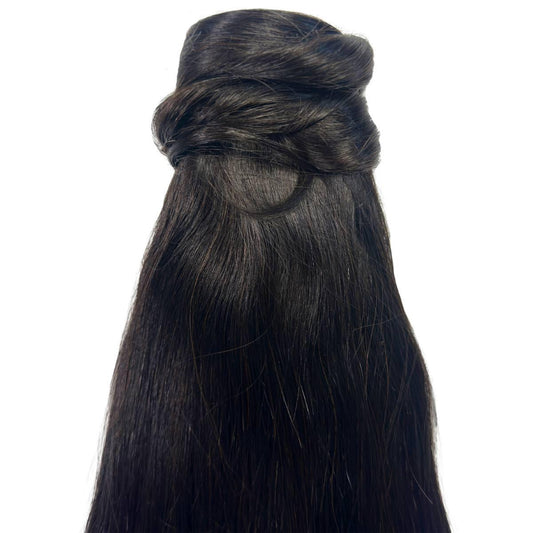
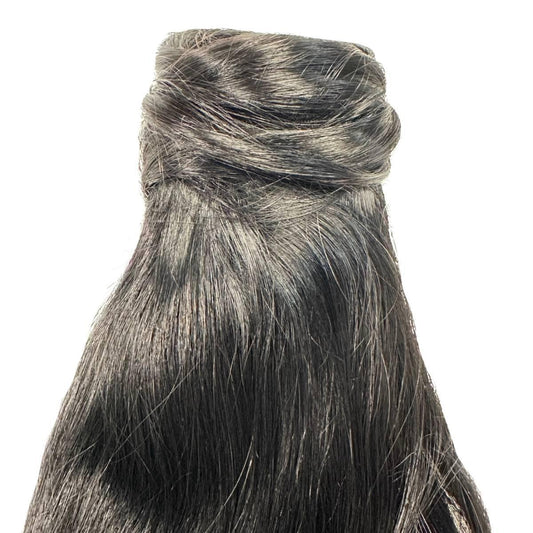
9. Invisible Ponytail
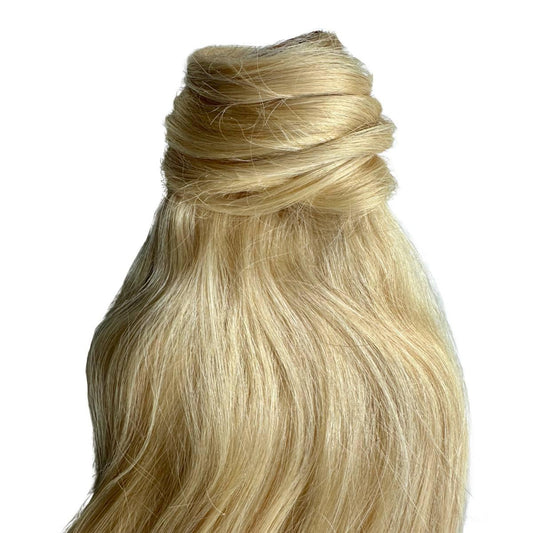
Make them gag honey when you step in the room with your extended ponytail. You can create your basic ponytail however you want.
You may want to try style #8 and then add length to it.
Step #1
Braid your ponytail.
If your hair is short, use braiding hair to make it a bit longer (right below your shoulder blades)
Step #2
Grab your Private Label bundles which are at least long
Step #3
Apply hair glue to the weft
Step #4
Begin wrapping the weft around the end of the brain
Step #5
Continue steps 3-4 making sure you brush the extensions out to prevent tangles
Step #6
Take your time to ensure your ponytail looks neat
Step #7
Once you reach the base of your ponytail secure the end of the extension with hair glue
Step #8
Take a section of the extension, spray with holding spray, and wrap it around the base of the ponytail
Step #9
Secure it in place with a bobby pin
Step #10
Use some hairspray and oil to hold the hair in place as well as boost shine.
Oh yes! Your hair did grow overnight if anyone asks!

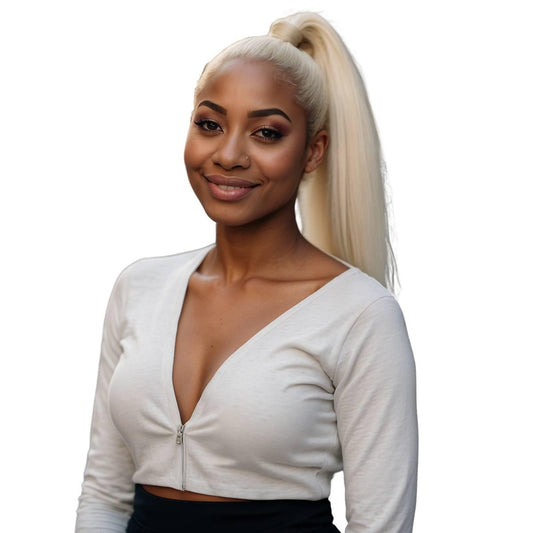
10. The J-Lo
I named this ponytail myself because Jennifer Lopez can wear this style like no one else. It’s fun yet age appropriate.
We love creating high ponytail styles with real hair clip-ins.
Grab a set of Private Label seamless clip-ins to add more length and volume.
Let's go ahead and create our version of J-Lo’s epic ponytail.
Step #1
Section your hair in the back and clip the rest of your hair up
Step #2
Clip in your Private Label to give you more length
Step #3
Section your hair mid-crown and clip the rest of your hair up
Step #4
Clip in your extension
Step #5
Remove your clip from the top section
Step #6
Use your one and two clip extensions in the top
Step #7
Clip the extensions in upside down by sliding them up instead of sliding them down
Step #8
Brush your hair to get it smooth
Step #9
Spray some holding spray on the top section
Step #10
Leave some of those baby hairs out
Step #11
Brush your ponytail up and start it where your ear is
Step #12
Smooth your ponytail and secure it with an elastic band
Step #13
Spray the top section with holding spray and smooth down your edges
Step #14
You can use edge control to get them looking right
Step #15
Use your barrel curling iron to curl the back section
Step #16
Repeat step 15 on the top section of your hair
Step #17
Spray holding spray to seal those curls in place
Step #18
Tease your curls to get them fuller
Step #19
Spray one last time with holding spray This style is gorgeous! It’s the half-up/half-down style.
Comment below and let me know if you like this style tip.
New Twists on An Old Favorite
I hope I’ve shared at least one style suggests that you will rock the heck out of this 4th of July!
A ponytail is a great option during the summer because it’s hot and some days you want to keep it simple.
You might also want to check out our summer ponytail hairstyles for more inspiration.
The style options above will help you get through the summer with ease especially on those days when you don’t have a clue what to do with your hair.
I’m in love with the new twists on an old favorite. Comment below and tell us which one is your favorite style. Don’t forget to show us Instagram and Facebook love by tagging us!
We appreciate you all and thank you for supporting Private Label!
Until next time remember: It’s not about proving the haters wrong. It’s all about you proving yourself right!
Now get on up and slay your day with your cute ponytail.



4 comments
These ponytail styles are amazing! Can’t wait to try out the diagonal double laced braid—it looks so chic and easy to do. Thanks for the tips!
I love all these ponytail ideas. Could you please suggest which style works best for a formal event?
The Gots 2 Be holding spray is amazing and you can even get the extreme hold to keep your pony’s in tact longer!
Omg… u just knew I needed step by step instructions. Thank you!!! What about products to hold your hair whilest in the ponytail… such as braiding gels and sprays… I need that info!!! No residue… super hold… I need all of that information!!! Great step by step going to try this Friday!!!