


1260 Memorial Drive
Atlanta, Georgia 30316
404-458-1330
How to Blend Your Natural Hair with a U-Part Wig for a Perfect Look
Mikey MoranI’m afraid of a few things: snakes, tornadoes, and people being able to tell that I’m wearing a wig.
This is especially true for U-Part wigs, where you must blend to get the right look.
 If you’re like me and terrified of leaving the house looking like a hot mess (with a hairpiece that can be spotted from a mile away), you might want to check out this article.
Today, we’re discussing blending natural hair with a U-Part wig to get that picture-perfect, Instagram-worthy finish.

How to Blend Your Natural Hair with a U-Part Wig: Eight Steps to Success
Blending might sound complex, but it’s simple—especially when following my handy step-by-step guide.
Start With the Right Wig
The first step is to start with the right wig. After all, if your natural hair is a particular texture and you go in the opposite direction, you will have difficulty blending it to a perfect ending.
What exactly do I mean by this?
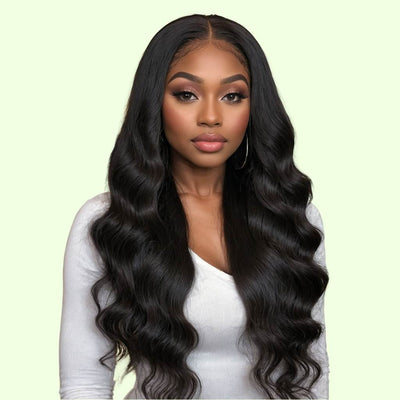
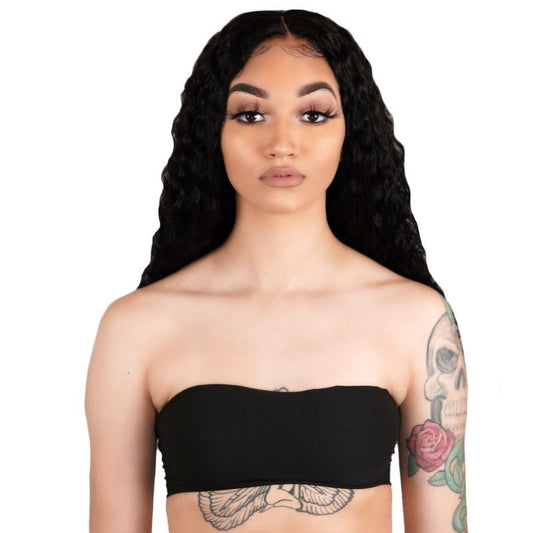
Well, if your natural texture is kinky ringlets, you’re best choosing a U-Part wig with a matching kinky texture.
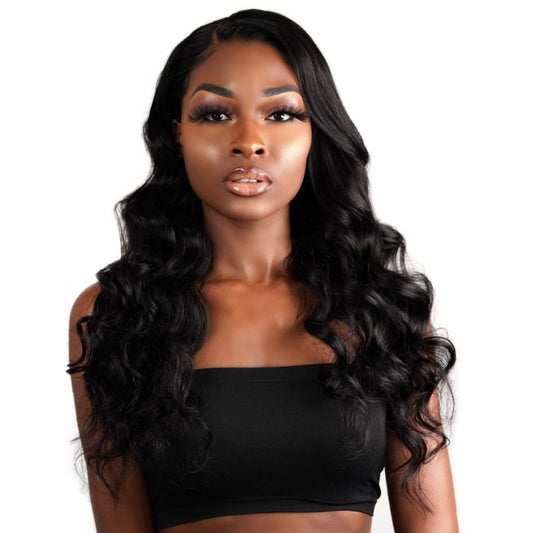
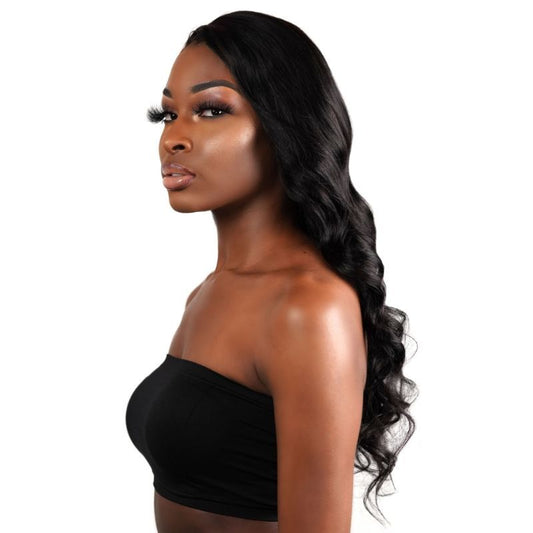
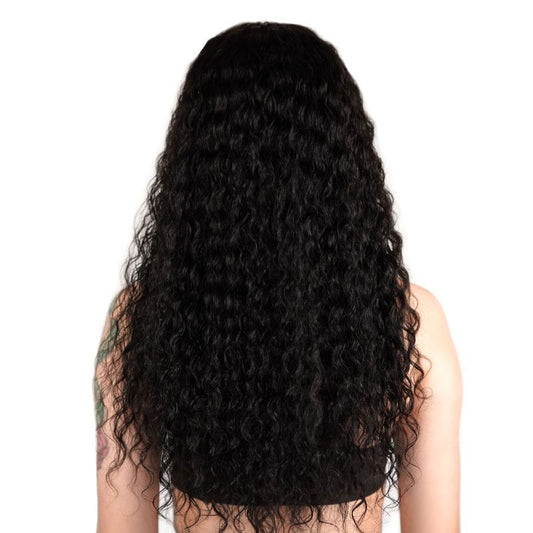
On the other hand, those with looser body waves should select a Body Wave U-Part Wig. It would help if you also tried to match the color, too.
This isn’t always possible, which is OK. Private Label U-Part wigs are made with 100% human hair, so you can change the shade if necessary.
Still, it’s best to start as close of a match as possible - it’ll make your life much easier, girlfriend.
Prepare Your Natural Hair
Now that you have the right wig in your arsenal, it’s time to start working on those natural tresses, babe! Prepare your hair as desired. You want to start with a clean slate.
That said, most women (myself included) choose to wash, condition, and dry their hair before even considering putting on a U-Part wig and blending.
Ensure you run a comb through your hair and get rid of any knots or tangles. These can wreak havoc later on!
Section Your Natural Hair
Now that your hair is washed, dried, and combed, it’s time to start sectioning! The best way is to place the U-Part wig on your head to see where to section your locks.
Unlike other kinds of human hair wigs, you must leave some natural hair out. The wig will wrap around these hairs in a “U” shape. Ensure there’s enough hair to blend correctly but not so much so that laying the U-Part wig down is hard.
Leave some natural hair loose around the face to create your edges.

Braid/Twist Your Natural Tresses
Have you ever seen someone wearing a wig, but there were so many bumps that you could tell they were wearing a unit?
Yeah, let’s go ahead and avoid that at all costs, OK? Those noticeable bumps are caused by hairs that aren’t lying down flat. The best way to avoid this is to braid or twist your natural tresses.
Do your absolute best to ensure that all of your hair is lying down as flat as possible, creating an ultra-flat base for your U-Part wig to sit on top of.
If you’re unable to braid/twist your hair, or you don’t want to, you can always wear a wig cap instead.
Just make sure you purchase a cap designed explicitly for U-Part wigs. Don’t braid or twist the “loose” hair you sectioned! This hair is needed to hide the tracks of the U-Part wig and create a natural aesthetic!
Secure the U-Part Wig
Are you satisfied with your braids/twists? Then, it’s time to start putting together your hairstyle!
Go ahead and grab that gorgeous Private Label U-Part wig, gal pal. Use the attached combs and clips to secure it on your head to the braids/twists.
Make any adjustments to your U-Part wig as needed. It should fit securely but comfortably.

Blend Your Natural Locks With Your U-Part Wig (Most Important Part!)
Step number six is to blend your natural hair with your U-Part wig. This is, without a doubt, the most crucial step, as it conceals the wig and makes your hair look 100% natural.
The goal is to match your natural hair and your wig’s hair.
You can accomplish this in two different ways:
- Change your natural tresses to match your wig’s texture.
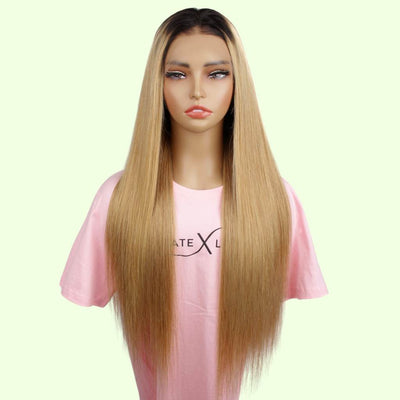
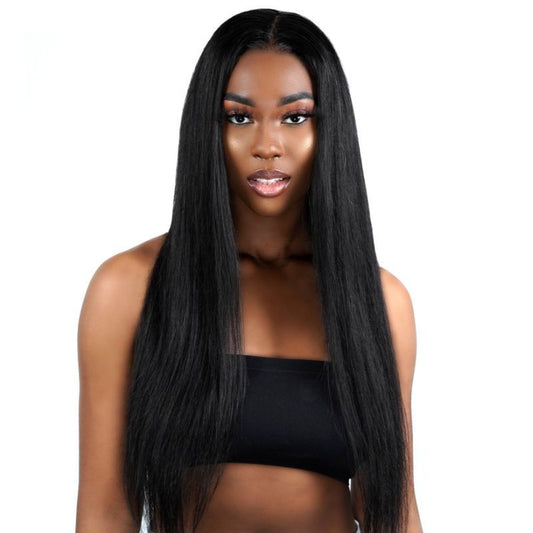
For instance, if you’re wearing a Brazilian Straight U-Part Wig and your natural hair texture is wavy or curly, you’ll need to straighten your natural hair to match.
- You can also change the texture of your wig and natural hair to match. This is best if you’re looking to achieve a certain aesthetic.
For example, if your wig and your natural locks are curly but you want to go straight for the day, apply a hair straightener to both hairs and enjoy a beautiful look.
Pro Tip: Many women wrap their natural hair around their wig hairs to help blend them further. It works like an absolute charm!
Work on Those Edges (Optional)
The next step is to work on those edges, girl! Not every woman has edges or wants to style them, and that’s perfectly fine.
This isn’t essential to making your U-Part wig look “real,” but it will certainly lend a helping hand! If you typically style your edges, now’s the time to do it.
Grab your favorite edge styling products and finish off your aesthetic.
Style and Enjoy!
That’s it, girl! Now you can walk around confidently, knowing your U-Part wig looks flawless, babe.
Of course, you can style your locks if you’d like.
For example, you can toss your hair into a cute half-up half-down style, design gorgeous braids, or add ringlets. The possibilities are endless, honey!

FAQs
What to do with natural hair under a wig?
The best thing you can do with your natural hair that will be left underneath a wig is to wash, dry, and moisturize it!
Apply extra moisture to ensure your hair remains nice and hydrated while wearing a wig. Then, put it into a protective hairstyle, like braids or twists.
What is the purpose of a U-Part wig?
The purpose of a U-Part wig is to blend your natural hair with the wig, allowing for a more “natural” appearance - especially when it comes to the hairline.
Because the hair comes directly from your scalp, it looks more “real” than “fake scalps” on other types of wigs.
How do you hide a lot of hair under a wig?
The best way to hide a lot of hair under a wig is to secure it with braids or twists.
Wig caps are also highly beneficial, but remember that you’ll need to purchase specialty “U-Part wig caps” designed for U-Part wigs.
Regular wig caps won’t work with this type of hairpiece.

It’s Time to Enjoy a Natural Aesthetic with a U-Part Wig!
U-Part wigs are great for those wanting a more natural appearance but won’t look “real” without proper blending.
Thankfully, it’s as easy as starting with a high-end Private Label U-Part wig that closely matches your natural hair, styling your natural tresses to match your wig’s hair, and controlling your edges.
That’s it!
Check all U-Part wigs questions if you are a curious cat!
1 comment
This guide on blending natural hair with a U-Part wig is incredibly helpful! I’ve always been curious about how to achieve that seamless look, and these step-by-step instructions make it seem totally doable. Excited to try it out!