


1260 Memorial Drive
Atlanta, Georgia 30316
404-458-1330
Step-by-Step Boho Braids: Video and Pictorial Guides
Mikey MoranBoho braids have an undeniable allure that adds a free-spirited and elegant vibe to any look.
You can wear them to any occasion — whether a casual outing or a more formal event, you’ll never look out of place. Their versatility and effortless charm make Bohemian Braids a favorite for those who want a hairstyle that’s both stylish and easy to manage.
If you want to try this style, this comprehensive guide will walk you through two install methods: traditional and knotless. These step-by-step tutorials, complete with video and pictorial guides, will make it easy to achieve perfect boho braids from the comfort of your home.
We’ll also provide helpful tips and techniques to ensure your boho braids always look their best. Whether you’re a beginner or an experienced braider, you’ll find valuable insights and tricks to master the art of boho braids. We've covered everything you need to know, from prepping your hair to maintaining the style.
Ready to learn about boho braids from the pros at Private Label and create stunning styles that turn heads?
Let’s get started with our detailed guides and transform your hair into a work of art with beautiful boho braids.

Preparing Your Hair and Supplies
Before you begin using either method, preparing your hair extensions and gathering the necessary supplies are essential.
Here’s what you’ll need:
- Freshly washed and stretched hair
- Hair dryer and rat tail comb
- Three-way mirror
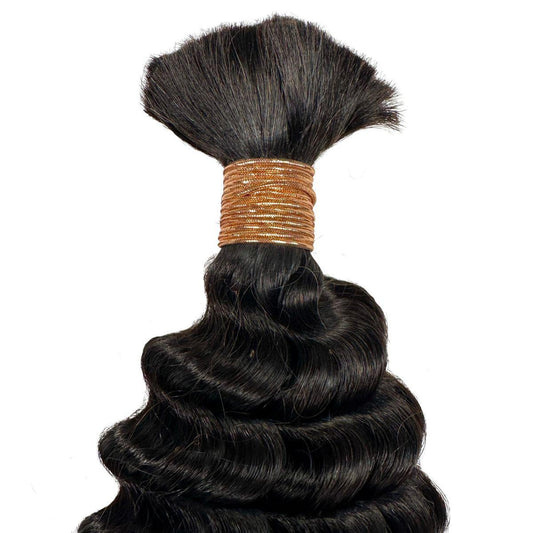
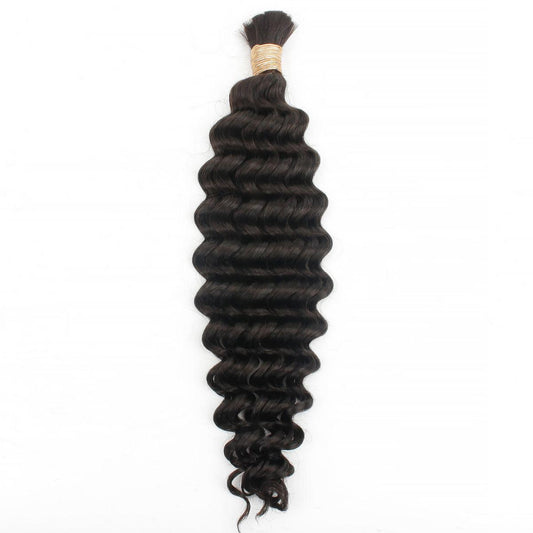
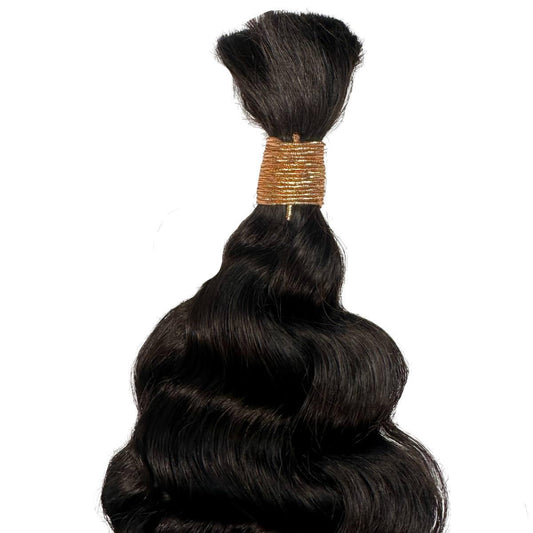
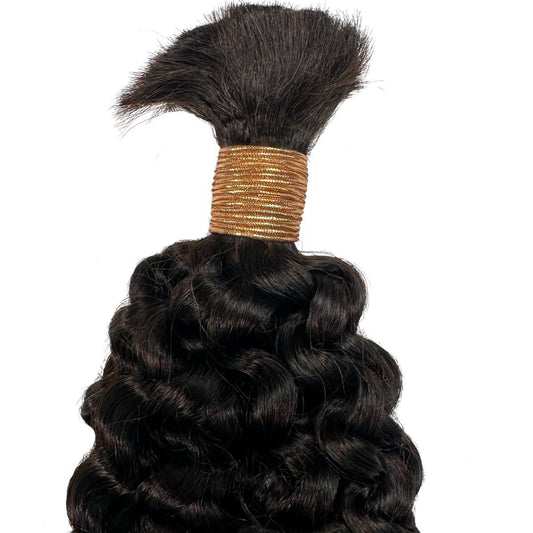
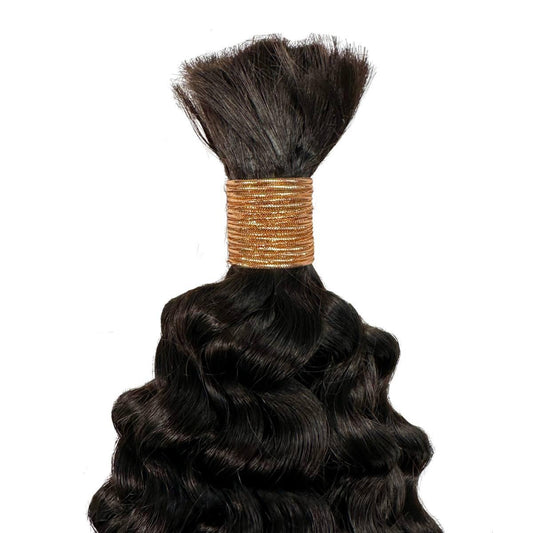
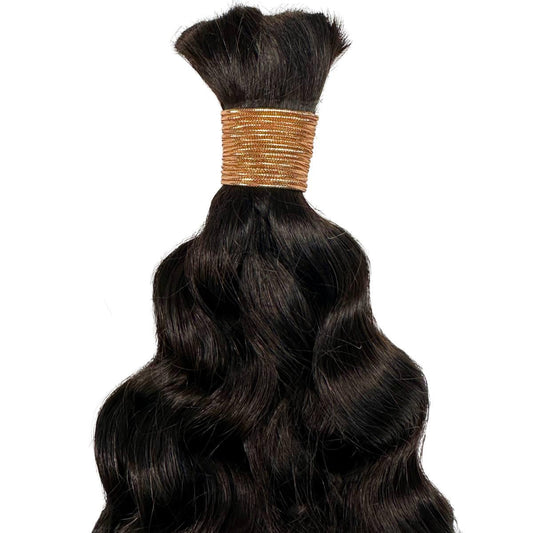
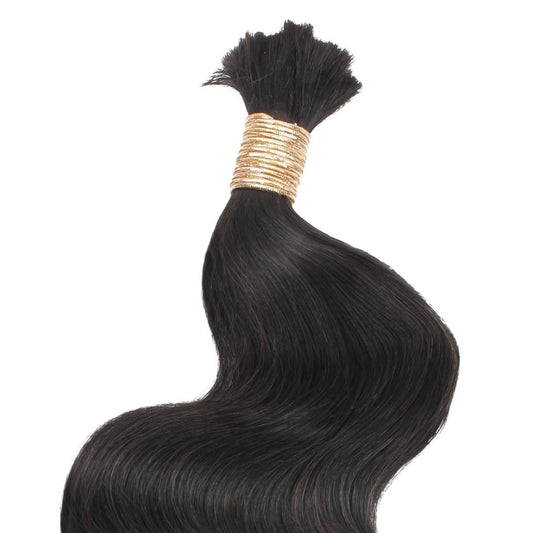
- Two packs of Deep Wave Boho Braids
- Three to four bundles of water-wave human hair
- Conditioning gel
- Edge Brush
- Hair clips or pins
- Hair mousse
- Hair oil
To prepare your hair, start by washing it thoroughly. Then, use a hair dryer and rat-tail comb to stretch and detangle your hair. This step is crucial, as it makes the braiding process much easier.

Method #1: Traditional Goddess Boho Braids
This method typically takes about 8-12 hours to complete if you’re doing it yourself.
Here’s a step-by-step guide:
- Divide your hair into three equal parts: two in the front and one in the back. For a professional look, make sure there is a straight line down the middle.
- Start braiding from the back, working your way up. Please remove a row of hair from the back parting and section it into smaller parts for individual braids.
- Apply conditioning gel to each section to help the braiding hair adhere better.
- Start plaiting the braiding hair onto your natural hair. The key to boho braids is incorporating deep wave human hair throughout the braid.
Here’s the process:
- Plait in a piece of braiding hair.
- Add a strand of wavy human hair behind the braid, matching the shorter end with the middle and the longer end with the right strand.
- Braid it as usual, then pull out the long, curly hair before continuing the braid.
- Repeat this process, adding 4-5 pieces of Kinky Curly Human Hair to each braid.
- When you reach the end of the braid, secure it by knotting a bit of human hair around it three times.
- Continue this process, creating clean, straight lines with equal hair in each section. Aim for about nine rows: three behind the ear and six from the ears up.
- Once all braids are complete, oil your scalp and apply mousse throughout the braids and curls. For a softer look, use a steamer to loosen the braids slightly.

Method #2: Knotless Boho Braids
Knotless is a boho braids technique that offers a more natural look while reducing tension on the scalp.
Here’s how to get them right:
- Using a rat tail comb, start by parting your hair into four main sections.
- Begin at the nape of the neck to create your first row, splitting it into three sections.
- For the second row, use the center braid from the first row as a guide to split it in half, resulting in four sections.
- Continue this pattern, creating a “brick lay” effect where the parts in each row are offset from the row below.
- After completing the back section, move to the sides, creating five rows on each side and using your temple as a reference point for the first row.
- When you’re ready to start braiding, separate each section of hair into three equal parts.
From here, you can start braiding using the knotless technique:
- Use your right hand’s pointer finger to grab the piece furthest left.
- With your left hand, go underneath and grab the piece furthest right.
- Take a strand of braiding hair and wrap half of it around your pinkie.
- Place this on top of the braid under your pointer finger and thumb.
- Do a braiding movement, then place the piece between your pointer finger and thumb.
- Repeat this process, gradually feeding in more braiding hair.
- Add curly or wavy human hair just as you would braiding hair, but leave the curly piece out of the braid as you continue down.
- Secure each piece of human hair with a few braiding movements before adding the next one.
- Once you’ve finished braiding, apply hair mousse for a polished look.

Tips and Techniques for Perfect Boho Braids
Here are some tips to help you achieve the beautiful boho look you desire and maintain your boho braids:
Preparation and Tools
Before braiding, put some hair gel on your hair pieces and comb them out. This stops them from getting tangled.
When installing boho braids, always use a giant mirror that shows all sides of your head, including the back.
Braiding Techniques
To achieve that soft and natural fall to your braids, use a slippery hair product like gel as you’re braiding. This technique is beneficial for jumbo braids.
You’d also do well to implement the brick-laying technique by offsetting each row of braids, which creates a more natural and complete look. Be careful not to braid too tightly, especially around the edges.
Self-Care and Maintenance
Installing boho braids can be time-consuming, so make sure to take lots of breaks while you’re braiding. Once you’re done, always wrap your hair in a soft, satin scarf or a silk bonnet at night to keep your braids neat.
Your maintenance routine should also include regularly applying a light oil to your scalp and refreshing the curls with a leave-in conditioner spray.
Remember, it’s okay if your first try isn’t perfect. You’ll get better each time you do it. So keep practicing, and soon, you’ll be great at making boho braids.

Mastering Boho Braids
Installing boho braids can be challenging and time-consuming, but the result is a stunning, versatile hairstyle that can last for weeks.
Whether you choose the traditional or knotless technique, the key is to take your time, be patient, and enjoy the process.