1260 Memorial Drive
Atlanta, Georgia 30316
404-458-1330
Braid Out Perfection: How to Get the Perfect Braid Out!
Mikey MoranWhenever I decide to wear my natural hair, I always want to wear a braid.
Lately, the natural hair industry has been booming.
Many hair care companies are creating products meant to cater to natural hair.
Every time I watch a tutorial, I see these stunning women achieve these fantastic braidouts.
However, despite following every step, my hair would never come out looking like that. I was so frustrated! 😡
At the time, I didn’t know that different factors would affect the outcome of a braid out. My hair was lacking the moisture needed for my braid to thrive.
Also, because of the texture of my hair, I had to be mindful of the product I used while creating my braid.
Some steps are essential to the result of a braid out, and you want to make sure you don’t miss out on them.
Make sure that you know that braid-outs are not the same as twist-outs. Although the process for a twist-out is slightly similar, it won’t give you the same result.
If you want to get the best braid out, you’ll need to know how to braid your hair. Let’s get into these fantastic tips!

My Favorite Braid Out Tips!
After years of trial and error, I feel as though I have finally gotten my braid out down-packed.
There are some tips, tools, and products you’ll need to achieve the perfect braid out.
Everyone does it differently, depending on the texture and handling of their hair. One size won’t fit all, and that’s okay!
For me, I like to do things a certain way. I follow these simple steps. I’ll discuss each one more in-depth.
First, I like to prep my hair. Usually, I’m doing a braid out right after I finish washing my hair. I’ll prep it by putting essential oils and hair lotions in it to increase the moisture.
We’ll discuss the best products to use as well. After prepping your hair, you’ll begin braiding.
The braiding technique that you use will be essential to your outcome. If you don’t know how to braid, this may not be the style for you unless you have a friend who is willing to help.
After braiding down your hair, you can either let it air dry or dry it with a hairdryer. There are specific techniques to use.
After doing all of this, you should give your hair some time before unraveling it. Let’s get into the importance of all this information!

Prep Your Hair
After washing my hair, I prep my hair to be braided out.
You don’t have to wash your hair before doing a braid, but it helps.
For me, I like to condition my hair, rinse it out, and then braid it down while it’s still wet. Before braiding it down, I want to use my favorite leave-in conditioner from Carol’s Daughter to moisturize my hair.
The perfect braid out won’t happen without moisturized hair, and it’s important to know that! After putting in my conditioner, I go ahead and start braiding down my hair.
After braiding it down, I apply essential oils to the perimeter of my hair and in between each braid.
This allows my hair to intake all the necessary moisture. Also, essential oils are a great way to keep the ends of your hair from getting frizzy and matted.
Just don’t smother your hair in oils, and you should be fine.

Braid Down Your Hair
This is the easy part. You can braid down your hair however you like, but I usually want to braid them down the sides of my hair.
Instead of braiding vertically, I braid down horizontally. This helps elongate your braid out.
When you unravel it, it will be bigger and full of volume. If you’re not sure how to use this technique, you can always head to YouTube.
You’ll be able to watch the technique step by step. It’s a little bit difficult the first time around, but the more you try, the easier it will be.
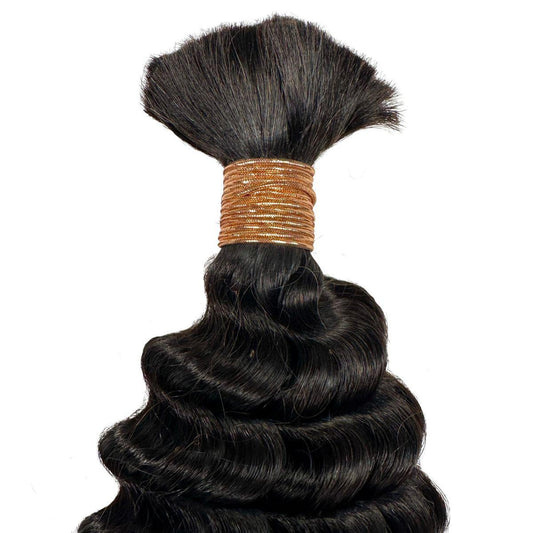
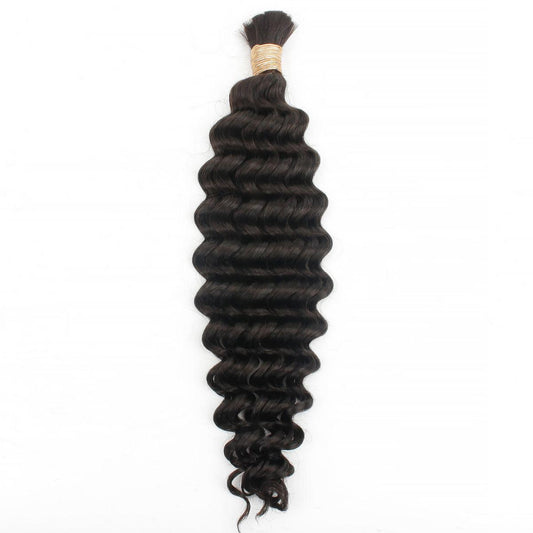
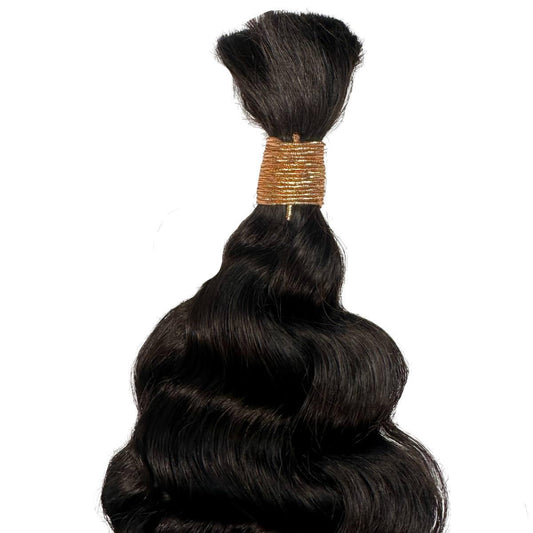
Also check our Deep Wave Boho Braids if you want to explore a new look!
Honor the Drying Process!
The drying process will determine the bounce of your hair.
When I had an at-home air dryer, I was able to get the biggest and most luscious braid out.
Air drying your hair is an option as well, but if you have an air dryer, you should use it! If you can’t use an air dryer or don’t have access to one, you can air dry your hair.
Under no circumstance should you use a blow-dryer to dry your braid out. A blow dryer will only dry out your hair and remove all the moisture.
When air drying, make sure that you cover your hair. Since my hair is so thick, it takes me about a full day for my hair to dry. Your drying time will depend on the thickness of your hair.
Unravel for a Surprise!
The best part is the unraveling of your hair.
After allowing your hair to dry and soak in all the moisture your hair needs, you should find yourself with luscious curls.
Your braid out should look phenomenal as long as you moisturize and take care of your hair.
As you unravel your hair, you’ll want to spread it out with your hands.
After spreading out each section with your hands, you can use a wide-toothed comb to make your hair even more voluminous.
Don’t be afraid to tease it a little. If you’re suffering from frizz, you can use a little oil to get them in check.
And sometimes I'm too busy, so I grab my Pre-Braided Wig then go out!

Remember This Tips for the Perfect Braid Out
The braid-out process is different for everyone. If your hair is thicker, you may need to use more product.
If your hair is thinner, you’ll want to use less product.
Don’t be afraid to ask a friend or ask a hairstylist what the best route is.
You don’t have to follow this regimen, but you should find a braid-out method that works for you.
Don’t be afraid to let us know which way works best and why! We always love to hear feedback! 👂🏿

