
1260 Memorial Drive
Atlanta, Georgia 30316
404-458-1330
10 Super Cute Hairstyles for the Everyday Supermom
Mikey MoranI'm a mom, and yes, I am always running late!
Is it just me, or do most moms feel that there aren't enough hours in the day to get everything done?
Even worse than that, when we try to get a little time to ourselves, we end up going to a school meeting, dropping off a child to practice, or helping finish a project of some sort.
I promise motherhood can seem like a thankless job at times, but I know we all wouldn't trade it for anything, right? 🥰
Although my children are a bit older, I still struggle with finding time for myself.

"Me time", as it is affectionately known, is rare and precious. Since I am growing my hair out from my big chop, it does take me more time to get ready.
I find it important to schedule time for my hair maintenance and my "me time." In this article, I am going to share with you my top ten favorite hairstyles for moms on the go.
These styles are simple for anyone to accomplish and will prevent those bad hair days.
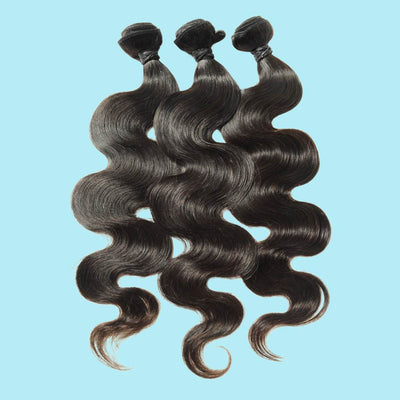
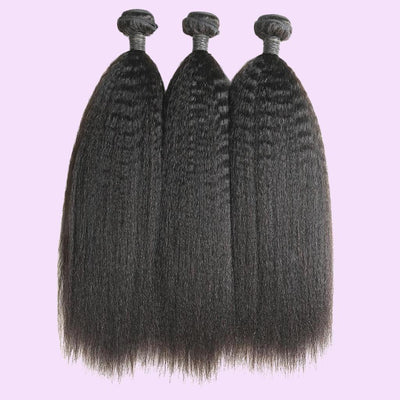
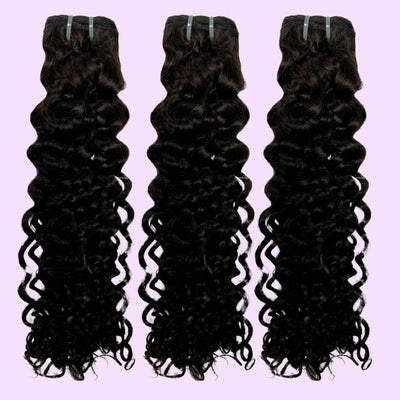
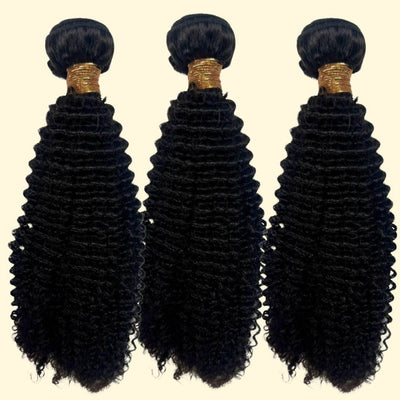
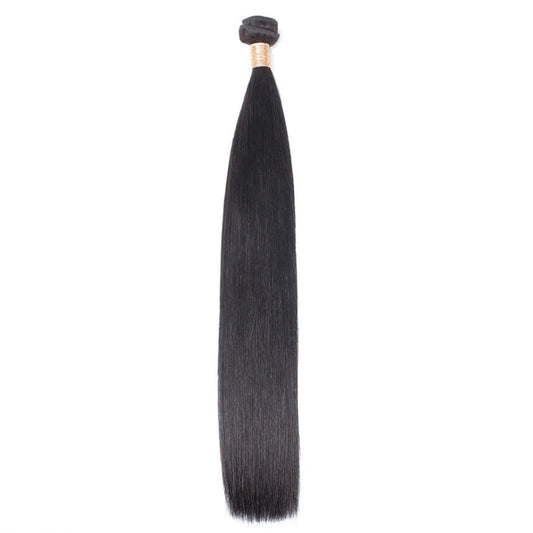
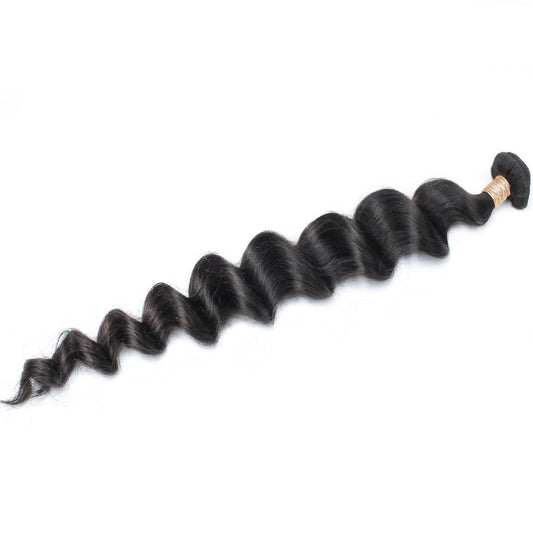
So, you know what time it is! Press play on our Wale playlist and grab your human hair bundles, and let's get started.

Emergency Kit
I recommend every woman have an emergency kit for their hair.
It may seem a little bougie, but I hate getting caught without an elastic or edge control. I feel like I am looking really crazy!
To keep your hair looking tremendous or get it back into shape after an hour in the gym, pack the following in a zippered makeup bag:
- Travel-sized gel
- Mini edge control
- Small brush
- Rattail comb or small comb
- Three elastics hairbands
The following hairstyles are easy to create and will ensure you never have a bad hair day.
Choose any hairstyle to get cute. You won't even worry as much about running late when you start getting tons of compliments.

#1 Ponytail
The first hairstyle I love is one that is super easy but so underrated.
The ponytail is quick to create but can be switched up to make it more modern and still look effortless.
It's a great hairstyle when you don't have a lot of time to get ready but want to look put together.
To make sure you style your ponytail correctly, I am going to break down the styling options based on your hair type.
So, let's get to styling! You can add in clip-in extensions to add volume and length if desired. Fine hair or thin hair can look cute in a ponytail!
I'm going to share with you tips on how to make them look sleek and fuller!
Supplies for the Hairstyle
- Fine-toothed comb
- Spray bottle with water
- Elastic Bristle brush
- Spray gel
- Clip-in Extensions
To put your fine hair in a ponytail, follow these simple instructions:
Step #1
Shampoo and condition your hair.
Step #2
Blow-dry or air-dry your hair (make sure you use a heat protectant).
Step #3
Wet the hair around the perimeter to help smooth the hair.
Step #4
Use your brush to brush out the hair around the edge of the hairline.
Step #5
Use an ouchless elastic to gather all the hair into a high ponytail to give the illusion of more fullness.
Here are some great hacks to try to take your ponytail to the next level if you have thin/fine hair:
- Add eyeshadow around your hairline that matches your roots and shade in the areas that look thin Use your curling wand to add waves to your hair.
- Using a wand adds volume to the hairstyle.
- Switch up the side of the part. It gives the appearance of more fullness because of the switch-up.

Check Out Some Style Options Below:
If your hair is relaxed, your technique will be slightly different.
Supplies for the Hairstyle
- Organix argan oil
- Edge control
- Boar's hairbrush
- Wide-toothed combs
Here's how to style a sleek and smooth ponytail:
Step #1
Apply a quarter-sized amount of argan oil to your scalp.
Step #2
Comb through the hair to remove tangles and distribute oil.
Step #3
Apply some eco-style gel.
Step #4
Use edge control to smooth your edges.
Step #5
Brush hair with a boar's hair.
Step #6
Brush the edges smooth to spread the product evenly.
Your hair is good to go! Keep those stray hairs down with a few bobby pins, or apply a small amount of hair gel.

Check Out Some Style Options Below:
Natural hair is not hard to get smooth.
It takes some preparation, but I must admit, I love the look of natural hair styled into ponytails.
Supplies for the Hairstyle
- Organix coconut shampoo and conditioner
- Leave-in conditioner
- Wide-toothed comb
- Hair clips
- Spray bottle with water
- Elastic Boar's brush
- Eco-style gel
- Scarf
- Clip-ins
- Faux ponytail
If your hair is natural, here's how to get your ponytail smooth and sleek:
Step #1
Shampoo your hair.
Step #2
Apply a leave-in conditioner.
Step #3
Part hair into four sections.
Step #4
Detangle hair with a wide-toothed comb.
Step #5
Spray hair with water to make it easier to style.
Step #6
Brush through each section and clip up.
Step #7
Remove clips and create a part (if desired) for your ponytail.
Step #8
Brush your hair smooth around the parted area or your hairline.
Step #9
Use eco-style gel to help you get the final smooth look by applying it to the hairline and crown of your hair.
Step #10
Brush your hair smooth until it looks how you want it to look.
Step #11
Use a fabric-covered elastic to secure the ponytail.
Step #12
Tie down the hair with a scarf (I like to leave mine on overnight but leave it on for at least an hour).
Step #13
Remove your scarf and use your edge control to smooth down your edges.
Step #14
Remove your elastic band and tighten up your ponytail.
Step #15
Spray a little bit of water on the ends to revive your natural curls.
Note: You can also add a faux ponytail like our Natural Black Ponytail or clip-ins if you want a fuller or longer ponytail I suggest you style it the night before to make sure it stays sleek.

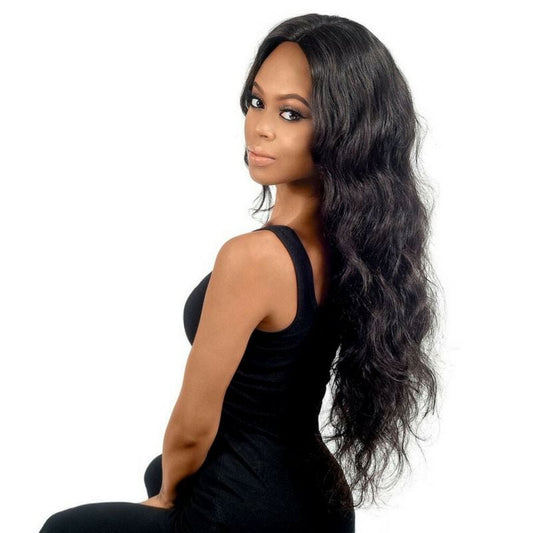
#2 Wigs and Sew-ins
Wigs are one of the easiest ways to look cute and give yourself a polished look with little effort and time.
Check out my latest articles on how to make your wig and how to install a sew-in.

#3 Crochet Hairstyle
I am in love with the variety of crochet styles offered!
I'm not able to get them right now because of my big chop, but I do love the "no styling necessary" ease of the various crochet styles.
I have to add that if you have short hair, you can use braid hair to create your foundation braids.
I choose not to because my scalp tends to itch a lot. If you want to install crochet braids, here's a fantastic step-by-step to help you stay cute on any given Monday!
Supplies for the Hairstyle
- Rattail comb
- Three packs of crochet hair
- Nylon thread
- Crochet needle
- Edge control
- Scissors
- Hair clips
Let's get started by braiding your foundation braids. The braid pattern is pretty simple.
Step #1
Establish where you want your part to be.
Step #2
Braid your two initial braids straight back from the hairline to mid-crown to establish your part.
Step #3
Braid your hair on each side of your first two braids, going down towards the ears and the nape of your head.
Step #4
Start your braids from the front towards the back of your head.
Step #5
Braid the tail of each completed braid into the new braid right next to it.
Step #6
Take the ends of your first two braids and braid them into one of the braids at the back of your head.
Step #7
You will have one tail end of a braid left.
Step #8
Place the tail end of the braid up and between two braids.
Step #9
Thread your needle with your nylon thread and knot it.
Step #10
Trim the extra thread left below your knot.
Step #11
Take your needle through a portion of your braid and underneath the braid next to it.
Step #12
Grab the thread, wrap it twice the needle, and pull it through.
Step #13
Complete the task above about three times.
Step #14
Cut the thread right above the knot.
Step #15
Oil your scalp before applying the crochet braids
Okay! Now you can get to installing your hair. To install your crochet hair, follow these steps:
Step #1
Insert your open crochet needle under your braid and through to the other side.
Step #2
Open the latch and hook your braid loop into the latch.
Step #3
Close the latch and pull the needle through the braid.
Step #4
Loop the tail end of the braid through the loop and tighten.
Step #5
Complete the installation by repeating the process.
Make sure your hair is only about a finger width apart to give you a natural look once you get to the top of your head.

#4 Wash and Go Hairstyle
The wash-and-go hairstyle is so amazing and provides a showcase for your amazing curls!
Grab up your supplies!
Supplies for the Hairstyle
- Organix coconut shampoo and conditioner
- Hair clips
- Wide-toothed comb
- Denman brush
- Eco-style gel
- Spray bottle filled with water
Let's get started! You can thank me later.
Step #1
Shampoo hair and condition.
Step #2
Section hair into four sections.
Step #3
Clip up each part.
Step #4
Detangle hair as needed.
Step #5
Apply your favorite leave-in conditioner.
Step #6
Begin at the back section first.
Step #7
Apply eco-style gel to your roots and smooth the roots.
Step #8
Use your Denman brush to smooth the gel throughout the rest of the hair.
Step #9
Use gel and finger it through the hair to help create the curls.
Step #10
Use your spray bottle to add water to your hair as needed.
Step #11
Repeat the same process in front of the hair as well.

#5 Half-Up/Half-Down
The half-up/half-down hairstyle is cute on your hair or a wig.
Getting this look is super easy by following step-by-step tips on how to create it with clip-ins and how to create the look on a wig.
This hairstyle can look cute on any length of hair, but I think it looks best on hair that is at least chin-length or longer.
Supplies for the Hairstyle
- Wide-toothed comb
- Elastics
Here are tips on how to create this quick and easy look:
Tip #1
Use your fingers or a comb to part your hair from temple to temple.
Tip #2
The crown of your hair will be separate from the sides and back of your hair.
Tip #3
Use an elastic to hold the crown portion of your hair together.
Tip #4
Loosen the ponytail a little to allow it to look a bit less structured.
Personal note: I like to leave some hair loose in the front to give the hairstyle a loose and slightly messy look.
Here are two other styling options for this easy mom updos:
Option #1
Braid the crown portion of your hair and secure the end with an elastic.
Option #2
- Create a center part and braid or twist a section of your hair on each side of the part.
- Secure each section at the base with an elastic, and allow the hair to hang.

#6 Bun
A bun just gives me Audrey Hepburn vibes!
To complete my look, I just want to grab my cutest ballerina flats, a cute pair of skinny jeans, a button-down top, and a stylish handbag.
A bun just never goes out of style, and there's always a new twist on this classic look.
Topknot Bun
Here's a nice twist on the bun.
The topknot bun is a bit structured and shaped. I love the unique shape of it and how neat it looks.
Supplies for the Hairstyle
- Brush
- Elastic
- Edge control
- Hair moisturizer
- Bobby pins
- Scarf
Are you ready to slay this look? Let's get started!
Step #1
Pull your hair up and secure it with an elastic.
Step #2
Use your Private Label Edge Control to smooth your edges and get them how you like them.
Step #3
Take your hair down and apply a moisturizer or oil throughout the hair.
Step #4
Pull your hair up onto the crown area and secure the hair with an elastic.
Step #5
Split hair into two sections.
Step #6
Take one side and twist it to the back of the ponytail (it should look like one side of a bow).
Step #7
Secure this side with a bobby pin at the base.
Step #8
Take the other side and bring it in the front of the ponytail.
Step #9
Wrap it around the base, and it will overlap the first half.
Step #10
Secure the hair at the base and at the other side to keep it in place.
Step #11
Continue to wrap your loose hair around and secure it in place.
Step #12
You can use bobby pins to tame any strands that won't lay down.
Step #13
Use your edge control to smooth out the nape area as well.
 Messy Bun
I must admit I never get my messy buns right.
This step-by-step how-to is going to help me as much as you!
Supplies for the Hairstyle
- Brush
- Elastics
- Eco-style gel or gel of your choice
So, let's get into it!
Step #1
Brush your hair into a high ponytail.
Step #2
Wrap your elastic around your ponytail once.
Step #3
Grab the elastic, twist it once, and then pull half of your hair through the elastic.
Step #4
Pull the hair out around the elastic to resemble a doughnut.
Step #5
Take the rest of your hair and pull it to the front.
Step #6
Take the elastic and pull it away from the ponytail.
Step #7
Flip the rest of your hair over the elastic and tuck it in.
Step #8
Use your eco-style gel or any other gel to tame your flyaways.
Which bun is your favorite? Comment below and let me know.

#7 Small Feed-In Braids or Lemonade Braids
Okay, I just blame Beyonce' for this style staple.
I don't see the "Lemonade Braids" going out of style ever!
Nicki Minaj and countless other celebrities are slaying this look.
Although the time it takes to braid the style is a little bit longer, it is well worth it for those busy mornings when you're in a rush.
Alright, ladies, let's get started!
Step #1
Braid your hair into two-strand twists the day prior to stretch the hair out to make it easier to braid.
Step #2
Section the hair into sections. The first section will be from ear to ear. Secure with an elastic.
Step #3
Section the hair from temple to temple and secure it with an elastic.
Step #4
Leave the top section out.
Step #5
Create your first part on the back. Make sure the part is neat.
You can create the unique shape of the lemonade braids by creating neat parts.
Step #6
Use your eco-style gel to smooth the roots to make sure the roots and braids look neat.
Step #7
Begin braiding your hair similar to a single braid.
Step #8
As you get to the end of the braid, grab your braiding hair.
Grab about ½ inch thickness of braiding hair, bend it in half and with both hands, with your index finger and thumb, and begin braiding the hair
Step #9
Add a ½ inch thickness of braiding hair to the section of the braid that starts to curve and finish braiding the braid.
Step #10
Continue braiding in the same direction in the back.
Step #11
In the second section of the hair, keep the braids going in the same direction as the back.
Step #12
Add the braiding hair in when you get to the tip of the ear.
Step #13
In the front, braid small and use the braided hair to help get the braids long as the others.
Step #14
Braid the front so the braids fall to the front of your face.
Step #15
Dip the ends of the braids in some hot water.

#8 Flat Iron Style
The key to a great flat iron style is a great cut.
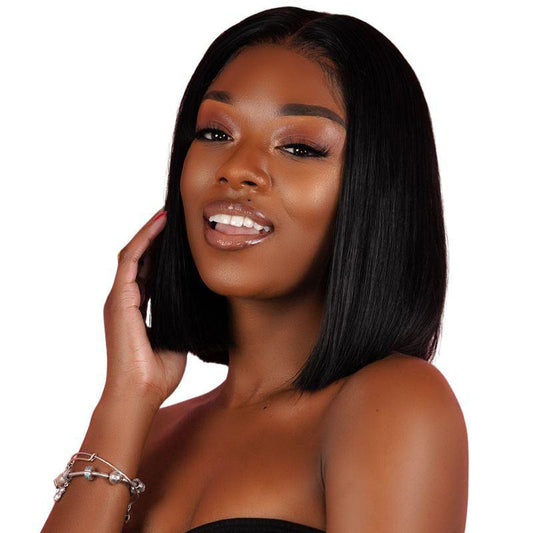
I love a sleek bob or a smooth pixie cut.
Once you style your hair correctly, you can wrap it at night and just comb it out the next morning and be out the door.
Supplies for the Hairstyle
- Organix coconut shampoo and conditioner
- Heat protectant
- Hair clips
- Flat iron
- Brush
Follow these tips to make sure your hair looks flawless after styling:
Step #1
Shampoo and condition your hair.
Step #2
Use a heat protectant on your hair.
Step #3
Separate your hair into four sections.
Step #4
Use your flat iron at 350-400 degrees.
Step #5
Flat iron the hair starting at the roots.
Step #6
Only complete two passes over your hair.
Step #7
Flat iron your hair, bending the end to give it a bit more body.
Step #8
In the front, curl your hair toward the back.
Step #9
Use your fingers and a brush to put your curls in place.
Note: To maintain this hairstyle, wrap the hair at night and use your scarf to protect your hair.

#9 Roller Set Style
Are you in love with a bouncy and full hairstyle like I am?
This was definitely one of my go-to hairstyles when I wore my hair relaxed.
Supplies for the Hairstyle
- Organix shampoo and conditioner
- Leave-in conditioner
- Plastic rollers
- Duckbill clips
- Bobby pins
- Hooded dryer
- Brush
- Scarf
- Edge control
Let me share my technique with you!
Step #1
Shampoo and condition your hair.
Step #2
Apply a leave-in conditioner.
Step #3
Part hair as you will wear it.
Step #4
Apply rollers to the top and crown rolling toward the back.
Step #5
Secure with a clip or bobby pin.
Step #6
Apply rollers to the temples rolling toward the back.
Step #7
Secure with a clip or bobby pin.
Step #8
Apply rollers to the sides and back by rolling the hair down.
Step #9
Sit under a dryer for about an hour.
Step #10
Once the hair is dry, remove the rollers.
Step #11
Brush out your curls to get the fullness you are looking for.
Note: To maintain this hairstyle, wrap the hair at night and use your scarf to protect your hair.
The next morning, remove the scarf, touch up your edges, and style as desired.

#10 Goddess Crown Braid
The crown braid is such a regal hairstyle to me!
It adds the perfect look to any look, whether it's a simple look or a black-tie event.
Supplies for the Hairstyle
- Eco-style gel
- Hair moisturizer
Step #1
Apply moisturizer to your hair and pay particular attention to your hairline and nape area.
Step #2
Brush the moisturizer with your hair to get it smooth.
Step #3
Secure the hair into a low ponytail.
Step #4
Braid the ponytail, wrap it around the base, and pin it in place.
Step #5
Use your edge control and smooth your edges.
Step #6
Wrap your scarf around your hair to get a smooth look.
Step #7
Take both packs of your braid hair and braid into one jumbo braid.
Step #8
Wrap an elastic around the top opening of the braid to create a loop.
Step #9
Wrap the elastic around your ponytail.
Step #10
Cover the bun with your braided hair and pin it in place.
Step #11
Wrap the remainder of the braid around the perimeter of the head.
Step #12
Secure the tail of the braid in the back with bobby pins.

Be a Supermom and Super Cute at the Same Darn Time
I love each of the styles above and believe me; I will rock every single one.
All of them are easy everyday hairstyles for moms to rock.
Which style is your favorite one, and which one are you going to rock for Mother's Day? 🎁
Let us know, and make sure you follow us at @privatelabel!