1260 Memorial Drive
Atlanta, Georgia 30316
404-458-1330
5 Wedding Hair Looks You Can Achieve With Hair Extensions
Mikey MoranGirl, I'm excited for you and I haven't even met you!
Your boyfriend finally put a ring on it, and I know you're excited to be planning everything for your wedding.
No more thinking of subtle innuendos and rehearsing lines to Beyonce's "Put a Ring on it."
It's time for us to plan the perfect wedding hairstyle for you as you artist to Beyonce and PUT A RING ON IT! You’re extremely excited, and I bet anxious but don't worry because I've got you! Check out the styles below!
I guarantee one of them will be perfect for you!
Before you wear extensions, this would be a good time to start taking care of your natural hair.
I'm a fan of the Kaleidoscope Miracle Drops to get your hair right! Get your silk sleeping cap, silk pillowcase, and wrap your hair nightly.
To make sure your hair is ready for your wedding day to keep your hair healthy and trimmed.
Hair extensions are the right way to go because they provide you with the look you want on your wedding day while offering you the option to switch it up during your honeymoon.
Whether you want to wear your hair longer, fuller, or even rock new and updated color extensions can help you create it!
Besides this is your day girl!

What Look Is Best For Me?
If you're trying to figure out what style looks best with your face shape here are some tips to help you make the best decision.
If you've got a round face, you can play up your best assets with a Taraji P. Henson bob honey!
Get real sassy and add some highlights! OOOHHH!!!! They won't even recognize you and your groom is going to be left speechless.
For women who have a face that is more heart-shaped, you can channel Ciara to get style ideas.
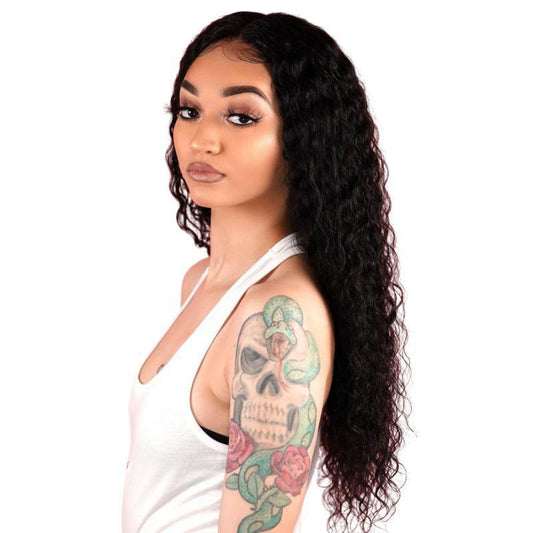
Your long locks will be the perfect foundation for gorgeous loose curls and waves. Ciara is an excellent example of how to rock your extensions to accentuate your beautiful face.
For those brides to be with a long, oval face, the bob is the way to go or even a longer look that hits right at the collarbone. Add some drama to your look by adding in layers.
SUPPLIES
- Bobby Pins
- Flat Iron
- Heat Protectant
- Eco-Style Gel
- Edge Control
- Hair Clips
- Clip In Extensions
- Argan Oil
- 5/8" - 1" Curling Iron
Now that I've got you prepped and ready to test out your hairstyle with the right supplies it's time for you to try them out to discover which one is going to look best with your dress.
HALF UP, HALF DOWN
To achieve the half up, half down hairstyle you can either sew, glue (if you want), or clip-ins.
Whichever you choose, I would suggest you get them custom colored to match your hair perfectly.
I love the look of highlights so adding them will add some sass and drama to your hairstyle. Okay, let's get started with the styling.
Layer your extensions beginning in the back of your head. Use a four clip extension for your initial part.
Part again and install another four clip extension. Use a three clip extension next and ensure you blend the tracks with your natural hair. Use your curling iron to add curls to the extensions you have installed.
After completing each curl use bobby pins to hold the curls in place. Pinning them helps them set before you get ready to style.
Remove the clip from the crown of your head. I'm about to tell you how to get your topknot popping! Use a rubber band to gather all your hair.
If your hair is long enough, you can create a cute, messy topknot by wrapping the end of your ponytail around the base of your ponytail.
If not, you can use your extensions. Just clip them to the base of the ponytail and then wrap the ends of your extensions around the base of your ponytail. Make sure to get those edges sleek!
Remove your bobby pins from your curls in the base, finger through gently, spray your completed style with hairspray.
You're ready to walk down that aisle and get your man!

UPDO WITH EXTENSIONS
Comb through hair to remove any tangles. Using a ⅝ inch or 1-inch curling wand curl your hair in sections.
I suggest securing your curls with a clip to help them set.
Once you have completed curling the back of your hair, style the midsection the same way.
When you get to the crown of your head curl your hair going away from your face to help you blend your extensions in better.
I let my curls set for a total of 10 minutes or so because my hair tends to have it’s own personality (lol) and can be resistant to hold curls.
I then remove the pins and prepare to install my extensions (yayyyy...this is where the fun comes in)!
If you want to add a dramatic or different look to your wedding day style, I suggest trying out some complementary color extensions. I love playing with color so it’s something I will try on my special day.
Clip-in extensions are the bomb for a quick look change without a long-term commitment, and on your honeymoon, you can remove them if you choose to.
I also like clip-ins because you can pre-style them and then install them to create a flawless look and no one will be able to tell you to have them in.

Instructions
Curl your extensions with the same curling iron (before installing them).
Once you have all your extensions curled, strategically clip them in where you want to add length, volume, and color. At this point, you're ready to create your elegant updo for your wedding day.
Run your fingers through the curls to loosen them and get them soft and flowy.
Take the front side of your hair with your fingers to keep the loose wavy shape of the curls.
The side you choose will be the side you will put less hair on. So, if you want a fuller flowy look on the right side, twist up the left side.
Gently twist the section of hair inward toward your scalp, bring the twisted section toward the back midsection of your head, and secure with a bobby pin.
If you were successful with the first section, the rest would be a breeze! Don’t get frustrated, it takes practice!
Take the section of hair that is right below the part you just pinned and gently twist it up to meet your first pinned section.
Pin it in place right at the end of your first section. It will start to look like one continuous twist.
Now, move to the opposite side of your head and take the front side and twist it back to meet your other two twists.
Pin it in place. Now, your remaining hair should be divided into two separate sections because your pinned twist has created like a ridge.
Take the unpinned hair hanging from above your twist and gently clip it up and out of the way.
Adding The Clip-Ins
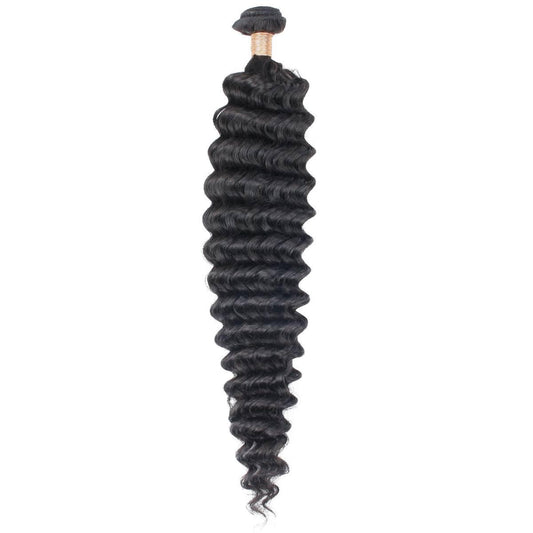
Grab your curly clip-in extensions and clip-in right above the twist. Clip them in to add the length and volume you desire.
You install your hair extensions side by side or one on top of the other. It’s entirely up to you!
Now you should have the front and sides pinned in the back. One bottom section (left or right) pinned up with the other two twists.
Your loose hanging hair should be clipped up above the twists, your extensions clipped in, then you have your pinned twists going across the back midsection of your hair, and you have the bottom portion below the twist hanging.
Finishing It Off With Hairspray
Are you okay so far?
Great, let's finish this look off! I recommend using a hairspray that makes your curls last the whole day or at least until your on your last dance of the day.
Pull the top section of hanging hair up and pin it right above your twists in the desired style.
Pull the bottom section of your natural hair and extensions up and off to the side of the twists.
Remember, this is the side you desire to have more volume so don’t pin the hair uptight.
Allow your eye to guide you and pin the hair up until you see it taking on the shape of your desired look.
The pinned sections should blend and not look like two separate sections on your head. Use your holding spray to tame it and keep all your stray strands in place.
Your style is complete! Congrats your special day! I know you’re going to be beautiful!
HIGH BUN
For Mid-Length Hair
Once you have your hair straight, part it in the back. Take your first clip-in extension (with four clips on it) and clip it in upwards instead of downwards. Remember you’re styling your hair in a high bun, not a low bun.
Don’t get concerned if it looks a little crazy because it will all come together flawlessly in the end. Continue placing your clip-ins.
I suggest you use one more 4-clip clip-in for the midsection, a two clip clip-in for the crown, and a one clip clip-in for the front. Just remember, clip them going upward.
Brush your hair up into the desired position of your bun. The cool thing about the clip-ins is that you can position your ponytail lower or off to the side.
So you get a lot of versatility. I like mine to sit up high on top of my head. Use a rubber band to gather all your hair into a ponytail. Pull your ponytail partially through the twisties.
Completing Your Bun
At this point, you should have a slight roll at the top of your head and the remaining portion of the ponytail sticking out from under the rubber band.
To tame the roll (bun) use some holding spray to tame any stray hairs.
Once I get bun how I like it, I take the remaining portion of the ponytail and wrap it around the base of the bun.
I also use a few bobby pins to pin the bottom portion of my bun down, so it keeps it stable.
This is important if you have any headpiece you will be wearing on the day of your wedding.
Don’t forget to handle those edges with some eco-style gel or edge control!

Achieving This Look With Natural Hair
If your hair is natural here’s how to get it prepped for a high bun still using clip-ins (but you can also glue-in or sew-in extensions).
I always like to start off with clean hair. I shampoo my hair with Organix Coconut Shampoo and follow up with the conditioner once a week.
Since I am transitioning I ensure I use quality oil, such as an Argan oil, to keep moisture in my hair.
Pay attention to your ends. However, I don’t use a lot because I don’t want to have oily hair. About a quarter size of oil works well for my hair. Spray your hair with a heat protectant.
Grab your blow dryer with a nozzle, paddle brush, and wide-tooth comb. Separate your hair into sections about 1-1 ½ inch sections use your wide-tooth comb and start detangling your hair from the ends toward the shaft of the hair.
Use your blow dryer on low and stretch your hair straight. Use your hand to pull the hair straight while you dry your roots first.
Once your roots are dry use your paddle brush, place the blow-dryer nozzle at the top of the paddle brush, and chase your hair with the blow dryer to dry the hair.
The higher your temperature setting, the straighter your hair will be. Install your clip-ins the same way for short hair as you did for mid-length hair.
I then use my favorite eco-style gel to get my edges smooth. Apply it around the perimeter of your head. Make sure you brush your hair to get those edges.
STRAIGHT STYLE
Part your hair in the middle.
Part the section where you want to cover your tracks which is your leave-out. Braid your hair by braiding the hair in a simple braid pattern. Braid the sides down beginning in the front.
Connect the ends as you braid to the back. At this point, you should have from four to six braids on each side depending on the thickness of your hair.
Braid your hair in the back by braiding straight back. You should have about six to eight braids in the back.
Grab your favorite hair and get ready to install your extensions. I suggest you install your extensions without cutting them.
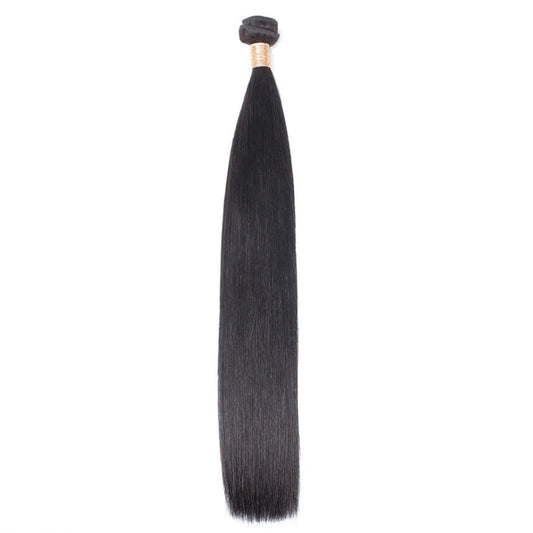
Make sure you put your longest bundles first and install them from back to front. I recommend a 28-inch straight bundle to start with if you want a glamorous and sleek look.
Then you will install your next longest bundle. Continue to install your bundles until all you have is your leave out left.
At this point, you can straighten your bundles to get them bone straight by using your flat iron and a comb. Chase the comb with your flat iron.
The last section is your leave out. As you style it make sure to blend it with your extensions Add in layers in the front by cutting down at an angle from shorter to longer.
Use hairspray to add sheen, control, and a little more sleekness to your leave out. Don’t forget your edges!!!

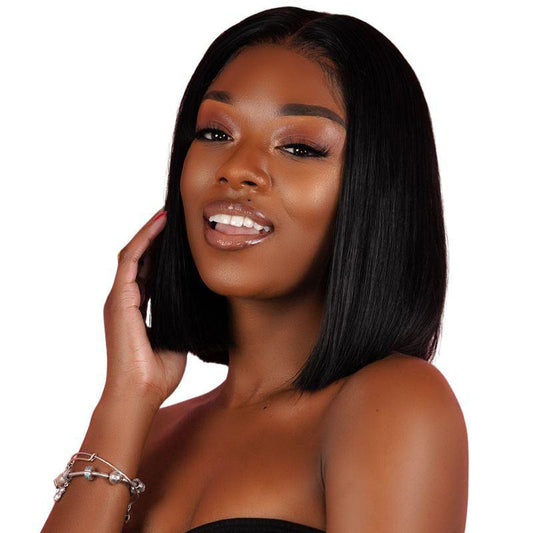
WAVY BOB
After installing your extensions cut your hair into a slight asymmetrical bob. Decide the length you want your bob to be.
Don't worry, you can always opt for a cute bob wig if you don't want to cut your real hair!
Remember asymmetrical means it’s longer in the front than in the back.
I suggest cutting your extensions a little longer than you want your bob, so you still have room to re-shape and style the way you want to.
I like using clippers to give a clean-cut, so you avoid having to tug on the extensions and getting uneven strands.
Honestly, since this is the most important day of your life, I suggest you have someone help you trim your hair to make sure it’s even all around.
Brush out any tangles and separate your hair into two sides. Use your curling iron or curling rod.
To get a looser curl that looks more like beach waves don’t leave the heat on too long. I would suggest about 10 seconds.
Move around the head and don’t worry about being perfect with the curling process.
This style is meant to be loose and almost accidental :). As you curl, you’ll see the waves come to life!


1 comment
For brides considering these hairstyles, which one do you think complements different dress styles the best?