1260 Memorial Drive
Atlanta, Georgia 30316
404-458-1330
Vixen Sew-In: Best Hair Weave Techniques (The Ultimate Guide)
Mikey MoranOMG! Do you ladies remember when the vixen sew-in became popular?
I remember my best friend sending me a video on Facebook showing me in detail how to do the vixen sew-in from the beginning to the end.
I was so intrigued by this hairstyle that I had to learn how to do it. I practiced for countless hours with some hair bundles on my mannequin with some and my best friend, but I wasn't pleased with the outcome.
I was having an issue with the leave out, so I decided to go to YouTube.
Every stylist I came across would say “when it comes to the leave out you have to have the eye.”
Really?
It bothered me that I couldn't figure it out, so I practiced until I got it and finally I did! So today is your lucky day!
I'm going to be the article YouTuber who explains everything you need to know about the Vixen which I consider a luxury hairdo. 💠💠 Why?
Because this style is unique and not everyone can do it the right way. (Hence the title of the article). This method gives you options that every female craves for in a sewin'.
If you want to put your hair in a ponytail without any visible lumps, have a messy bun but still look cute or wear left or right side part on the same day you can because you have OPTIONS.
So, put the kiddies and hubby to bed, grab your snack of choice, put your phone on silent and grab a pen and paper because I'm about to speak facts!

What Is a Vixen Sew In?
A vixen sewin' is a BOMB four parted method that became popular some years ago.
Take a glance at the diagram provided. In the diagram, the grey area is the leave out, and the darker area is the braids braided in a beehive (circular motion).
The hair that's left out is just as important as the hair braided because the hair has to cover the sew-in extensions and the braids have to be small and as close as possible.
With this method, you're able to switch into several different hairstyles without worrying about the weft showing. Honestly, everything has to be on point for the vixen sew in to look natural.
Below are the supplies needed.
What Do You Need for a Vixen Sew-In
Rattail comb for parting the hair. A curved or straight needle and thread. Hairnet if the client wants one.
The best hair extensions for your budget. Edge control to tame the edges Before I start any client, the hair must be clean.
I also go the extra mile and trim their ends if needed, no charge. Believe it or not, going the extra mile goes a long way.
Next, I make sure I grease the scalp with stimulating hair oil. This oil promotes hair growth.
Now that you have all the items let's get to work!
How to Do a Vixen Sew In Step-by-Step
I must say this before we start, be patient. You may not get it on the first try, and you may not understand what I'm saying.
If that's the case, you can leave a comment, and I will be sure to answer all the questions you may have.
You can also visit YouTube as a reference.
Are you ready?
Okay, let's get to it!
Part the hair into four sections Leave out enough hair around the perimeter of the head I would say about 1 inch also leave out the middle and vertical cross sections of the hair.
Braid or twist all the leave out to keep it away from each section. Start to braid down each section.
Make sure the braids are small and neat. Suggest a hairnet to the client. Some clients don't use a hairnet because they aren't sure why it's a needed.
Explain to them that the hairnet keeps the braids from unraveling when the hair gets washed.

Hair Preparation
Gather all your curved or straight needles.
I suggest you prep about ten needles with thread so you can keep the ball rolling.
When I prep my needles I make them as long as possible because if you make them short, you will find yourself making more needles which make the process a lot longer.
Just a few reminders, make sure the scalp is oiled, and all the hair that's being left out is braided or twisted before starting the sew-in.
Sewing It Down
- Begin sewing the hair extensions down from the right top section.
- Make sure that your sewing UNDER the braid until you get to the left side to do the fold-over method.
- The fold-over method is one of the crucial parts of the sew-in. If done incorrectly, you will not be able to have that slick ponytail that we LOVE. When close to being done with the left side continue to go up and then fold over the weft.
- Once it's folded, you sew under and on top of the weft to make sure the method is flat and flawless.
Tip: If your weft is thick it's okay to split the weft. Doing this will make it easier to sew it down. You can thank me later. Let's back up for a moment.
I remember when I was in the process of learning how to do the vixen sew-in and I've watched so many stylists sew down each section.
I always wondered if there was an easier way to get this done.
So here's another tip for you guys instead of doing each section you should sew down the hair as if you're doing a tradition sew in (Check out this article: how many bundles for sew-in).
You just have to remember one thing;
PLEASE MAKE SURE TO MAKE A KNOT AT THE END OF EACH SECTION.
If you don't make a knot your vixen will unravel and you will cry real tears.
So you start your sew-in on the right-hand side, once you get to the end of that first section make a knot and so on and so forth.

Blending the Hair
The moment of truth! Unbraid all the leave out around the perimeter of the head and the cross-sections.
Before styling, I would check each section to make sure I left enough to leave out to cover the weft. If you see that you didn't leave out enough hair, I would say to be honest with your client.
That way she would know how to style her hair, and she will respect you more for being honest. Once you see that everything looks good, you and your client can speak about styling.
In my opinion, styling is the best part of the process. With the vixen sewin', it doesn't matter what length, texture or color is used you are wearing the sew in with OPTIONS.
Vixen Sew In Styles
Styling is the best part of the process because, with the vixen sew-in, it doesn't matter the length, texture or color.
- Check out the styles that you can wear with style.
- Two cornrows going black left or a right side part.
- A ponytail going back left or right part.
- A messy bun half ponytail and some hang time in the back.
This sew-in is unlimited, and if you are someone you like to change your hairstyle every day then this is the way to go!

Best Vixen Sew-in Braiding Patterns
Did you know that there are other braiding patterns similar to the vixen sew-in?
We discussed the four-part sew-in, now let's talk about the two and three-part sew-in.
The two and the three-part sew-in you have minimum options, but depending on your style of choice you can rock it any way you choose to.
Two Section Braids
Please refer to the diagram provided.
If a client comes to you and asks for the two-part vixen, I would guess that she's trying to save time.
With this sew-in, you can get two styles which are two cornrows and a bun.
I'm not saying that you shouldn't consider this braiding pattern I just want you to know that this braiding pattern is limited!
Tools
- Rack tale comb for parting the hair.
- A curve or straight needle and thread.
- Hairnet if the client wants one.
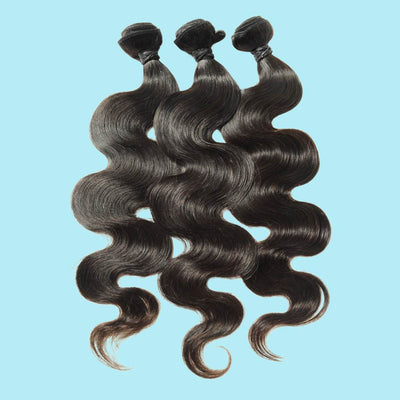
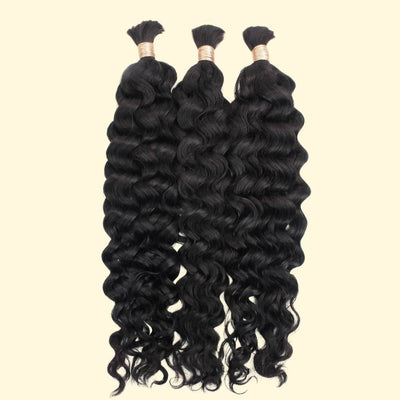
- Private Label's Hair extensions which come in all textures and lengths like deep wave hair and body wave hair weave.
- Private Label edge control to tame the edges.
Step-by-Step Two Section Vixen Sew-In
- Part the hair down the middle.
- Leave out enough hair around the perimeter of the head.
- All leave out hair for the middle section, not the cross-section because of your only braiding two sections.
- Twist or braid all the leave out. Start to braid down each section. Make sure the braids are neat and are small.
- Suggest a hairnet to the client. Prep all your needles and thread to make the process move faster.
- When sew-in down the hair you will do the same thing as if you were doing the four-part vixen.
- Start from the right and make sure you're knotting the thread once the section is complete.
- Once you get to the left side to do the fold over method make sure you go up a tad bit, fold over and sew under and then over the weft.
When it's time to remove the unwanted thread, please be careful not to cut your knot. I've done this several times, and I did double the work.

Three Section Vixen Sew-In
Please refer to the diagram provided. The three vixen sew-in is simple as well, and you can do a little bit more than the two-section vixen.
So with the particular pattern, if a client comes in and for this, her styles would be parted in the middle with an up ponytail and the rest down.
She can do a middle part, two cornrows, and a left or side part.
Three Section Vixen Sew-In Tools
- Rattail comb for parting the hair.
- A curve or straight needle and thread.
- Hairnet if the client wants one.
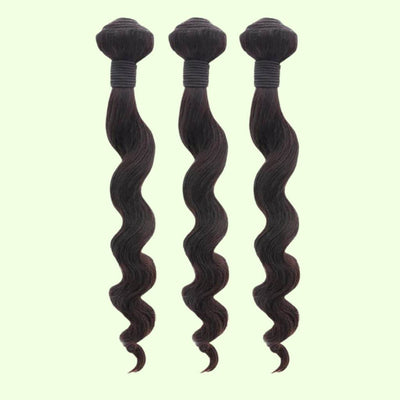
- Hair extensions (choose your style and length).
- Edge control to tame the edges.
Step-by-Step Three Section Vixen Sew-In
- Part the hair down the middle Leave out enough hair around the perimeter of the head.
- All leave out hair for the middle section and the cross-sections.
- Twist or braid all the leave out.
- Start to braid down each section.
- Make sure the braids are neat and are small.

Vixen Sew-In with Short Hair
Who said you couldn't get a vixen with short hair?
If a stylist ever says that this is impossible, then you should never return and sit her chair.
With hair extensions anything is possible! I've seen women glue weave on instead of sewing them on.
With shorter hair, you will have to leave out a little more than usual.
For the vixen to appear more natural, the stylist would focus on the extensions going towards her face more.
Meaning once they begin the sewing the hair down the weft will be placing more in the front than behind the curve of the braid.
Does that make sense to you?
By doing this, the hair will appear as if you have more hair.
You will still be able to do your normal style you would just have to make sure you don't get caught slipping LOL.
If you have good friends, they won't allow you to go out with your weft honey, but if they do, it's time for you to invest in new friends. JK!

Vixen Styles for Natural Hair
Like I stated, the vixen sew-in is for everyone and doesn't matter if you're a relaxed beauty or a natural beauty.
When it comes to a sew-in weave, you have to make sure you find the right texture for your hair.
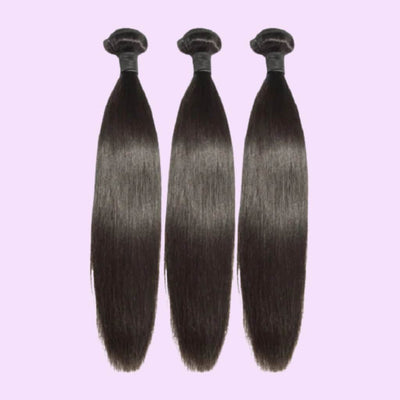
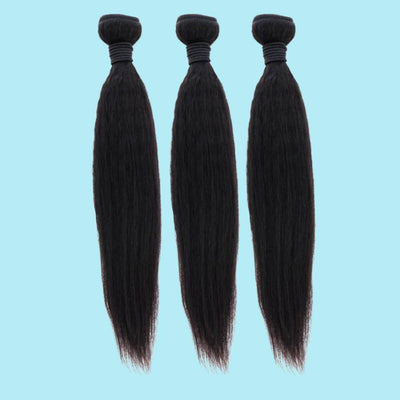
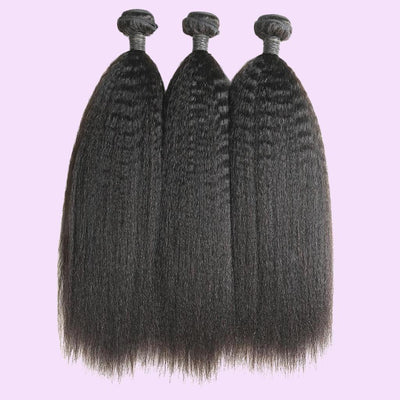
For example, I have a natural beauty, and the hair extensions from Private Label Extensions that I recommended for her was the Vietnamese Straight Hair Bundles.
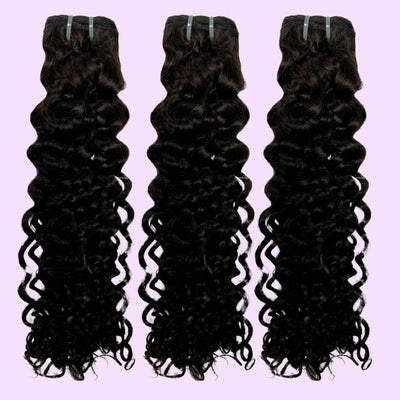
The Vietnamese hair extensions come in straight and in a natural-looking wavy pattern. Once the extensions were in the blend was perfect.
The texture of the Vietnamese hair extensions worked will with her texture whether she wore it straight or in its natural curl pattern.
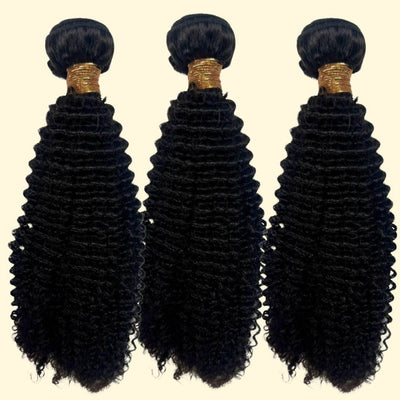
Now if you're a natural beauty who's hair pattern has a tighter curl or a loose curl and you don't want to apply heat to your natural hair, hair extensions can assist you with that as well.

Is a Vixen Sew-In Right for You?
Let's look at the Pros and Cons of a Vixen Sew-in!
CONS of a Vixen Sew-In
I would say if the braiding pattern isn't small if the fold-over method isn't flat and if there isn't enough left out this can ruin the vixen sew-in.
That's not going to happen to you because not only do you have social media you also have this article to refer back to if you get stuck.
PROS of a Vixen Sew-In
OMG! There are so many pros to this hairstyle! Like I said before this sew-in is for women or craves options which we all do.
Wearing your hair in different styles will make people want to have a conversation with you and all you can do is show teeth and swing your hair from left to right.
Before I go I want to leave behind my reminders; Make sure the hair is clean, and the edges controlled by Private Label's edge control.
Check your leave out, oil the scalp, and make sure the hair extensions are sewn correctly.
Until next time my queens, if you should have any questions leave a comment below and I hope you have a FAB day!

Middle Part Sew In Techniques with Leave Out
Creating a middle part sew-in requires precision and attention to detail to ensure a flawless look.
Step-by-Step Guide to a Middle Part Sew-In
Preparation:
- Start by washing and conditioning the client's hair to ensure it's clean and manageable.
- Blow-dry the hair or let it air dry completely.
Sectioning:
- Part the hair down the middle, creating a straight line from the forehead to the nape of the neck.
- Clip one side of the hair out of the way.
- Leave out a small section of hair along the middle part (about ½ to 1 inch on each side) to cover the tracks and blend with the extensions.
Braiding:
- Begin braiding the client's natural hair into cornrows, starting from the front and working your way back.
- Ensure the braids are neat and secure but not too tight to avoid discomfort.
- For a middle part sew-in, braid the hair in a way that the middle part is defined, with the braids curving away from the part to create a seamless look.
Securing the Braids:
- Once all the hair is braided, sew the ends of the braids down using a curved needle and thread, creating a flat base for the sew-in.
Installing the Extensions:
- Begin sewing the wefts of the human hair weave starting from the back of the head, moving up towards the top.
- Use a curved needle and weave thread to securely attach the wefts to the cornrows.
- Continue sewing in the weave in a horizontal pattern, making sure to keep the middle part clear and defined.
- When you reach the top, carefully sew the wefts close to the leave-out section without crossing over the part.
Blending the Leave-Out:
- Once all the wefts are sewn in, unclip the leave-out section.
- Straighten or curl the leave-out hair to match the texture of the extensions.
- Blend the leave-out hair with the extensions to create a seamless and natural look, ensuring the middle part remains defined.
Finishing Touches:
- Trim and style the extensions as desired to achieve the final look.
- Apply a light hold spray or styling product to keep the hair in place.
- By following these steps, you can achieve a professional and natural-looking middle part sew-in that enhances your client's appearance and confidence.

Is a Vixen Sew In for You?
Mastering the vixen sew-in technique can transform how you approach versatile and natural-looking hairstyles for your clients.
With its unique four-part sectioning, the Vixen sew-in allows for unparalleled styling freedom, making it a favorite among those who love to switch up their look. Following this guide's detailed steps and tips, you can achieve a flawless vixen sew-in that offers beauty and functionality.
Whether you're a seasoned professional or just starting, perfecting this technique will elevate your hairstyling repertoire, leaving your clients impressed and returning for more.✂️


2 comments
This guide on the Vixen Sew-In is fantastic! It’s detailed and easy to follow, making it perfect for anyone wanting to master this versatile hairstyle. Can’t wait to try it out!
Your guide to the vixen sew-in is so detailed! Do you have any tips for maintaining this style after it’s installed?