1260 Memorial Drive
Atlanta, Georgia 30316
404-458-1330
How Clip In Extensions Give your Hair Major Volume
Mikey MoranBend and Snap
I've always had thick hair. In my hair’s natural state it will break combs, hair ties, hair clips, and everything in between.
So imagine how puzzling it was when I would get my hair flat ironed and it would look so thin and see through.
I know this is a problem that a ton of natural girls have because they are used to all volume all the time, and then when they get their hair straightened it's almost like “New hair, who dis?”.
Women who wear weave often experience the same feeling when taking their hair out of their sew-in or letting their mane breathe from their wig.
When looking at your natural hair, there may be a sense of loss because you don’t see the fullness you once experienced with the weave.
Nevertheless, growing thick, voluminous hair may not be in the cards for some of us. This is where seamless clip-in extensions come into play.

Thick hair is GOALS.
Whether your hair is short and blunt or long and layered, we all want to have massive amounts of it.
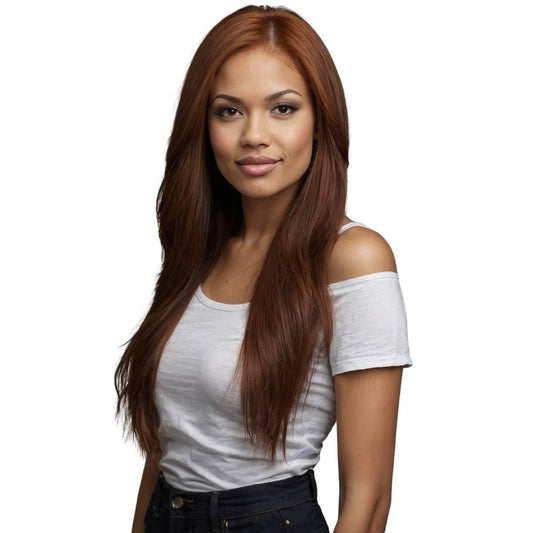
You can easily bend and snap the weft of the clip in extensions onto your roots to add instant volume to your press. Keep reading to learn how to sport a full head of hair in no time!
The Basics
For those who may not know what clip-in hair extensions are, let me give you the rundown.
Clip-ins are a short-term way for you to rock extensions. That’s right, no commitment!
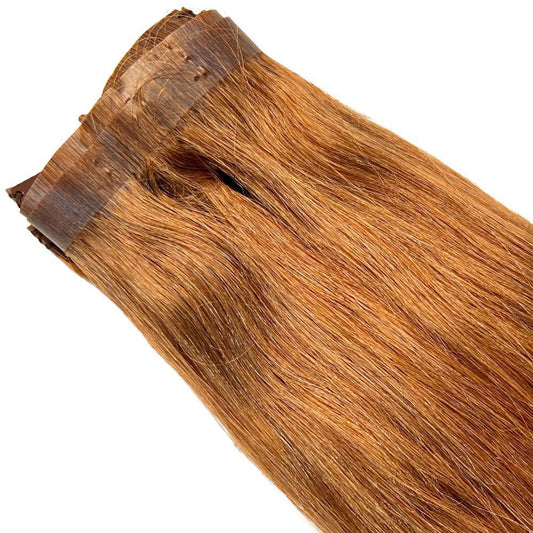
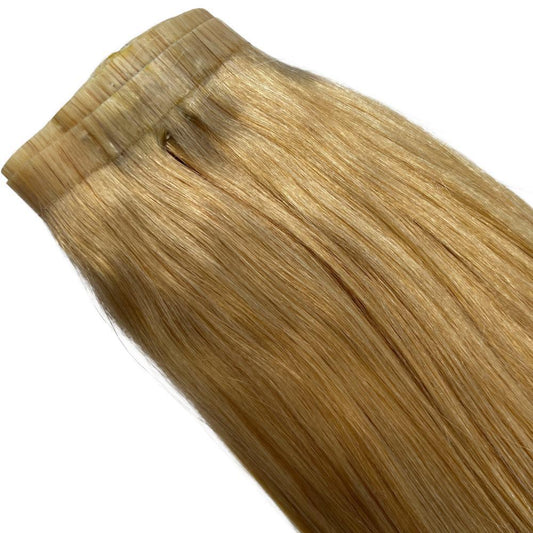
They are composed of traditional wefted Remy human hair extensions and metal clips. You should always select clip-in bundles to match your hair texture in its finished state.
A lot of the time you will be wearing your hair in conjunction with the clips. You can use the clips to give you length, volume, and color.
When you think about it, clip-in extensions are a true temporary do-it-yourself option for a lot of semi-permanent hairstyles.
All sets of clip-in hair extensions will come in a variety of weft sizes for you to secure than them to the different parts of your head via a small snap on clip.
The clips are attached to the weft and virtually undetectable once adhered to your head.

Head Mapping: Volume vs. Length
Private Label Extensions sells sets of clip-ins with varying lengths to clip around the different sections of your head.
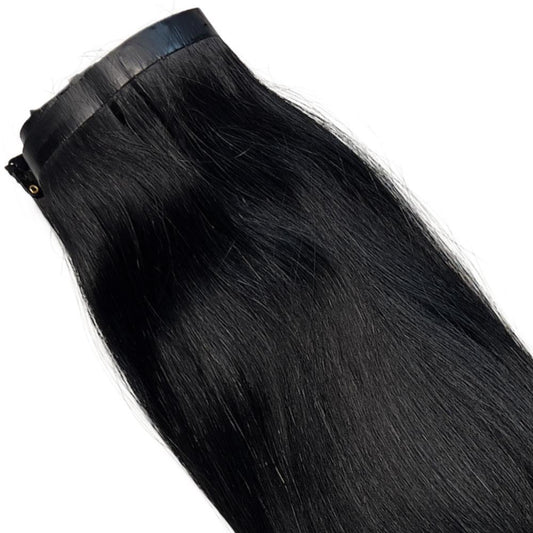
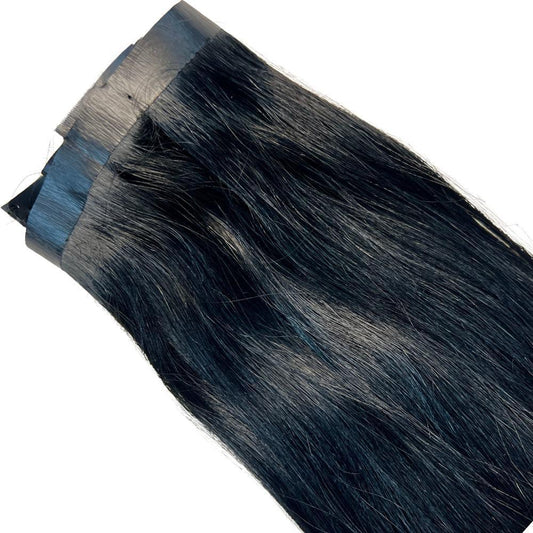
Each pack like this Jet Black Seamless Clip-In comes with seven clips.
(1) 8-inch weft section with four clips (1) 7-inch weft section with four clips (3) 6-inch weft sections with three clips (2) 4-inch weft sections with two clips You can use one or two packs to increase the volume in your locks.
In previous articles, we have talked about hair extension mapping, the art of pre-planning where your wefts will lay on your head.
It is important that even though you may or may not use all of the clip-ins throughout your entire head, you still map where your extensions are going to go. This is especially true when adding clip-ins to volumize your hair.
You want to ensure that you have enough to place at least three rows of extensions in the middle of your head.
You will get maximum volume when you add hair from the earlobe up. Any lower placed clip-in extensions will only add length.
Follow the style tips below to master how to add clip-in extensions to achieve the volume you want!

How to Apply Straight Clip-Ins to Add Volume and Style (30 Min.)
Things You’ll Need:
Step One
On freshly washed and blow-dried hair (straightened if you need to match the texture to your clip-ins) spray a small amount of root lifter onto your roots.
This step will give your clip-ins something to latch on to, and it will prevent you from having to tease your roots harshly.
Step Two
Clip the hair extensions to your head. The clip-in part is where our head mapping will come in handy.
Taking one hair clip, divide your hair into two sections in a half up/half down manner starting just below your ears.
Take your widest extension, the 8” clip and clip each of the four clips across your head. Next, work your way up your head and prepare to use each of the two smaller width extensions, the 4-inch wefts.
Start at the mid-ear point, and using your comb create a part. Clip one small weft behind each ear respectively.
Be sure to leave about two inches between the start of the extension and the ear so that you can freely play with your hair and avoid your wefts showing if and when the wind blows.
Right on top of that row add on your 7” weft.
Step Three
Take the top of your hair down from the clip to assess the volume. You may not end up using the entire package of clip-ins, but that is fine. However, you may see fit to add your additional clips.
You can add more clip-in extensions based on your preference.
Remember, for more volume you only want to add hair from your earlobe up. Any lower placement of the clip-ins will add length.
Step Four
Cut the clip ins to your hair! The easiest way to do this is to split the hair into a few sections.
Then, using your natural length as a guide, comb through both your hair and the extensions and make vertical incisions into your clip-ins about one-half of an inch down from your natural ends.
Continue this method of cutting by taking small sections and matching where you’ve cut previously.
Step Five
Style! Spray a little dry shampoo onto your hair at the root to give your hair some lift and texture.
Then, grab small sections of hair and create some textured curls going layer by layer with your hair and the extensions.
A lot of time you may be adding your clip-ins because you have just realized that you have is falling flat, and you’ve wasted all of your get ready time trying to figure out what’s wrong with your look.
We’ve got something for that too! Use this quick and dirty method below to add volume to your look.

How to Apply Straight Clip-Ins to Add Volume (15 Min.)
Note: Please take everything you’ve learned previously and do it in reverse.
Things You’ll Need:
- One set of high-quality clip in extensions
- Scissors
- Comb
- Hairclip
Step One
Flip your head over.
Step Two
Starting at your earlobe clip in your hair extensions upside down. Using the same order of wefts, work your way down.
Clip your extensions in towards the crown of your head that is facing the floor instead of the ceiling.
You are creating the volume you want without root lifter or a dry shampoo because you are clipping them upward as opposed to flat on the hairline.
Step Three
Flip Your head over.
Step Four (Optional)
Cut the clip ins precisely to the ends of your hair! The easiest way to do this is to split the hair into a few sections.
Then, using your natural length as a guide, comb through both your hair and the extensions and make vertical incisions into your clip-ins along the edge of your hair.
Continue this method of cutting by taking small sections and matching where you’ve cut previously.
You can forgo a lot of the styling because the ends of the extensions will blend with the tips of your hair due to the raised positioning of the weft.

How to Clip-in Color to Add Volume
If you are not big on color that is okay! A lot of us with dark strands tend to be a little leery of adding a chemical color because of the bleaching process that damages the hair.
However, what you may not realize is that a lot of people who color their hair, do so to add the illusion of volume.
Lucky for those of us who wear clip-ins, you don’t need to color your whole head to benefit from the color hack.
In fact, a couple of rows of highlights will give us the exact look we are trying to achieve.
Adding two tones to your hair to serve as a highlight will create volume, texture, and definition.
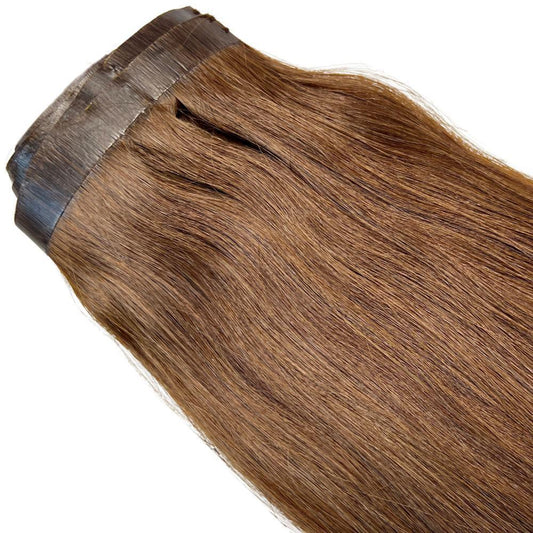
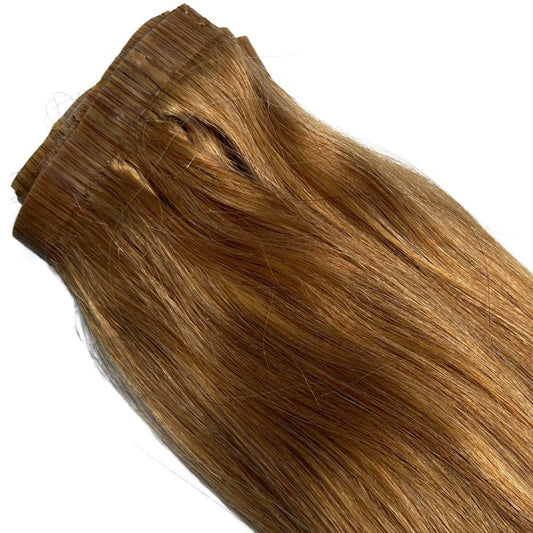
For example, if you have a natural black hair color, you may want to purchase some Medium Brown Seamless Clip-Ins to add some color to your style and create an illusion of more hair.
You would do this by adding in your six in and four-inch wefts to the middle of your hair. All the while alternating with colors and never overdoing it.
The great thing about highlights is that they are sporadic, so you do not have to be so neat with your application like in the previous styles.
Step One
On freshly washed and blow-dried hair (straightened if you need to match the texture to your clip-ins) spray a small amount of root lifter onto your roots to give your clip-ins something to latch on to.
Step Two
Clip the hair extensions to your head. For manageability, take one hair clip and divide your hair into two sections in half up/half down manner starting at the nape of your next section off a piece of your hair and then add in your first color.
You can use one six inch weft in the middle of this section to start. Next, work your way up your head and prepare to use each of the two smaller width extensions of your second highlight color.
Using your comb create a part and clip one small weft at the opposite ends of the new section you’ve formed.
Be sure to leave about two inches between the start of the extension and the ear so that you can freely play with your hair and avoid your wefts showing if and when the wind blows.
Continue to work your way up your head alternating colors as you leave large sections of your hair in between the clip-ins.
Step Three
Take the top of your hair down from the clip to assess the volume. Again, you may want to add your additional clips.
It just creates less of a visible color blocking effect if you use the small pieces on different sections of your parts.
You can add other extensions based on your preference.
This technique also differs from the first volumizing technique because you are adding spurts of color throughout your hair. Meaning, you can create volume and insert the clip-ins throughout your head.
Step Four
Cut or trim the clip ins to make a seamlessly blended effect! The easiest way to do this is to split the hair into a few sections.
Then, using your natural length as a guide, comb through both your hair and the extensions and make vertical incisions into your clip-ins about one-half of an inch down from your natural ends.
Continue this method of cutting by taking small sections and matching where you’ve cut previously.
Step Five
Style! You can forgo the dry shampoo and curls here. The additional colors will create a volumizing effect with or without texture added to your styling process.
Check out different ways to maintain your clip-ins after doing these processes.
Although no one is hunting for the bump it that made huge humps trendy in the 1970's, flat hair is still overrated and rarely celebrated.
Gone are the days when bone straight hair made you turn your head. Thankfully, if you cannot grow more hair, you can at least fake it!
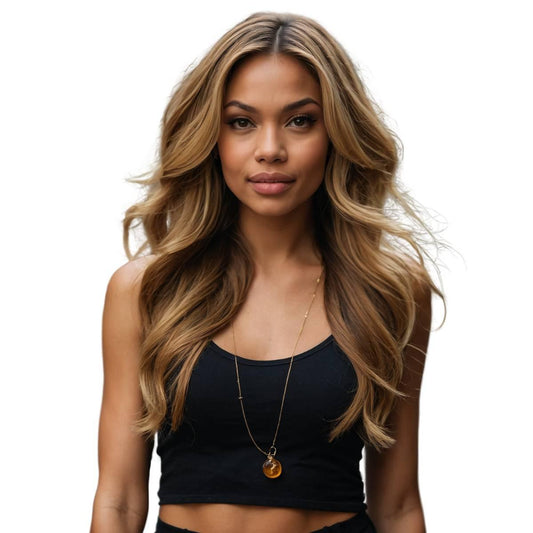
With clip-in extensions, you can create voluminous barrel curls under your beanie in the winter, or textured beach waves for your summer slay.
Whether you have a lot of time to master your look before your girls night out, or you are rushing to get to the office, you can clip-in this temporary fix to your thin strands.
Clip-in extensions can even incorporate some color into your locks while increasing the volume as well. Comment below to let us know which way you’ll be achieving your voluminous locks this summer.




4 comments
Clip-in extensions are a game changer for adding instant volume and fullness. Just clip them in, style as desired, and enjoy your fuller hair! 🌟 Thank you for this perfect guide!
Great article! These tips on using clip-in extensions for added volume are super helpful. Thanks for sharing!
Adding volume with clip-in extensions is a game-changer! Whether you’re boosting thickness or adding pops of color, these tips make it easy to rock voluminous hair. Who else is excited to try these out?
Adding clip-in extensions for volume seems like a game-changer! I love the step-by-step guide on how to apply them for maximum effect. Definitely considering trying this out for some extra oomph in my hair!