1260 Memorial Drive
Atlanta, Georgia 30316
404-458-1330
Try These Heatless Styles Using Your Hair Clip ins!
Mikey MoranLet’s Talk about Clip-ins
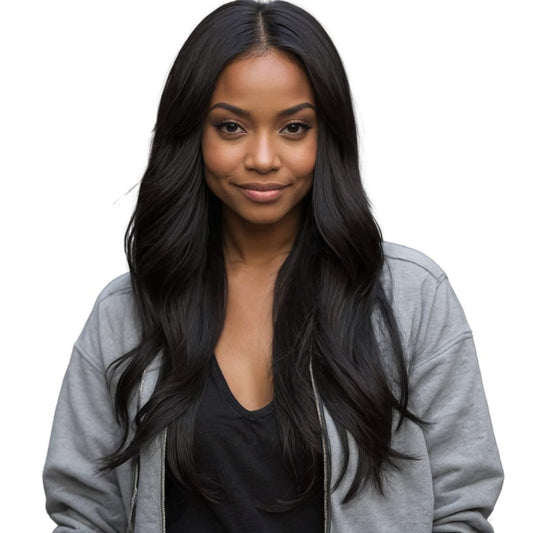
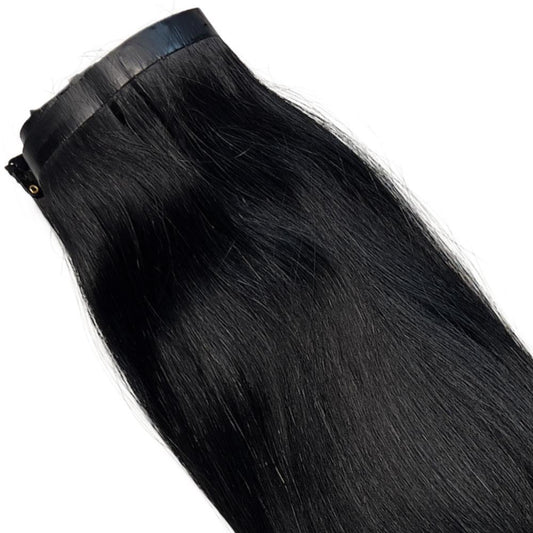
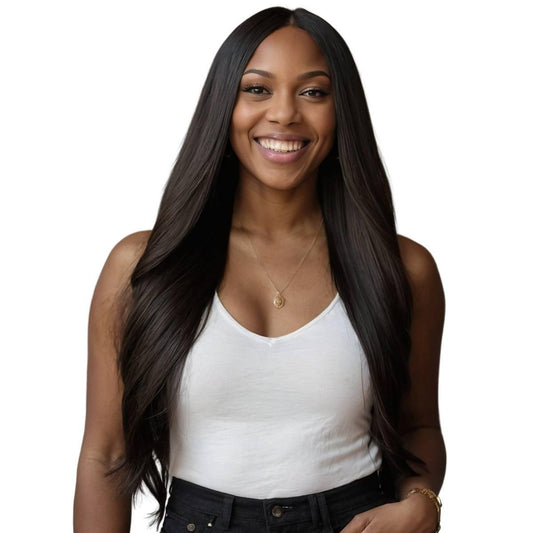
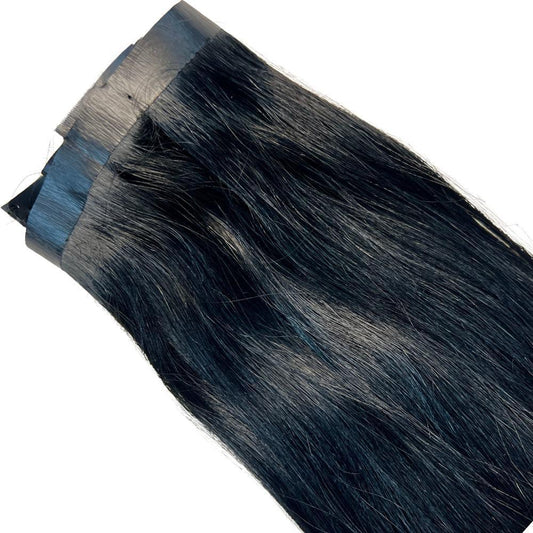
Can we all agree that clip-ins extensions are a gift from above?
They allow us to add length, volume, and thickness at a snap to the roots. So basically let's all give a big “yes,” to good clip ins and an even bigger yes to the styles we create with them!
Aren’t these hair savers a joy?
This device comes in many textures, lengths and of course colors for when you want to experiment.

Overall, it is an inclusive piece of haircare to the beauty industry.
But, what happens when you want to give your hair a break from the heat and the silky straight styles that you love so much?
Or maybe you are at a loss on what to do next because you have grown bored with the usual hairstyle. The answer here is to go heatless.
You can still achieve signature styles like curls, waves and everything in between without using your coveted flat iron or curling wand.
It takes a little learning, but the outcome becomes simple even after the first go.
Keeping the Heat Minimal
If you wear heat styled hair do’s, then this article is just for you!
Sometimes change is good, and when it comes to the health of your hair, this is something that you may want to consider.
Sure, using clip-ins helps you to tone down on your heat use, but have you ever considered eliminating the styling heat tools altogether?
Using heat on your hair to achieve hairstyles at a constant rate does not only damage your hair over time but can damage and thin out your clip in extensions as well.
Listen, you spend so much money on making sure that you have the top of the line hair to wear so why not preserve it for as long as you can?
Do not let the thought of not knowing how to achieve these styles without heat make you run away from trying it, at least once.
Train yourself day by day to eventually let go of your hot styling tools and begin to look for manual tools that give you the same effect.
Below, we will explore the many options, techniques, and products to help you get those bouncy curls and fluffy waves that you love so much!
So grab your notebook, take some notes and get into this!

So, How do I Achieve a Functional Style with No Heat?
Flexi rods, perm rods, Bantu knots and a twisted curl is all you need to hear depending on the texture of clip-ins that you have.
Achieving a great style not only starts with the technique but the products that you choose to use.
You can achieve so many styles without heat, including an updo or a method that goes down your back! No matter what you try, give it a chance at least once.
You may surprise yourself and use less heat or no heat more often on your clip ins.
Bouncy Barrel Curls
In this first style, let’s explore some bouncy curls! If you are a lover of big body wave hair curls, you will love this because it will last long after you have taken those rollers out!
Plus you will only need a few items such as:
- Barrel rollers
- Small duck clips
- A rat tail comb
- A paddle or wig brush
- Light serum
- Satin scarf or silk bonnet
Before you start to place your rollers randomly, this style is all about execution.
Which means that where you put your rollers is where you will get the most volume and bounce, so be strategic.
To get the best results, part your hair is quads, starting from ear to ear and then from your forehead to the nape of your neck.
Next, make sure that your hair gets thoroughly detangled by using the paddle brush from the tip of your hair to the root.
Be gentle! You do not want to snag your clip-ins or damage them or your natural hair.
Once you have detangled, now is the time grab your barrel rollers. Start by working from the crown of your head and out so that you have enough space to place your last few.
To get your technique down for rolling each barrel use the following steps below:
Step 1:
Take a section of hair, about the length of your index finger and stretch it upward.Step 2:
Take a light hair serum, such as Chi and lightly put a dime sized amount of it on that section.Step 3:
Brush in the product using your paddle brush to ensure that it even distribution occurs along the length of hair. For extra sleekness, use your rat tail comb to get those ends together!Step 4:
Take your roller and begin to roll it down the weft of hair and secure it by using your duck clip at the root of your hair.
Once you have it down the first time, repeat until your entire head becomes covered!
The key here is to allow the rollers to sit for a few hours or overnight.
To make sure that they do not budge, use your favorite silk scarf or bonnet to hold them all together. When they have set for as long as you can stand carefully remove the clips and rollers and watch your hair flourish!
Separate by using that good paddle brush again, and your style is complete!

You Can Do The Updo Too
If curls are not your thing, then maybe an updo is something you prefer a little more.
There are high ponytails, pom-pom ponytails, ninja buns, messy buns and curly ponies! The question is, which one will you choose?
Despite where you make your choice, all of these have one thing in common, and that is the fact that it requires little time and maintenance to create.
For all of the styles listed above, the biggest tip to remember is that for your clip ins to remain steady, you will need a sturdy base.
To achieve the best sky-high updo you will need a few tools:
- Ponytail holders
- Brush
- Edge control (optional)
- Satin scarf
- 3-5 clip ins
Start by working on a blow out that is a few days old or a style where you know that you will wash your hair soon.
The trick here is that we will add the clip ins last and build our base so that they have a sturdy place to sit.
Step 1:
Gather all of your hair to the top of your head but remember to be gentle!
We do not want you to put any stress on your edges or make it tighter than it should be.
Step 2:
Add edge control the catch those fly aways if wanted. Some of us like a more relaxed look and some of us prefer a snatched hair look.
Regardless, do you!
Step 3:
Take your remaining hair a put it into a top knot bun or a braided bun.Step 4:
Sort your clip-ins by length, making sure that you know where and how to place them.
Starting with the longest clip in, clip it to the base of your hair near the bun until both end wefts meet.
Repeat this with at least three clip ins until you get your desired fullness.
Step 5:
Your bun should be covered all the way around at this point with the clip ins cinched at the base giving it a flawless transition from your hair to the clip ins.
Now is where you determine if you want to do a messy bun, ninja bun or a pom-pom pony!
To achieve either bun, twist the hair around the base until you get the desired shape and size.
For the messy look, try fluffing out individual pieces and taking a small strand and wrapping it around the base loosely.
For a more polished look, go for the bobby pins and avoid fluffing too much. If you are feeling creative, try out the pom-pom ponytail for this!
Getting a perfect pom-pom pony is as simple as using 2-3 more hair ties and fluffing each section for fullness.
Finish off this look by using a bit of hairspray and satin scarf to set.

Half-up and Half-down Hairstyles
This is always a favorite for us who can never seem to make up our mind.
The concept is just as it sounds, taking half of your hair and placing it up and leaving the other half down to some extent.
Depending on what you like, you may decide to create a bun or a ponytail up top and either another ponytail at the bottom or leave it free-flowing.
Which Do you Prefer?
For a night out, try taking your clip ins and creating the perfect half up in a pony and half down free flowing!
To get you started, you are going to need to prep your clip ins to ensure that they are all ready to use when you begin to get prepared.
Also check out our ponytails extensions if you look cuter with ponytails.
The tools that you need are easy to find and are easy to find at your local drug store, Walmart or Target.
- Flexi rods
- Hairspray
- Bobby pins
- Edge control
- Ponytail holders
- Satin scarf
- Holding creme
- Rattail comb and brush
Step 1:
To begin, start by taking your clip ins and make sure that they get detangled.
Next, you will take a dime sized amount of holding creme and apply it to your clip-ins; this step is essential so that the curl will hold!
Step 2:
After you have applied some product to the clip in you will then take your flexi rod (any size you prefer will do) and twist the clip ins around the shaft of the rod.
The trick here is to wrap the hair while you twist. I know, I know that sounds way too confusing but think of it as a corkscrew curl.
Step 3:
Once you have all of your clip-ins set with the flexi rod, set them aside to dry and start on your head.
For a half up, half down do part your hair a little above your ears horizontally. You want to ensure that hair is at the bottom for fullness.
Next, make sure that your hair detangles completetly because you will mimic what you did to your clip ins but with your natural hair.
Step 4:
After you have given your hair some time to set, remove the rods from your hair and wait to separate.
Do not pull apart those curls just yet! To create your ponytail, take your brush and desired edge control and pull it to the desired place of your head creating a ponytail.
Yes, your curls at the top may not be as uniform, but once you add your clip ins, it all comes together!
At this stage, it is time to remove the flexi rods from your clip ins and apply them to your head.
Step 5:
From the nape of your neck up, apply the clip ins from longest to shortest, and once you reach your ponytail from earlier wrap them securely around the base.
Secure with a bobby pin and the style is done! Now of course, if uniform curls are your thing be my guest and wear them proudly, but if you are anything like me, you are ready to fluff!
Take a paddle brush and carefully brush out to get those SZA like waves and finish with hairspray.
Check the Jerry Curl Extensions for a more slaying look.

Keep it Wavy
For those who prefer to wear their hair down with clip-ins, consider it no problem!
If you already have your clip-ins placed to perfection then maybe you do not want to do too much shifting.
Understandably, this is the reason you got extensions in the first place. To give your hair more life, try a braid out.
This style is so simple that it is almost unreal on how you can achieve it.
You will only need three items, and those things are water, styling creme and rubber bands.
Step 1:
Dampen and detangle your hair and finger comb to alleviate any unnecessary pulling and tugging to your roots.
This is meant to be an effortless style in every sense of the word.
Step 2:
Take some styling creme of your choice and add dime sized amounts all over your hair.
Working in quads helps to move faster here too!
Take a paddle brush to make sure all of the product is even throughout your hair.
Step 3:
Start braiding!
These do not have to be perfect, but they may require some time to get if you are not used to the technique.
Step 4:
When you have reached the end of your braids, Bantu knot the bottom and take the rubber band to secure it so that it has a curl to it when you take them out.
Because this style takes a little longer to set, you may want to order in your favorite meal or find your cutest headwrap until the next day.
However, when it is time to take the braids out, you will be so impressed with yourself and your new carefree look. Carefully separate, shake, and you are ready to go!
Buy some bulk human braiding hair bundles to have volume while braiding.
Double Bun Life
For our last style, we are going to try our hands at a double bun.
You know the ones you probably hated in elementary school but love to rock now?
This style is simple as well and honestly, requires few materials:
- Two ponytail holders
- A brush
- Rattail comb
- Six clip ins
- Bobby pins
Step 1:
You will first start by parting your hair down the middle from your forehead to the nape of your neck.Step 2:
Next you will take your clip ins, three on each side, and clip them facing upward.Depending on the fullness of your clip ins or desired thickness, alter the amount to your liking!
Step 3:
Gently brush your hair up to your desired spot.
This will create two pigtails, and if you want to stop here you can!
However, if you're going to continue to the double bun look, see step 4 below.
Step 4:
Twist the loose hair around the base of the ponytails, remember to alter the shape to your liking and play around with different pieces to create a messy or polished look.
Secure with bobby pins to complete the style. Complement this look by adding hair jewelry, copper wire around the buns or by laying your edges!
If you are feeling riskier, take some spray hair dye or hair glitter and add it to the buns for a fun and festive look.

Styles You do not always need heat to get a perfect style!
Sometimes it just takes a little extra time and research to figure out how to create heatless styles.
Getting curls without the hot tools is not as daunting as it may seem and choosing a bun over a sleek look gives your clip-ins time to breathe.
The biggest plus to many of these styles is that it does little to no damage to your clip ins and natural hair and that the style lasts longer because you did not need to add in too much product.
When it comes to clip-ins, many of us go with this method because we want to be versatile and do less work, so why not embrace the other side of its versatility?
Think about it like this, you can say goodbye to having to spend more money and research on a new set of clip ins, and you can extend its lifetime by doing a little less than usual.
Do not get me wrong, I love a good flip or a slayed silk out, but sometimes it is okay to want to try something different!
So, the next time you are contemplating on how to style your hair for a girls night, work or date night, give some of the styles and tips above a try!
You will not be disappointed.

2 comments
Can’t wait to try out these styles and give my hair a break from heat tools! Thanks for the detailed steps and product recommendations. Which heatless style do you think works best with clip-ins?
This article is fantastic! I’ve always struggled with styling my clip-ins without heat, and these tips are super helpful. Can’t wait to try the bouncy barrel curls and double buns! Thanks for sharing such detailed steps! 😊