

1260 Memorial Drive
Atlanta, Georgia 30316
404-458-1330
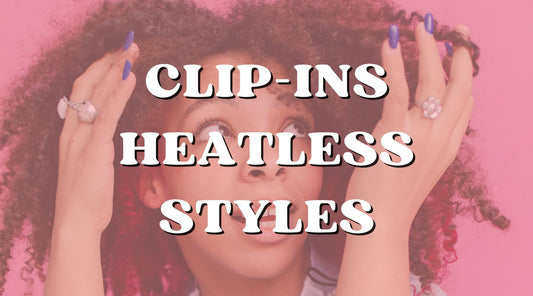
Step-by-Step Guide: How to Attach Clip-In Hair Extensions for Different Styles
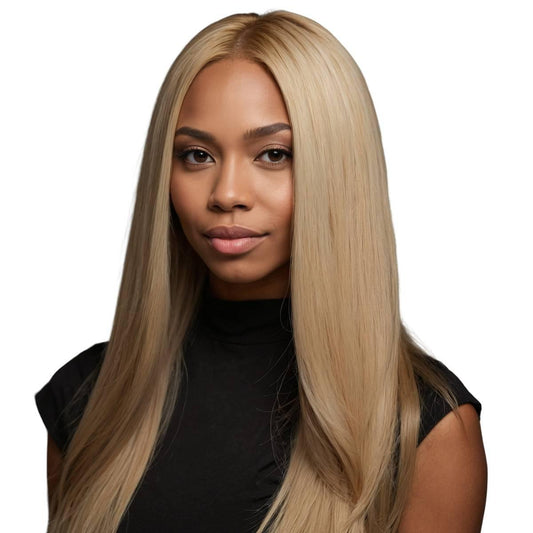
Mikey MoranClip-in hair extensions are a terrific way to shake up your style temporarily. That’s because they’ll provide all of the length and/or volume you crave, but they must be taken out before bedtime.
However, one major caveat to using clip-in hair extensions is that they tend to be on the bulkier side and more challenging to conceal.
This means that some hairstyles, like updos and half-up, half-down looks, can be difficult - if not impossible - to wear. Well, ladies, I’m here to tell you anything’s possible.
You can definitely wear your hair in any style with clip-in hair extensions - you just need to be way more strategic with your placement and stylin’.
Below, I’m sharing three must-know step-by-step guides for how to put in clip in extensions for different styles, including a gorgeous high ponytail and voluminous styles.💗💗

Guide #1: Ponytails with Clip-Ins
I will be honest with you - creating a low ponytail while wearing clip-ins isn’t hard.
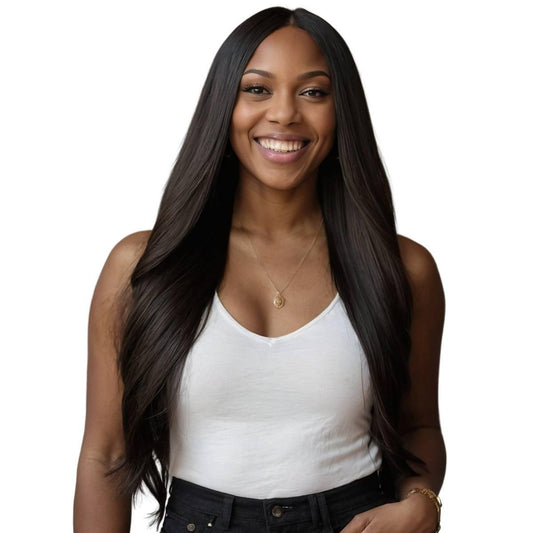
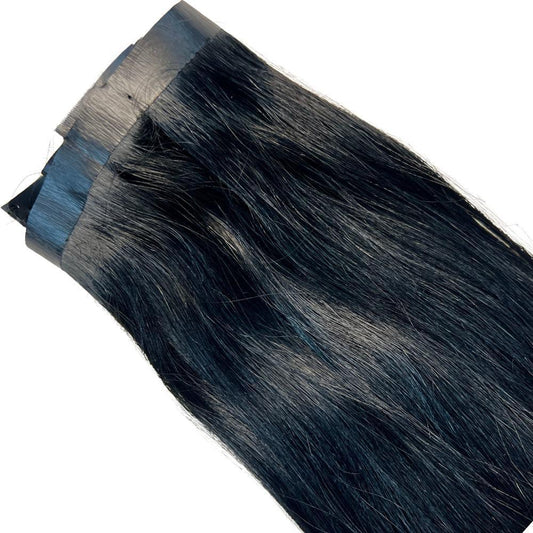
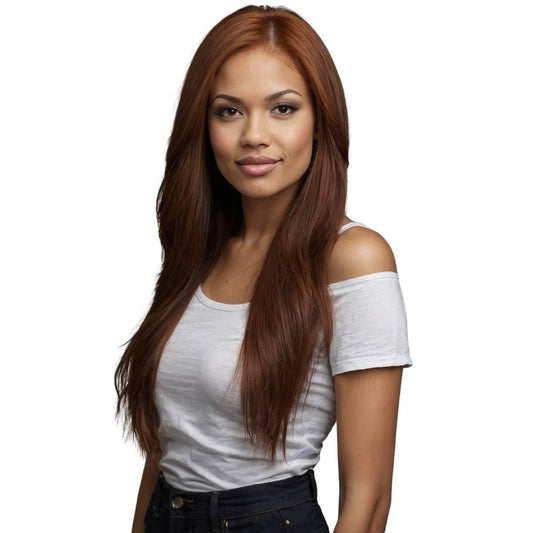
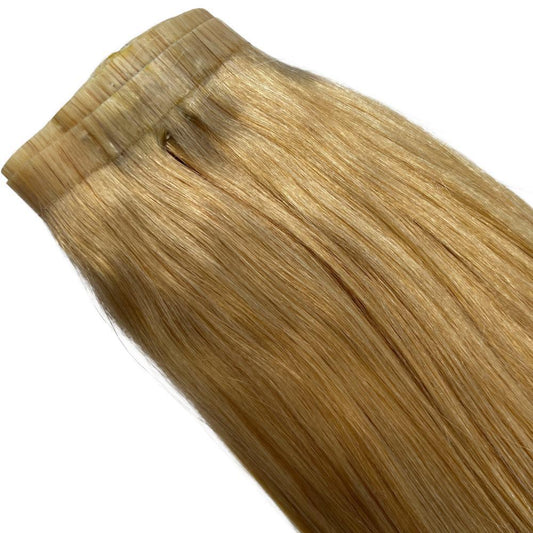
As long as the hair color matches - i.e., you’re wearing Blonde Clip-In Hair Extensions if you’re a blonde bombshell or Jet Black Clip-Ins for the dark-haired queens - you can create this look in minutes.
- For a low ponytail, simply utilize a single four-weft clip-in hair extension. Place it near the nape of your neck.
- Ensure your natural tresses cover the clips and pull them into a low ponytail. Enjoy a fabulously long pony, babe! A high ponytail? Well, that’s a bit trickier - but again, not impossible.
- Let’s get crafty, queens: Separate your hair into three sections. Ensure there is a good chunk of hair at the nape of the neck.
- This will be essential for disguising the chunky clips.
- Start by placing a three-weft clip-in hair extension on the bottom layer closest to the nape of your neck. Release the next section of hair. Again, make sure there is enough hair to cover the clips.
- Place the four-weft clip in the second layer. Release the top section of hair, then place a two or three-weft clip-in hair extension, depending on your preference. Gently pull your hair into a high ponytail.
Pay extra close attention to where your natural locks are lying. Double-check that all of the clips are covered with natural strands.
You may need to use bobby pins or other related clips to secure the ponytail in place.
At this point, you can rock your stunnin’ high ponytail or style your hair into another fancy updo.
It entirely depends on where you’re headed and what look you’re going for!
Tip: If you’re struggling to conceal the clips, don’t panic - there’s a second option!
For the second method, you’ll need to create a small ponytail right at the crown of your head. There should be plenty of natural strands surrounding this teeny-weeny pony. Then, wrap two wefts around the tiny ponytail.
Secure tightly before wrapping the rest of your mane into the ponytail. It should be easily disguised, but you may need to use bobby pins to keep the extensions in place.

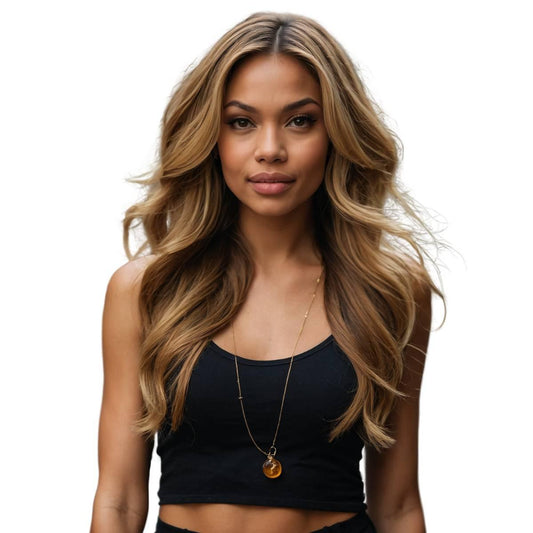
Guide #2: Volumized Tresses (With or Without Curls)
OK, OK - I know. A lot of women use clip-in hair extensions because they want (or need) more volume.
Trust me - I am one of those gals! But while simply adding clip-in hair extensions is a surefire way to bulk up your lifeless locks, it’s not the only way.
In fact, there’s a method that will give you jaw-dropping volume - so much so that Billie Eilish herself might get jealous.
Want to know how to get enviable volume using clip-ins?
I promise it’s easy:
- Brush your hair and your extensions.
- Tangles and mats are going to be a significant hindrance, boo! Start sectioning your hair as you usually would for a clip-in hair extension application.
- Instead of tossing in your clips willy-nilly, use a rat comb or other preferred hairstyling tool to backcomb your hair for serious volume.
(Are we going 80s-style? You bet, queen!)
- Apply the extensions to the teased areas one by one, ensuring there is enough hair to cover the clips.
- Continue up the head and to the sides of the head. Now, you can enjoy your hair as-is and leave it slick-straight.
You’ll look like a straight-haired diva who has more volume than she knows what to do with.
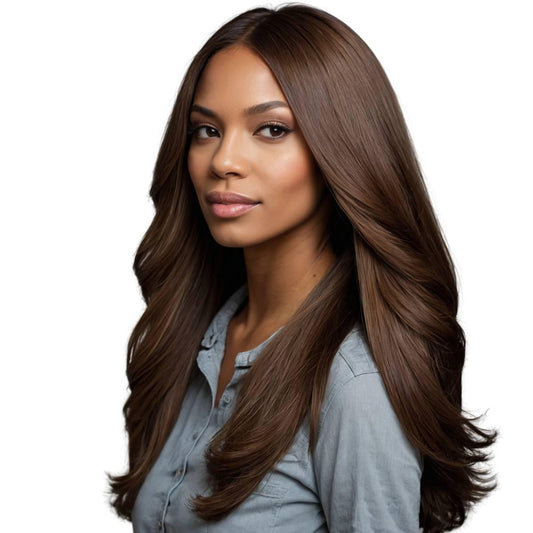
But if you’re looking for a style that’s less 70s flower child and more Victoria’s Secret runway model, don’t hesitate to reach for a hot tool and get to work.
Remember - Private Label clip-in hair extensions are crafted with human hair, so they can be styled any way you please!
My personal favorite? A large-barreled Curling Iron.
These will create those romantic and glamorous curls that will turn every head in your direction.
Just one thing - please use a heat protectant before styling, and always use the lowest heat setting possible. We’re not trying to ruin our gorgeous clip-ins, ladies!

Guide #3: Double Braids Clip-Ins
A single, three-strand braid Auburn look is pretty simple with Auburn Clip-In Hair Extensions. You don’t need to do anything too “fancy,” as your hair will easily conceal the clips.
But if you want to venture out into double-braid hairstyles, you’ll run into a bit of a problem, as those clips are definitely going to show. Again, it’s not impossible, girls.
We will just have to use our female sorcery and sharp minds to make it happen.
Here’s how:
- Separate your hair into two separate sections.
- Place one section into a ponytail to keep the hair out of the way.
- Then, separate the other section into four layers. Now, you can start adding the clip-in hair extensions!
- Because most packs, including Private Label clip-ins, only come with a few single-weft attachments, you’ll need to adjust the larger ones to fit into your hair.
- To do this, simply wrap the larger wefts around until they look like a single weft.
- Use the bulkier single-wefts at the lower part of your hair.
- Going up in a straight line, continue adding wefts to each section.
- Double-check that your hair is covering each section. Continue on the other side.
- Braid as desired, paying extra close attention to keeping your clip-ins concealed.

Ponytail FAQs
Good to know facts about your beloved ponytail extensions that you need to know!
How do you arrange clip-in hair extensions?
- The traditional way to arrange clip-in hair extensions is to section off your hair.
- Start by attaching the three-weft toward the nape of the neck.
- Then, the four-weft at the crown.
- Then, another three-weft above the crown. Add the two-wefts and single-wefts to the sides of the head.
How do you blend hair with clip-in extensions?
To blend your clip-ins, ensure that your natural tresses cover the clips and give them a good (but gentle) brush.
You can also utilize hot tools, like curling irons and crimping irons, to make them blend more beautifully.
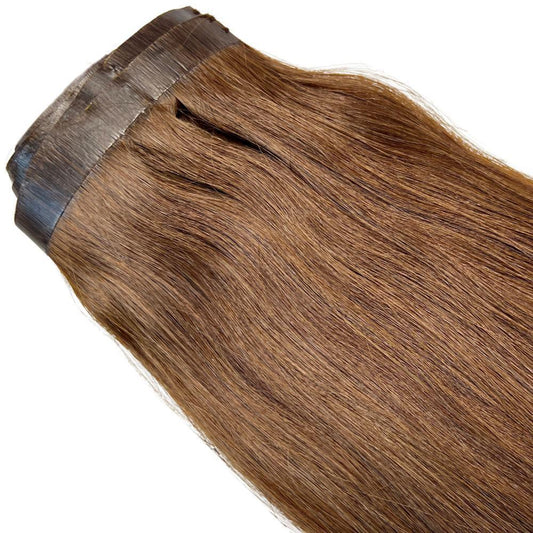
If you’re talking about blending hair colors, you’ll be glad to know that Private Label clip-in hair extensions are crafted with 100% human hair and can be altered.
For example, if you purchase our Brown Clip-ins that are too light, you can dye them to match your shade for a blended finish.
Where do you put clip-in extensions on short hair?
Wearing clip-in hair extensions on short hair isn’t significantly different, although it can be trickier to make them appear more natural.
The best thing to do is to pin or braid the lowest section of hair toward the nape of the neck before applying the extensions so these shorter pieces are hidden from sight.
Another genius tip is to tease the hair before installing it and always go higher than you think you should. The goal is to cover up as many of the shorter strands as possible.

Bring Your Hairstyles to Life with Private Label Clip-In Hair Extensions!
See? I told you that clip-in hair extensions are versatile - you just have to spend a bit more time and be strategic to make it happen.
It’s totally worth the effort, though, don’t ya think?
Visit our local hair store to see our beautiful clip-ins.
If you’re ready to create a temporary head-turning style worthy of the Red Carpet, head over to Private Label’s impressive selection of gorgeous clip-ins featuring a variety of beautiful shades.✨✨
3 comments
This is such a detailed and helpful guide for using clip-in hair extensions! The tips on high ponytails and braids are especially useful. I’ll definitely be trying out the volume-boosting technique next time. Thanks for sharing these great ideas!
Great guide! How long does it usually take to attach clip-in hair extensions for a high ponytail?
Mikey, your step-by-step guide on attaching clip-in hair extensions is incredibly detailed and empowering! I love how you break down each style, from ponytails to voluminous looks and double braids, offering practical tips for achieving a seamless blend with clip-ins. Your enthusiasm and encouragement to experiment with different styles shine through, making it easier for anyone to try out these transformations. Thanks for sharing such comprehensive insights!