


1260 Memorial Drive
Atlanta, Georgia 30316
404-458-1330
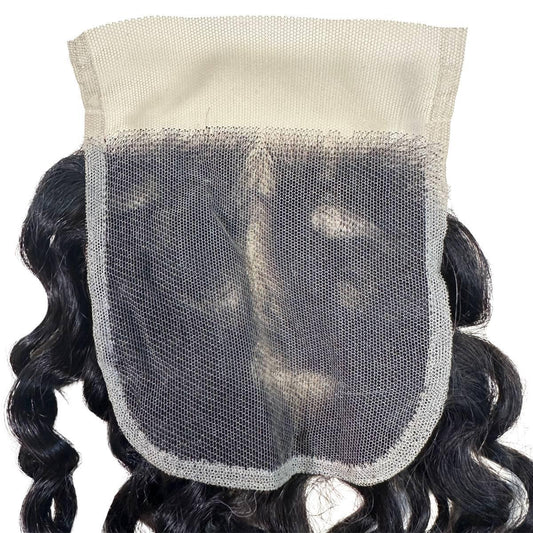
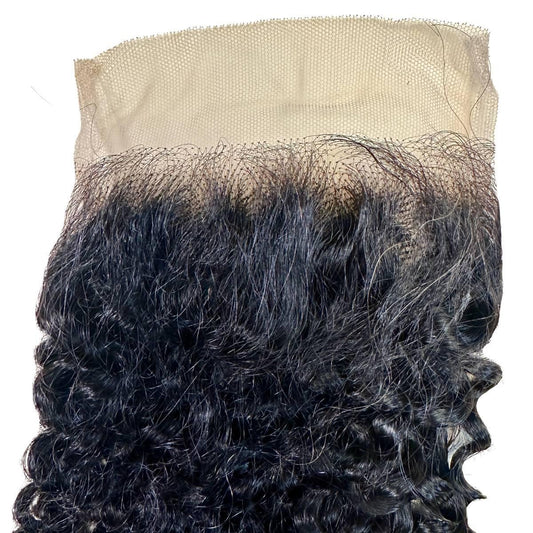
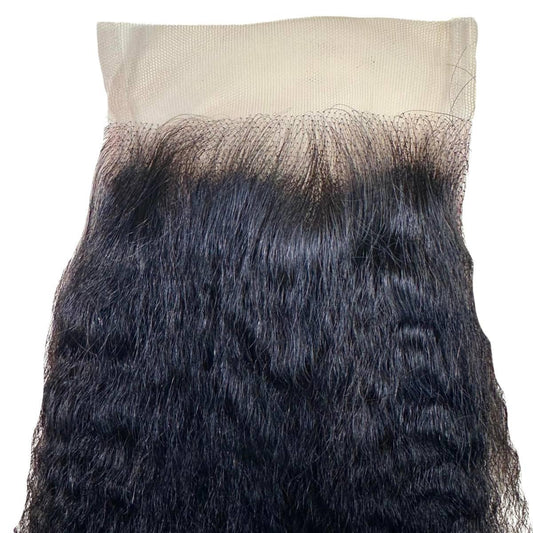
DIY 2x6 Lace Closure Install: Tips for Home
Mikey MoranGoing to the salon whenever you want to install your Lace Closure can tax your pocket over time.
This is why, in this piece, we are going to transform you into a DIY Queen, and you can even begin to charge for your expert services.
So, grab your 2x6 closure and your can-do attitude, and let’s get started! You should start by washing your hair thoroughly.
Typically, the wefts and Lace Closure will last 4-6 weeks, so you should make sure your scalp and hair are clean so they don’t itch and make you take them out faster than you planned.

Step 1: Gather Your Tools
Before we get our hands busy, let’s round up the essentials:- Wig Stand
- Needle and Thread: Most people like to use a curved needle, but if you’re clumsy like me and do not underestimate your ability to sew your fingers, opt for the straight needle.
- Wig Cap: Keeps things in place and gives you that secure feeling.
- Scissors: For trimming the lace.
- Hair Clips and Pin: Because we’re about to get a bit chaotic, we need to keep things in check.
- Tail Comb: For parting like a pro.
- Lace Frontal Glue or Bonding Adhesive
- Curlers and Stretcher
- Blow Dryer: To set everything in place.
- Mirror: Or two. The more angles, the better.
STEP 2: Cornrow your hair
First, part your hair, which is typically at the center because of the kind of lace closure we are working with.
Make sure that each braid comes out of that part (there’s no other way anyway).
When you are braiding your hair into cornrows, you want to make sure the cornrows are small to ensure they take all the wefts of your hair bundles; as you braid, attach each corn row tip to the next one to make sure everything is connected and smooth, you can even see it as a 2fA.
After you finish making the cornrows, line the rows with argon oil or coconut oil to keep your hair moisturized, especially if you’re prone to itching.

Step 3: Wear Your Mesh Weave Cap
This is crucial because you need the closure to look like your scalp. Now, wear your hair mesh weave cup, then take a pencil to mark the part your closure will lay on.
Use the 2x6 Lace Closure to get the outline because you will be sewing 2x6 closure on that outline; sew down the outline you marked along the sides, but in the hairline area, apply glue.
Then, cut off all other sides that weren’t slowed down. This step aims to make your 2x6 Lave closure look like your skin so that most people don’t bother with it.
Instead, they apply their foundation on the lace and sew it directly to the cornrows.
If you’re going to follow this route, after sewing the back and the sides of your closure to your head, for the hairline part, you want to show through the lace to hide the stitches.
Following either of these steps will give the same result of matching your lace closure with your skin color.

STEP 4: Place a Weaving Hair Net on Top of Your Head
This weaving hairnet usually comes in black, which is perfect for most people. However, you can still find a hairnet that will match your hair.
This step can be very daunting, so a hack to sew it without thinking it’s s best to visit the salon is to find a square net that is as big as your head and can cover your entire hair from hairline to hairline, then use hair clips to secure it and sew it in close stitches round your head, trim the excess netting off, as close as possible to your edge cornrow and stitching.
Again, this step is optional. If your hair is thinning, you may want to use it to sew in as many wefts as possible to create fullness. If not, you can skip it and sew your wefts directly into your cornrows.
STEP 5: Sew the Weft In
Now that the hard part in installing 2x6 closures is to start sewing your hair bundles in tiny, close stitches, starting from the base of your head.
Double the weft as you begin to obtain a full look, but as you progress and are closing in on the closure, sew in the single weft. This ensures that the finished look is sleek and flat and looks natural.

STEP 6: Styling 2x6 Lace Closures
Now to the fun part: After everything is seated nice and neat on your hair, you can decide to style it into curls or straight and sleek, whatever you like.
Use your rattail comb to part the closure as desired and blend it seamlessly with your natural hair. Congratulations on installing your own 2x6 Lace Closure.
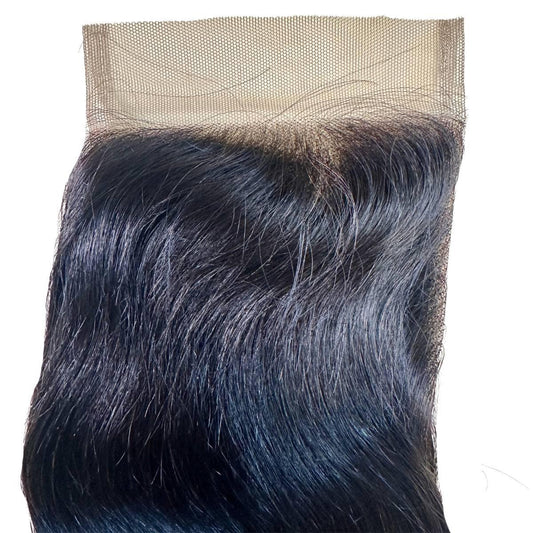
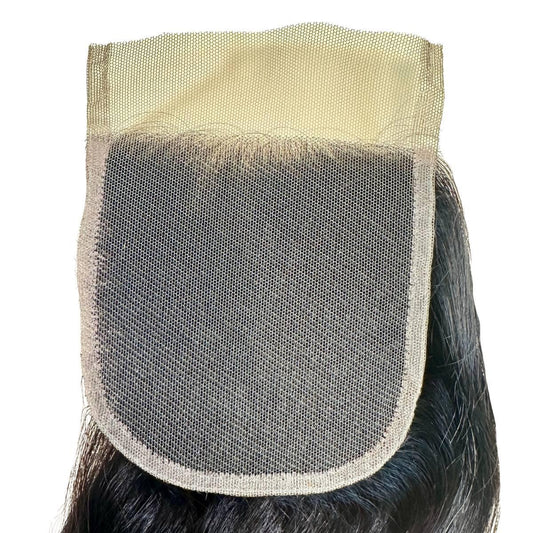
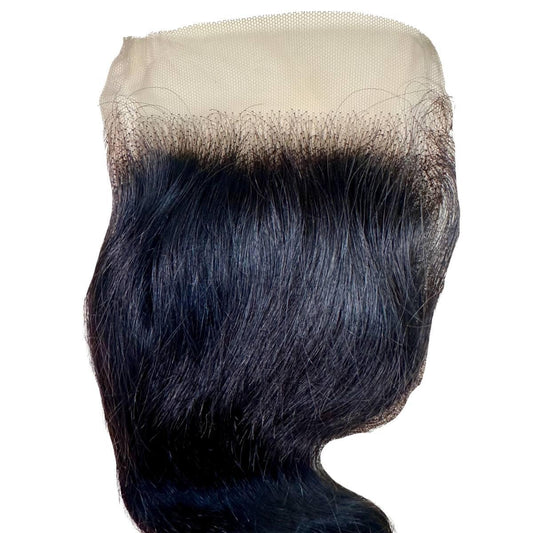
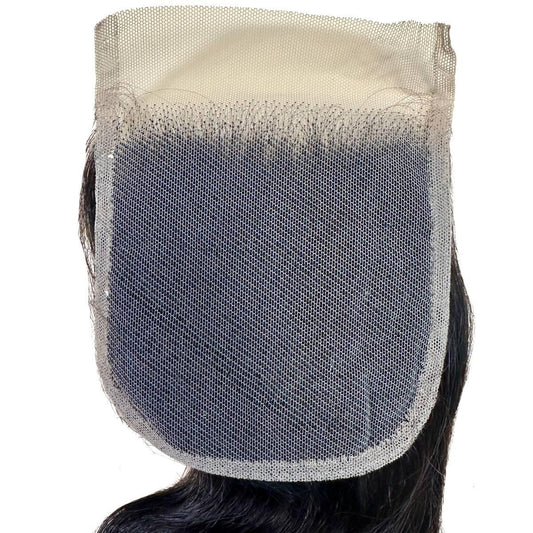
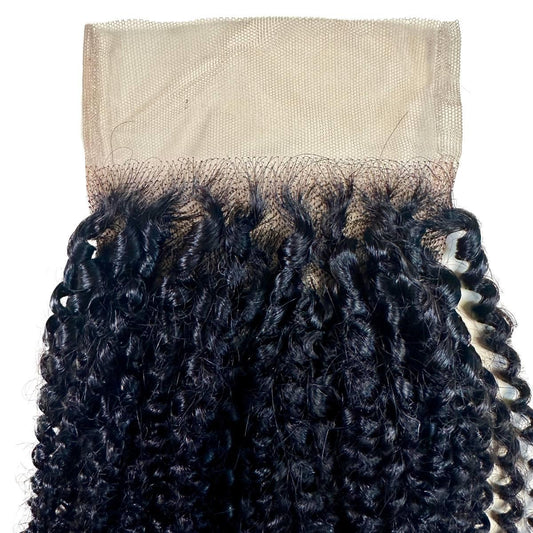
We recommend our cute Afro Kinky 2x6 Closures for this installation.
1 comment
Great guide on installing a 2×6 lace closure at home! It’s detailed and easy to follow, making DIY hair projects much more approachable.