


1260 Memorial Drive
Atlanta, Georgia 30316
404-458-1330
Customizing Your 4x4 Lace Closure: Bleaching Knots and Tweezing the Hairline
Mikey MoranHi there, If you’re like me, who is just getting in touch with way “advanced” girly things.
You look at a wig sitting pretty on a pretty girl’s head and wonder, “I know this is a wig, it’s not her natural hair, so how the hell did she get it to look so natural looking and match the color of her skin” girl.
I cracked the code, they are bleaching the knots and tweezing the hairline, that’s the whole secret (or something we didn’t just know until now), you’re welcome!
In this guide, I’m going to show you step by step how you can customize your own 4x4 Lace Closure to look natural, too. The best part is that it is so easy to achieve.
How excited are you?

Step 1: Gather Your Tools
First, let’s gather everything you will need for this procedure:
- 4x4 Lace Closure, The star of the show.
- Bleaching Powder and Developer: Go for a 20 or 30-volume developer for best results.
- Mixing Bowl and Brush: For our bleach concoction.
- Aluminum Foil: To help the bleaching process.
- Tweezers
- Tail Comb
- Shampoo and Conditioner: An excellent sulfate-free option to keep things gentle.
- Gloves: Because bleach and bare hands are not friends.
- Old T-shirt or Your Partner’s T-shirt: To protect your clothes from bleach mishaps.

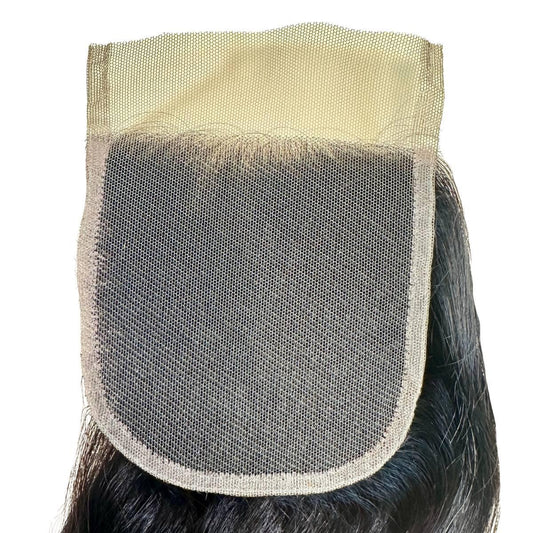
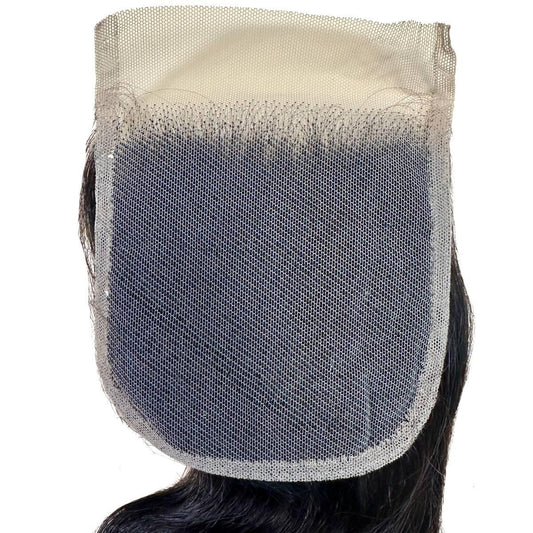
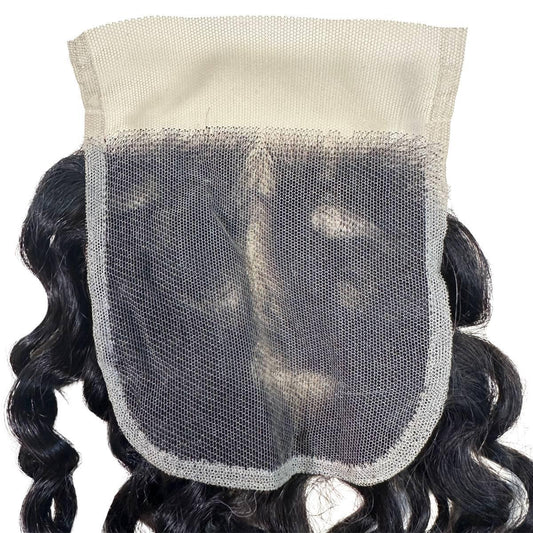
Step 2: Bleaching the Knots
Mix the Bleach: Combine the bleaching powder and developer in your mixing bowl until you get a paste-like consistency.
Test Patch: Always do a test patch with bleach on a small section of the closure to see how it reacts. 4*4 Lace Closures like the Malaysian Straight 4x4 Closures are expensive.
Apply the Bleach: Turn your lace closure inside out and gently apply the bleach mixture to the knots using your brush or a spatula. Be careful not to get the bleach on the hair strands themselves.
I like to start bleaching from the bottom of the 4 by 4 closure and work my way to the front because the bottom is with hair, so it’s dense and needs longer processing time.
Cover with Foil: Lay a piece of aluminum foil under the closure and another piece on top. This helps the bleaching process faster and more evenly.
Wait and Watch: Watch the knots. This usually takes about 15-30 minutes, but check every 5-10 minutes to avoid over-bleaching.
Rinse and Wash: Once the knots are a lovely, bleached blonde, rinse the closure thoroughly with cool water.
Follow up with a gentle shampoo and conditioner to neutralize any leftover bleach and restore moisture.

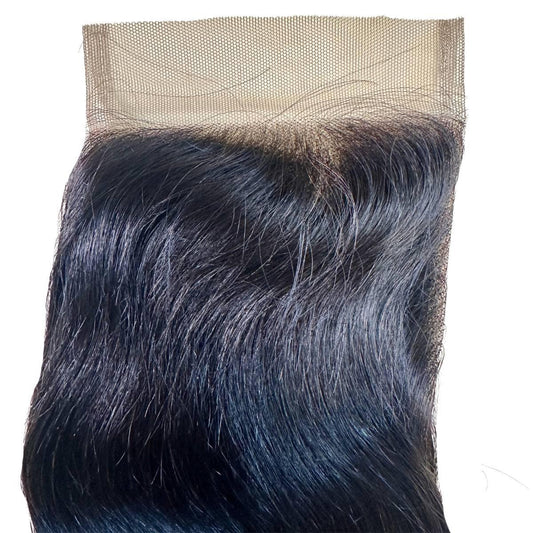
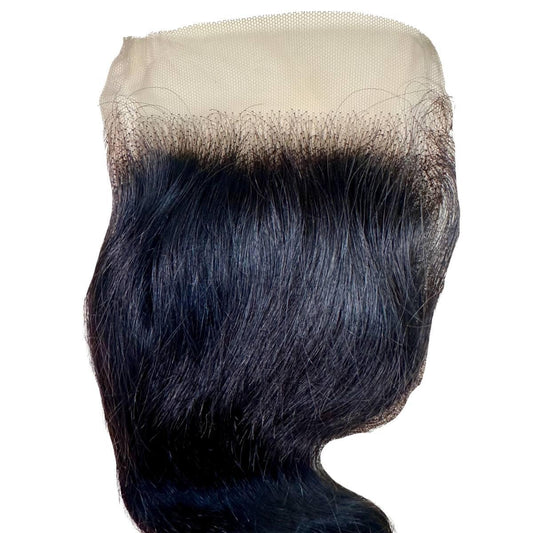
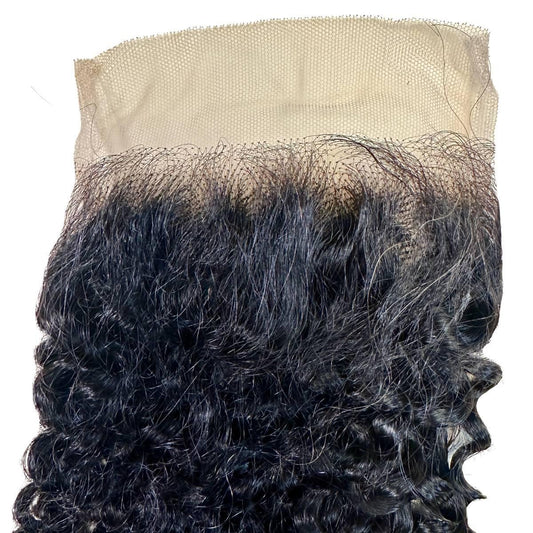
Step 3: Tweezing the 4x4 Lace Closure Hairline
The essence of tweezing is to thin out your closure just a little to mimic our natural hairline. HD Lace Closures usually come with denser hairlines, and that doesn’t help much for what we are trying to achieve, so first:
Secure the Closure: Place your closure on a wig stand or a mannequin head. This will make the tweezing process more accessible and more precise.
Part and Section: Use your rat tail comb to create small sections in the front of the hairline. Clip the rest of the hair back to keep it out of the way.
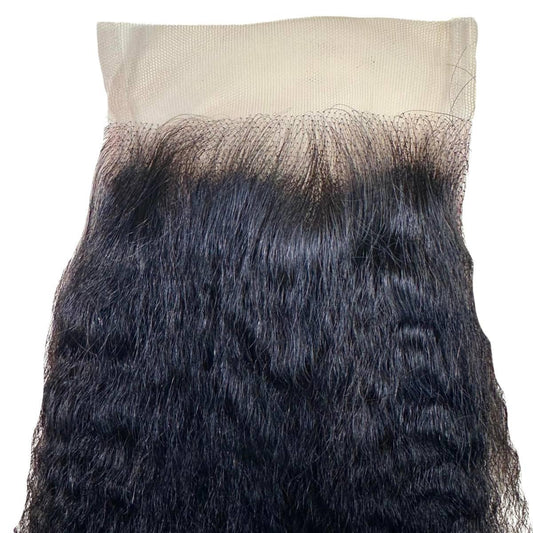
Start Tweezing: Begin tweezing the hairline, focusing on creating a natural, gradient effect. Don’t tweeze in straight lines—randomize your tweezes to mimic natural hair growth.
This is why I like to use an angled tweezer; it just makes creating a natural hairline easier. You don’t want to stay in one area for more than 2-3 seconds so that you don’t give your poor closure a receding hairline.
Check Your Work: Step back occasionally to check your progress. It’s easy to get carried away and over-tweeze, so less is more. Remember, you can always tweeze more but can’t put the hair back once it’s gone.

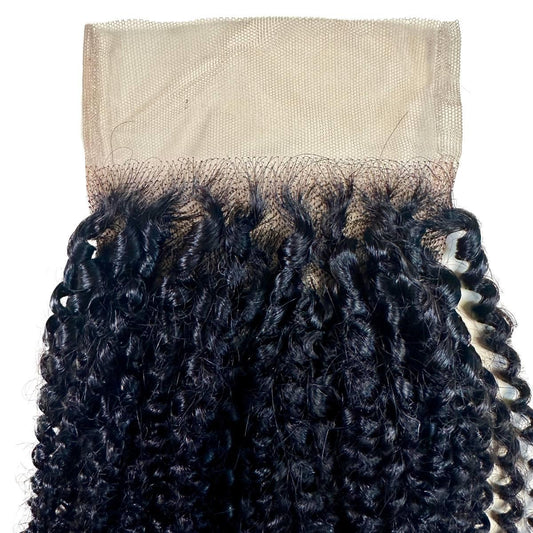
Final 4x4 Lace Closures Touches
Once you’re happy with the hairline, use your tail comb to create your desired parting. Tweeze a few hairs from the parting to make it look even more natural.
That is easy peasy, right?
Check our 4x4 Lace Closures Ultimate Guide to know better!