1260 Memorial Drive
Atlanta, Georgia 30316
404-458-1330
How to Install 7x7 Closure with Bundles
Mikey MoranDo you want to level up your hair game without breaking the bank?
Then, we have the perfect bundle solution for you. A 7x7 closure with bundles is the perfect way to get a salon-worthy look at home.
And no, you do not have to be a professional to achieve a great look with this.
You can install the 7x7 closure as a sew-in or prefer the glue-in method.
You can even go glueless with it. 😋
Regardless of your choice, this guide has got you covered.
Plus, I’ll drop some tips on must-try textures that’ll have you slaying from every angle. Let’s go in, step by step!

Why Choose a 7x7 Closure?
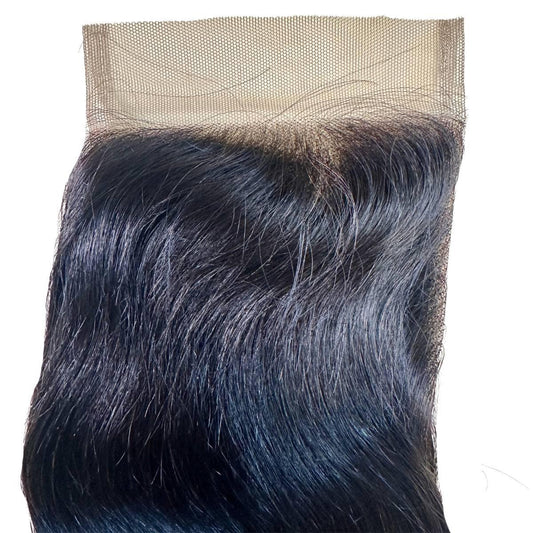
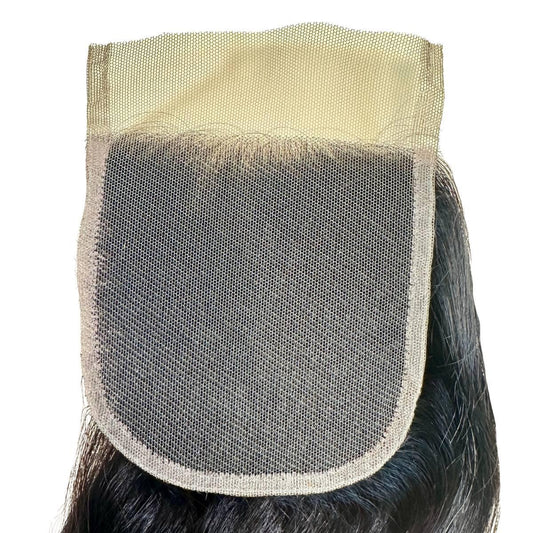
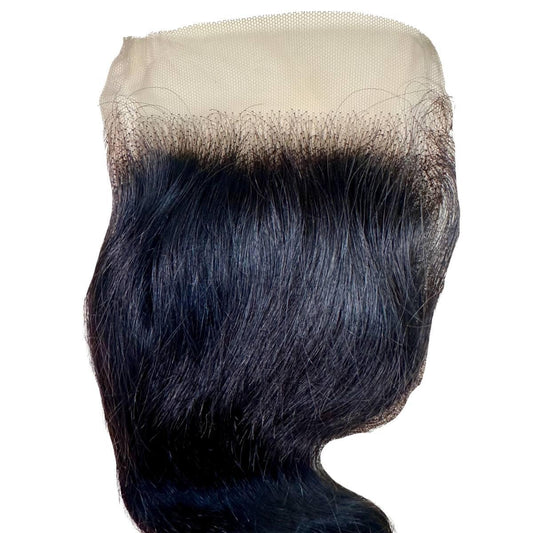
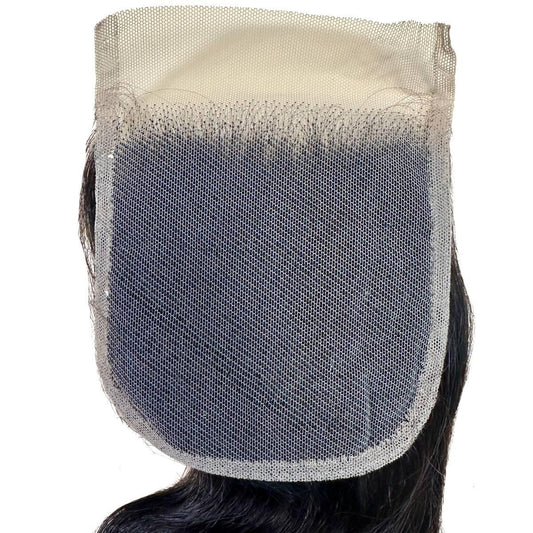
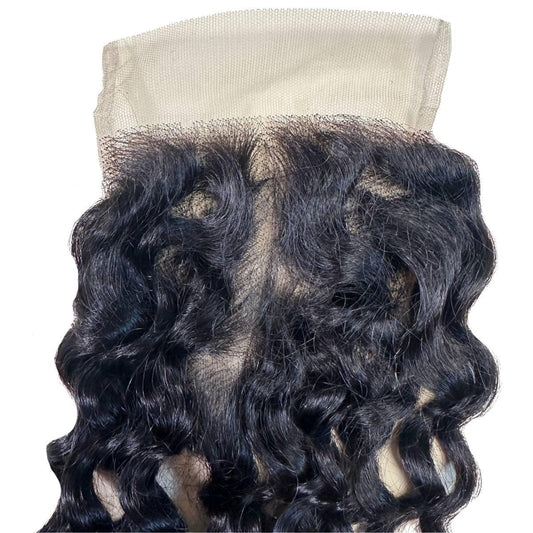
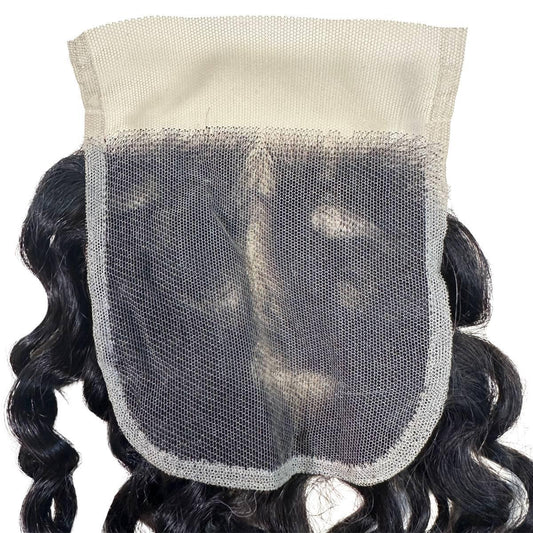
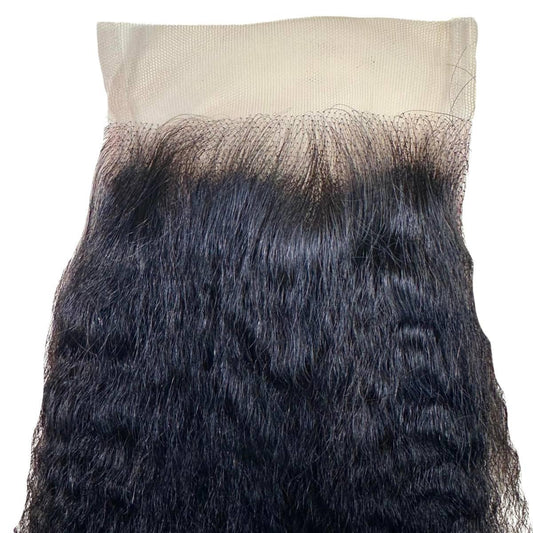
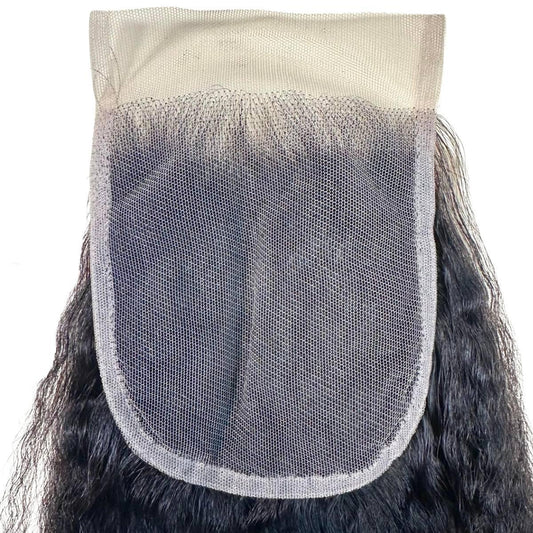
A 7x7 closure gives you more coverage and makes your installation look ultra-natural.
The 7 by 7 means that you have more space to style the closure.
You can go full-center, with side parts, or even no parts at all.
When paired with premium Virgin Hair textures like Kinky Straight or Jet Black Body Wave, you’ll enjoy soft, luxurious, and bounce-ready hair.
 What You’ll Need
Here’s your checklist for a flawless install.
To avoid surprises along the road, make sure that you have these tools handy:
- 7*7 HD Closure with bundles (Check out Straight Bundles with 7x7 Closure for a sleek finish)
- Wig cap or stocking cap (for extra security)
- Needle and thread (for sew-ins)
- Lace glue (for glue-ins)
- Blow dryer (for glue-ins)
- Scissors
- Comb (rat-tail is perfect)
- Hair clips
- Styling tools (flat iron, curling wand, and edge control for the finish)

Step 1: Prep Your Hair & Closure
Start with clean, detangled natural hair, or wear a protective wig cap if you’re working on a base.
Use gel or edge control to lay your edges neatly. Make sure your hair is neatly done and prepped for the process.
Good news—most 7x7 HD closures come bleached and pre-plucked, so you’re already saving time.
Shoutout to Deep Wave Bundles with 7x7 Closure if you’re going for a tousled, carefree look.

Step 2: Position Your Closure
Decide where you want your part—middle, side, or freestyle—and place your closure there.
Decide if there is an angle you would prefer better.
Then, use clips to secure it in place.
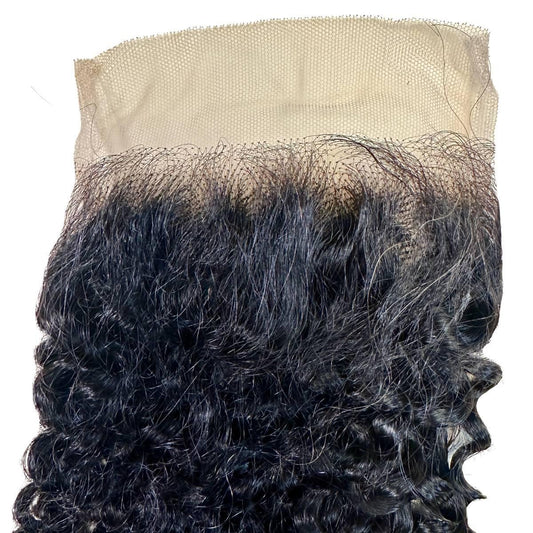
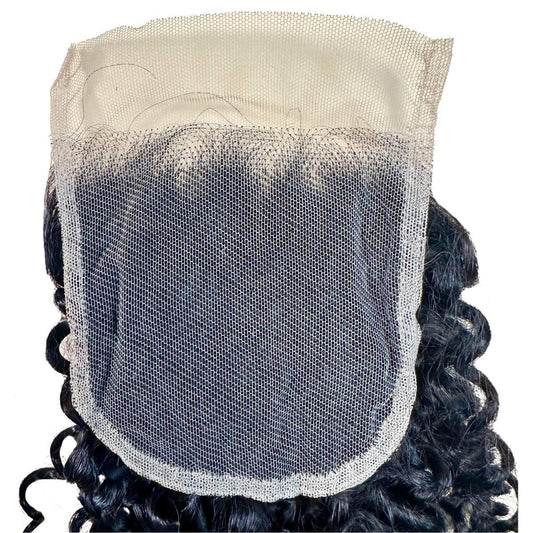
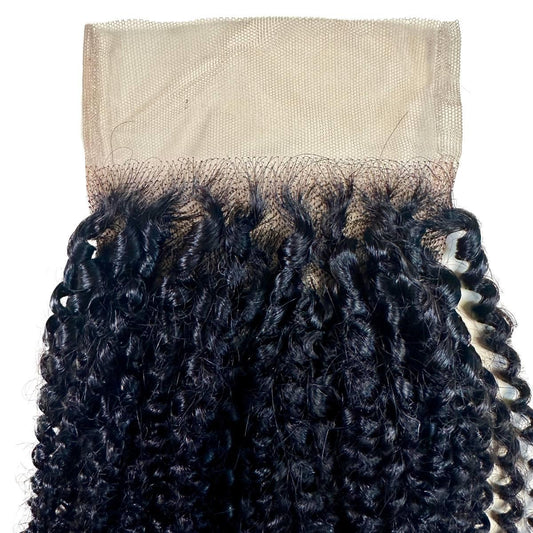
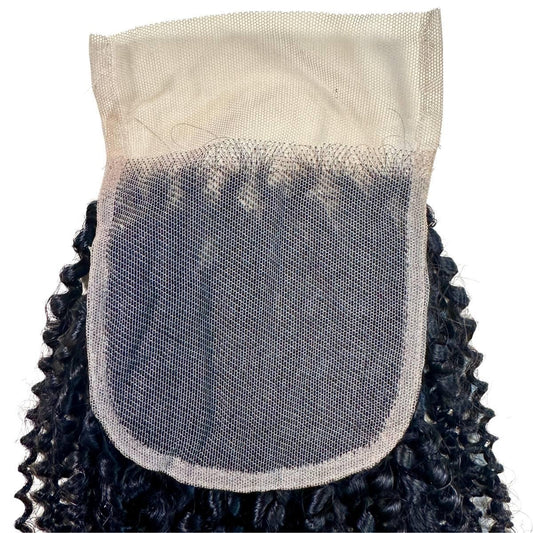
A steady closure ensures a flawless blend with your bundles, especially when working with textures like Yaki Straight Bundles with 7x7 Closure or Kinky Curly Bundles with 7x7 Closure.

Step 3: Sew It Down (Sew-In Method)
It’ll be best to use a dummy for this step.
Thread your needle and start sewing along the perimeter of the closure. Use a U-shaped motion to secure the edges first before stitching the middle.
Make sure your closure is snug but not too tight.
Pair this step with Jet Black Body Wave Bundles with 7x7 Closure.
Their sleek texture makes installation a breeze and gives you a polished finish.

Step 3 Alternative: Glue It Down (Glue-In Method)
Prefer glue?
Apply a thin, even layer of adhesive along your hairline and the underside of the closure.
Carefully press it into place, smoothing the lace to avoid bubbles.
Let it dry for a few minutes before moving forward.
Then, use a hair band to keep it in place while you do the rest of the hair.
Step 4: Add Your Bundles
Now it’s time to layer your bundles!
Start at the nape and sew or glue the wefts row by row, working upward until they meet the edges of your closure.
If you want a full, voluminous look, use at least three bundles. Jerry Curl Bundles are perfect for bold, defined curls that make a statement.

Step 5: Trim, Blend, and Style
This is the moment you’ve been waiting for—the grand finale.
Start by trimming the lace from your closure. Use sharp scissors and work slowly to avoid cutting too close to the hairline.
Follow the natural curve of your hairline for a seamless finish.
If you’re a beginner, you should cut in small sections for better control. Then, afterward, you go ahead and blend it into your skin.
This step is all about making your bundles and closure look like they grew straight from your scalp.
If you chose a straight bundle, use a flat iron to make it even sleeker. Then, a curling wand to add soft waves or bouncy curls.
For a flawless look, make sure the closure hairline blends with your natural edges or protective wig cap. Lightly fluff the bundles for added volume and dimension.
Lastly, finish strong with these touches:
- Apply edge control to sleek your baby hairs or add natural swoops.
- Use a lightweight mousse to define curls, tame frizz, or smooth flyaways.
- Spritz a light shine spray or hair serum for that “just-left-the-salon” glow.

Get the Most Out of Them
Installing a 7x7 closure with bundles isn’t as intimidating as it seems.
The key is preparation and the right products. And your hairstyle will be Instagram-ready in no time.
Have you tried installing a 7x7 closure at home? 🏡
Drop a comment below and share your favorite textures, styling hacks, or questions—we’d love to hear from you!
Read more about 6x6 Closure with Bundles.

