1260 Memorial Drive
Atlanta, Georgia 30316
404-458-1330
How to Disguise Your Hairline with Straight Closures
Mikey MoranThe models on your screen always have a perfect hairline. Is that how their natural hair is?
Or is there a specific technique they use? You have all of these questions on your mind. Many models have great hair, but you can achieve looks like that, especially with hair extensions.
Closures are your best friend for a natural hairline. Among the many types of hair extensions, closures are the ones that fully protect your hair. They are a great protective style as they completely cover your scalp. But you also want to make your hairline natural. Other weaves usually leave some hair to blend with the weave and cover tracks.
But not closures; they cover all your hair while still allowing your weave to look like it is coming out of your scalp. I know because we have the best Straight Closures at Private Label.
But after buying them, you still need to install them and make that hairline look natural. So, let's learn how to achieve a natural hairline with straight closures from Private Label.

The Full Range of Straight Closures
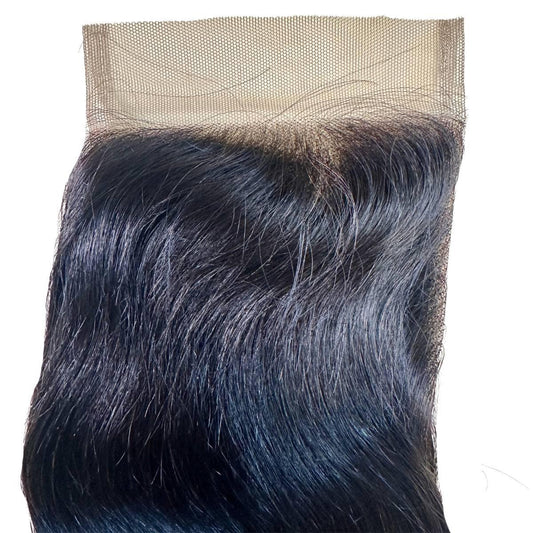
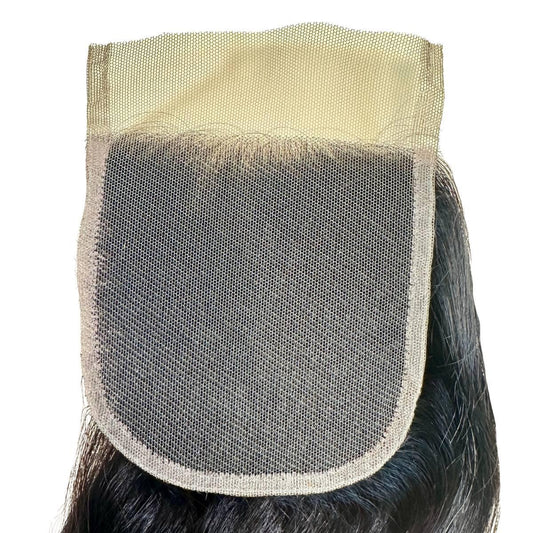
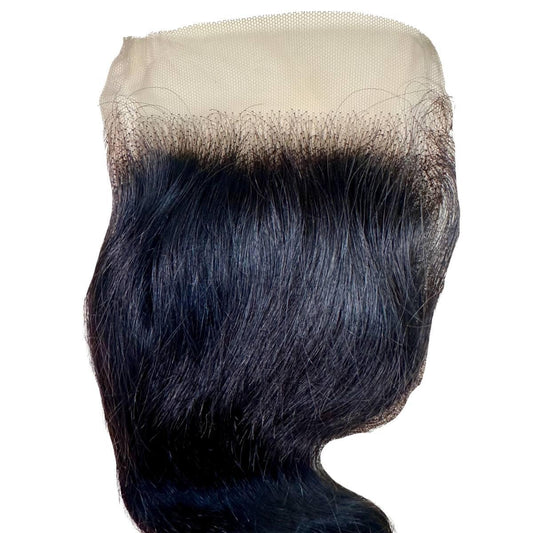
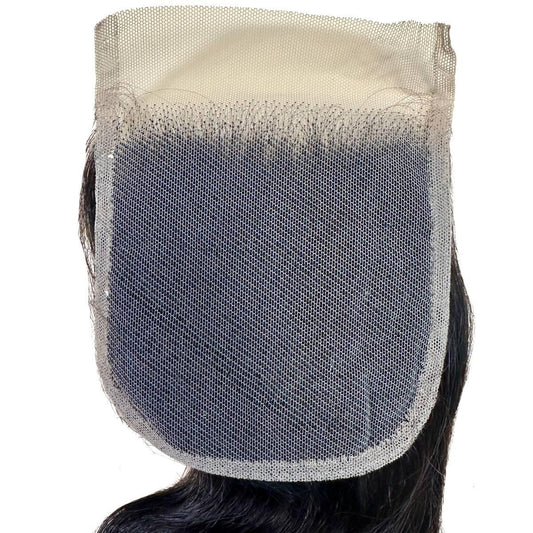
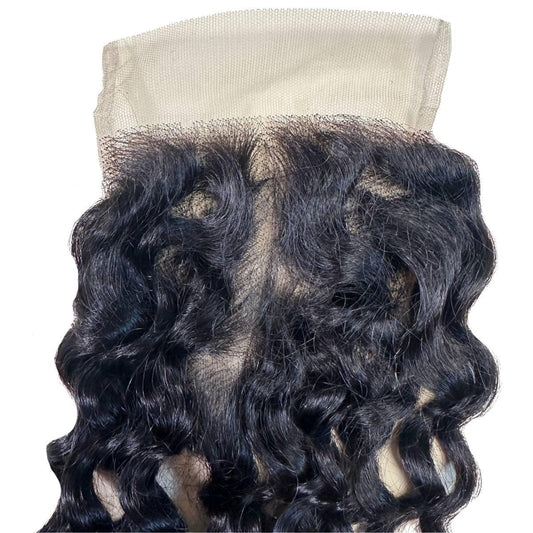
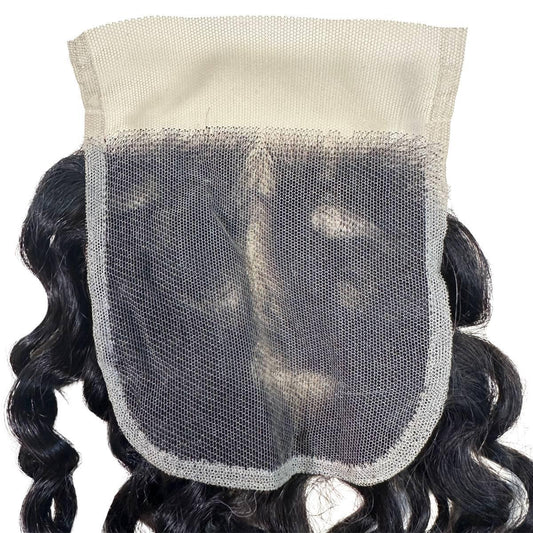
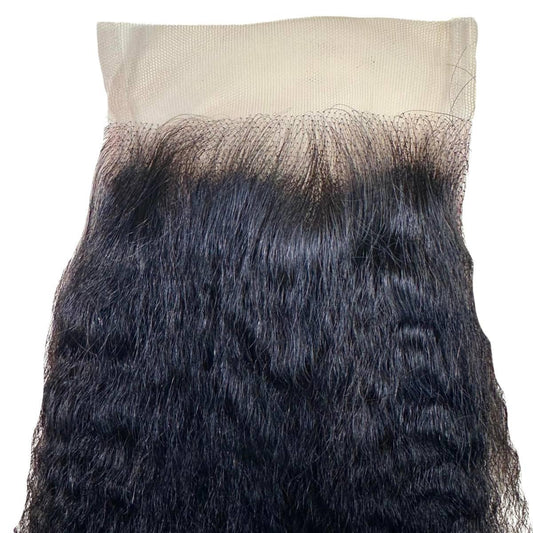
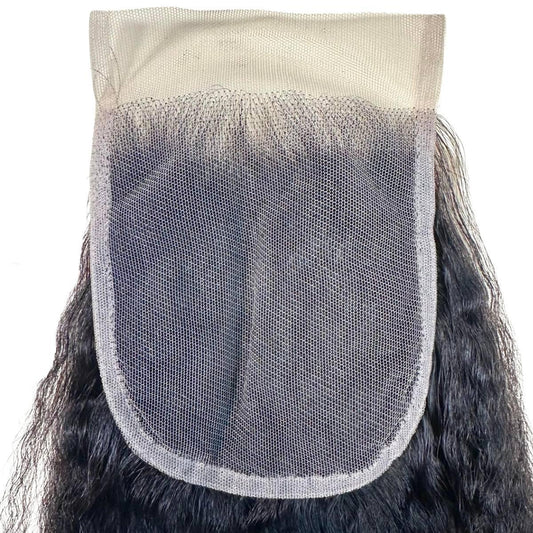
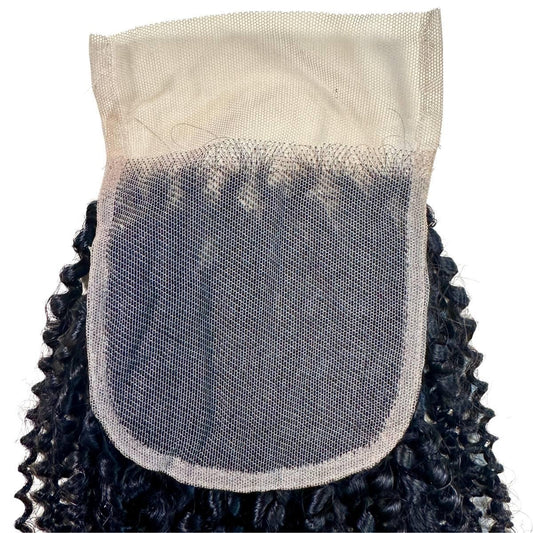
Lace closures are full-coverage hair attachments that protect natural hair. They can be added to a sew-in or a human hair wig. Unlike tracks, closures attach to a lace base, allowing them to resemble scalps. The base mimics a scalp and consists of a piece of lace fabric with numerous single hair strands attached.
They come in various sizes. The most common one is the 4x4 Straight HD Closure. It is a simple rectangular-shaped closure. The most common ones are the Malaysian Straight 4x4 Closure and the Straight 4x4 Transparent Closure, both of which are available.
Aside from the common 4x4, there are also varying sizes that all work to improve functionality, reduce cost, or give you more styling options. If you want the simple center parting without switching it up, try the Straight 2x6 Transparent Closure and the Silky Straight 2x6 HD Closure.
Another option is the 5x5 straight closure, which is only an inch bigger than the 4x4. With her, you can try more styles and a larger canvas to get the look you want, such as the HD Brazilian Straight 5x5 Closure or the Brazilian Straight 5x5 Transparent Closure.
The 6x6 and 7x7 lace closures follow, and they are more significant as the numbers increase. With them, you get fuller coverage and more options to style your hair.
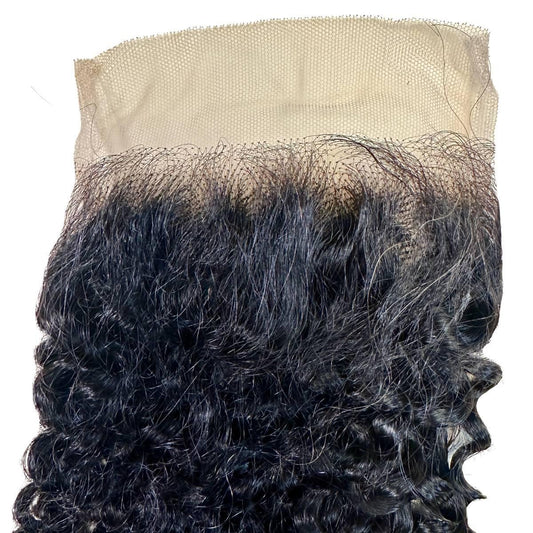
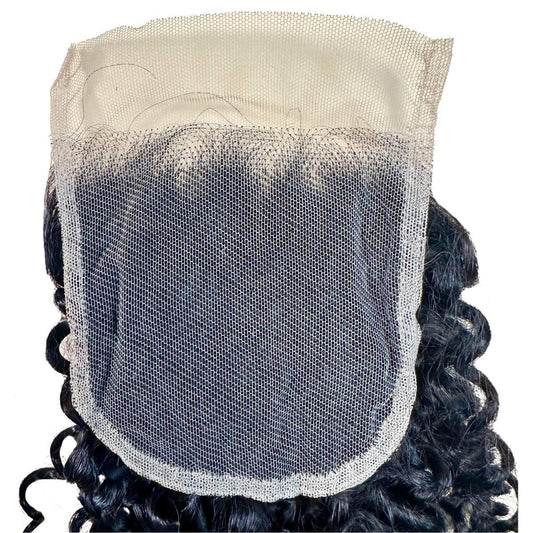
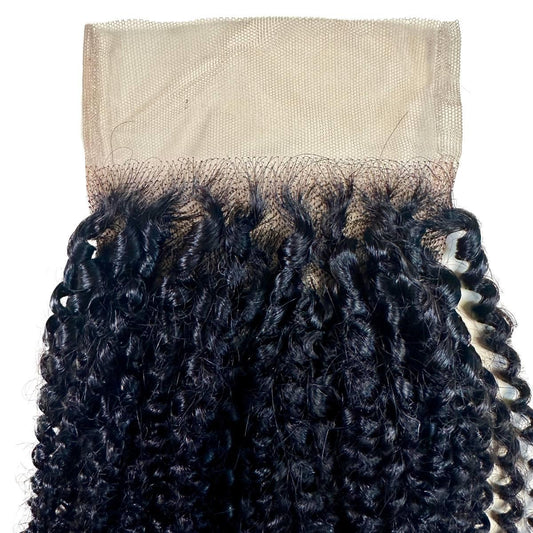
There are also various textures, from straight, wavy, and kinky to curly, allowing you to achieve almost any style with a natural-looking part.

How to get a Natural Hairline with a Straight Closure
Do you plan to install the hair yourself? Then, you need to prepare yourself for it carefully. Funny enough, all you need is a great first time to learn it, and it will only improve.
Getting a natural hairline with a straight closure involves careful preparation, installation, and styling. Let me help you with a straight closure step-by-step guide to help you create a seamless, natural-looking hairline:
Select the Right Closure
The best quality human hair will give you the most natural result. With Private Label, it's as if your scalp is right there.
With HD lace closures and additional space for parting, you can style your hair effortlessly in various ways. Also, go for a closure with a density that matches your natural hair to avoid a bulky look.
Prepare the Closure
The best way to create a natural hairline is by bleaching the knots. This helps to make the lace look more like your scalp by lightening the knots where the hair is tied. This step often starts with applying a bleach mixture to the underside of the lace closure.
Leave it on for about 15-20 minutes. However, some closures come pre-bleached so that this step might be optional. If it comes without this, you can also give it to a professional to help you with this step.
Customize the Hairline
Another way to make the hair look natural is by individual plucking to mimic your hairline.
For this, you should have a dummy you can pin on. Then, using tweezers, carefully pluck hairs from the hairline to thin it out, mimicking a natural hairline. Make sure you pluck in small sections and periodically step back to check the progress.
Prepare your Natural Hair
The closure will only work better when placed on properly braided hair. Braid your natural hair into cornrows or flat twists to create a flat surface.
Then, wear a protective wig cap that matches your skin tone or use a foundation to blend the cap with your scalp color.
Install the Closure
- To look natural: Align the hairline directly with your natural hairline.
- Use a lace frontal glue along the perimeter
- of the closure.
- Apply a thin adhesive layer along your hairline, wait until it becomes tacky, then press the lace down gently.

Blend the Closure with Your Skin
To go a step further, try to match the parting of the closure to your natural skin color. Apply a foundation or powder that matches your skin tone to the lace parting and edges.
You can also use edge control gel to style baby hairs around the hairline for a more natural appearance. Another way to make it natural is to use a flat iron to straighten the hair for a sleek look.
Then, create a part in the closure that mimics a natural part in your hair.

Tips for a Natural Look
The steps above can take you 99% of the way, but just to be sure, here are some extra tips to help you get the natural hairline:
Thin Out the Closure: Besides plucking the hairline, you can lightly thin out the rest of the closure to match your natural hair density.
Baby Hairs: Create a few hairs around the hairline and use edge control to style them naturally.
Regular Maintenance: Keep the closure clean and adequately conditioned to maintain its natural look with the right straight closure care routine.
What other ways can you achieve a natural hairline? Please share your ideas with us in the comments, and get the best straight closures from Private Label!

