


1260 Memorial Drive
Atlanta, Georgia 30316
404-458-1330
Expert Tips For a Flawless Lace Glue Application
Mikey MoranIt’s great satisfaction when doing your hair in a completely different look and style, and lace glue is an essential key element in the installation process since it helps you achieve that seamless bond.
The world of lace fronts can be a total minefield for beginners looking to style those natural looks.
Knowing the lace glue application knowledge is vital to that natural look. In this article, you will learn a step-by-step process to ace that lace glue application and elevate your lace game with confidence and style.

Prepping the Wig
When getting your lace wig, the knots on the lace connected to the hair strands will make an impression that the lace of the wig is not from your scalp.
The first step is bleaching the knots to make it almost see-through, making it look like it is coming straight from your scalp.
Mix bleaching powder and a volume developer into a thick paste, apply it, and leave it on for 15-20 minutes.
Rinse it off, then wash it off using a shampoo, which tones the knots so they don’t turn orange.
A tip will be not to over-bleach the knots, which will give the lace a bright orange or screaming white roots, which are not a great look; also, if you need to tint your lace with foundations, avoid those with orange undertones and lean more towards those with cooler undertones which are the perfect shade.

Plucking the Lace Wig
Plucking is the process of getting rid of the excess hair around the hairline of a lace front wig.
When it comes to lace wigs, it's all about the hairline. The goal is always to achieve that sleek and seamless wig.
Pluck your wig with a LED Plucking Tweezer to tailor-suit your hairline unless you want that helmet effect.
You can opt to work with wet or dry hair; plucking wet hair is more accessible for moving around and controlling while plucking dry hair is all about the truth of the wig’s density.
With your mighty hand, start with your hairline above your ear and work towards the middle.
Take your time since if you over-pluck, there is no going back, bearing in mind that you are dealing with the hair, not the lace.
The goal is to make your entire front wig look dense.
Once done, comb out the excess hair you have plucked, and eventually, you will get that natural-looking hairline.

Installing and Securing Your Wig
After prepping your wig, we can start the lace glue installation process. You will start by securing your natural hair by either braiding or twisting it.
The next step will be getting an elastic wig cap that matches your skin tone to make it look natural. Using the pinky finger rule, put your wig cap on.
Cutting the Lace
Cutting a lace can be discouraging if you don’t have the skills since it’s not as simple as cutting that piece of paper.
Be careful and gentle when cutting your lace, as you don’t want to damage your wig.
Carefully, with a pair of sharp scissors, trim the excess lace using the zigzag method centimeters away from your hairline.
Always it's best to have excess lace still left rather than trimming too much, cutting it through the hairline as you can always trim away any visible lace once you have put on your lace
Cleaning and Prepping Your Skin
You want to ensure your work area is clean during the lace installation.
You can clean your hairline with alcohol, pads, clean water, or a lace cleaner to remove any residue, such as oils, makeup, sweat, or dirt, that will prevent the strong lace glue from holding properly.
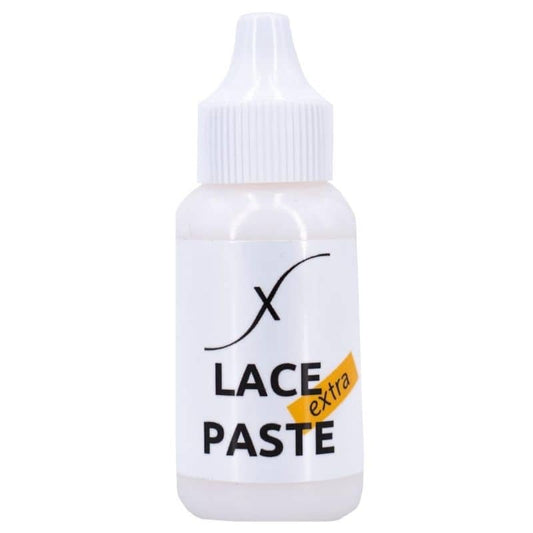
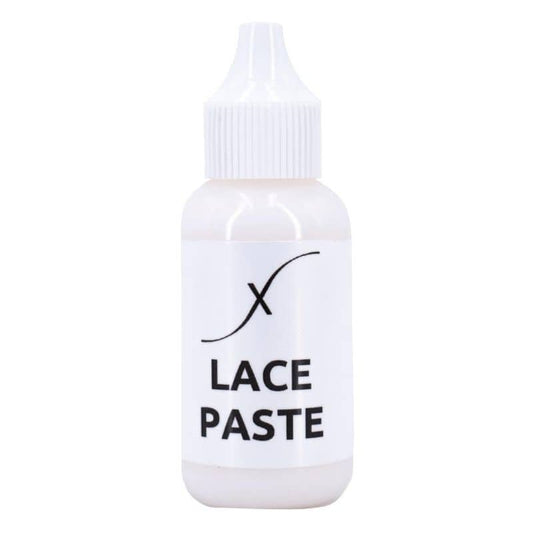
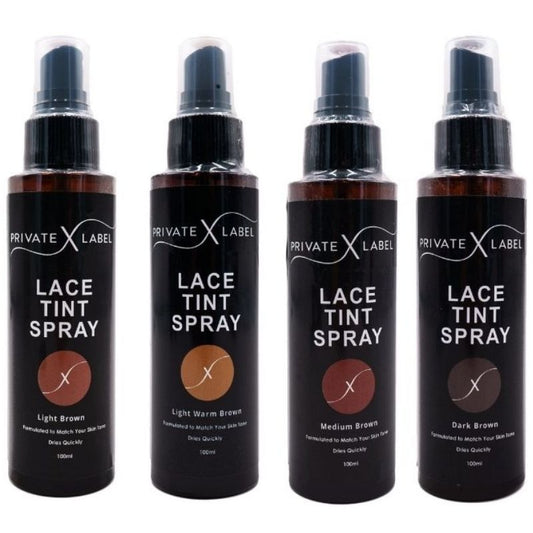
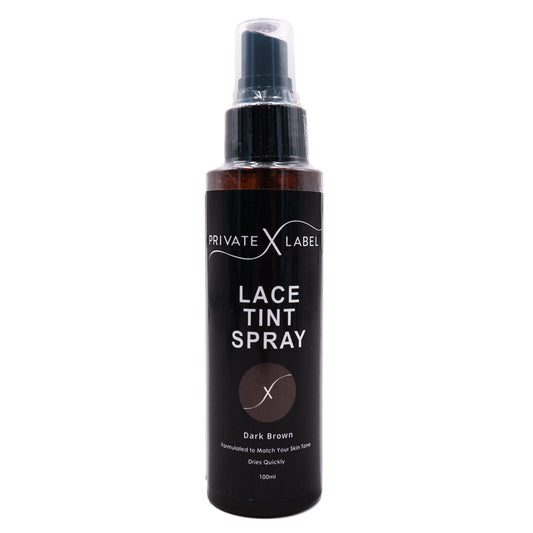
Using the Lace Glue
When laying down the wig, choose a lace glue that will provide the maximum hold and be gentle and friendly on your scalp.
If you have sensitive skin, you can use a lace glue barrier. Apply the lace glue in a thin line in small dots around your hairline away from your edges.
Afterward, smooth it out using a rectal comb and wait for it to turn clear. Once set, repeat the process:
- Layer the second layer of your waterproof lace glue.
- Could you wait for it to be tacky?
- Put your wig on to make it easier for the lace to melt for that seamless look.

Attaching Your Wig
Press down your attached wig using the back of a rat-tail comb and press the lace down until it is attached to your head.
After that, try tying it down using a silk scarf for a few minutes until it is well secured.
Melting and Styling the Lace Down
This is crucial to melting the hairline to make it look natural and completely undetectable.
Use a freeze spray, spray it well across your forehead, and press it down to remove that harsh line and achieve that natural-looking hairline.
You can use a satin scarf or heat to mesh the lace to your skin.
Cutting The Wig's Baby Hair and Styling the Wig
If your unit doesn’t have precut baby hair, you can cut and style it yourself. You can take the frontline of the hairline across the entire front a few inches, then mold and style it with your edge control.
Styling your wig depends on how much your unit can be manipulated.
You can use a lace tint mousse, then tie it down with a silk scarf or a lace band to cure it with a blow dryer, then press out the hairline and part with a hot comb to make the installation look natural and more realistic.

Impress Them With an Invisible Lace Glue
As we conclude this step-by-step guide on practicing your complete installation application, you can close that wanting a flawless fit and achieve a perfect fit gap by customizing your lace.
Achieving that stronghold and a flawless look is a practice that can be mastered with the right skills and knowledge.
Following the above steps will ensure your wig's longevity and boost your natural look and confidence in styling.
The lace fronts are versatile, and you can transform them to any unique style you desire; the possibilities are endless; remember, with that perfect hold and distinctive style, you can step out with the assurance that your lace wig is beautifully secured.
3 comments
This guide is incredibly helpful! I never knew how important it was to bleach knots and pluck the hairline for a more natural look. The step-by-step instructions for applying and securing lace glue are clear and practical. I especially appreciate the tips on how to cut the lace and manage the wig’s baby hairs. Excited to try these techniques for a flawless lace wig installation!
Great article! These expert tips are spot on for achieving a flawless lace glue application. The step-by-step process, from prepping and plucking to styling, really helps in getting that natural, secure look. Thanks for sharing these valuable insights!
Great guide! How long does it typically take for the lace glue to dry before you can confidently style your wig?