1260 Memorial Drive
Atlanta, Georgia 30316
404-458-1330
How to Apply Tape-Ins: The Perfect Install Every Time
Mikey MoranTape-In Tips!
Expert weave-o-linguists around the world ensured that their client’s frontals, closures, lace-wigs, clip-ins, tape-in extensions, or sew-ins were installed so flat, and seamlessly that many of us could not tell if their 30 inches had always grown from their scalp or if it just popped up overnight.
However, one hidden gem that may arguably leave you with the most natural-looking install: tape-in extensions.
Tape-ins became a hot topic of discussion after Kim Kardashian exposed the process behind the install of her 40” bone straight hairstyle.
After seeing the reality star with a bob for half of the year, it was almost amazing how flat the top of her hair seemed with the added length.
Few outsides of the styling community realized that it was not a lace unit that the reality star used to achieve this look.
In fact, Kardashian’s stylist used the traditional sew-in wefts to fill in the middle and back of her hair, and then left the top of her bob out of the braid pattern, only to be in between 100 grams of tape in extensions.
Using this dual method on installation ensured that the top of her hair was on “flat flat” as Drake would say on a DJ Khaled beat, and exposed the tape-in hair extension method to the masses.
Keep reading if you would like to find out how you can install these magical tapes in extensions at home a re-create a seamless and flat install and check this full tape-in guide.

What are Tape-In Hair Extensions?
First, let’s talk about what tape-in extensions are precise.
Tape-Ins are a form of semi-permanent extensions. They are amazing because they do zero damage to your hair.
Unlike their counterpart, clip-in, the tapes do not have a clip pulling or weighing down on your root, and you do not have to take them out every night!
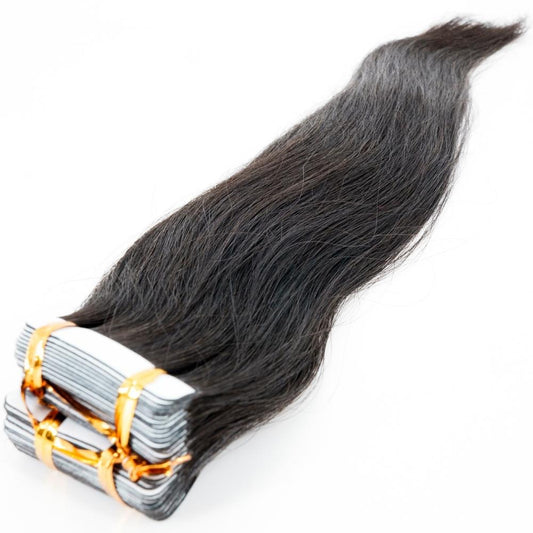
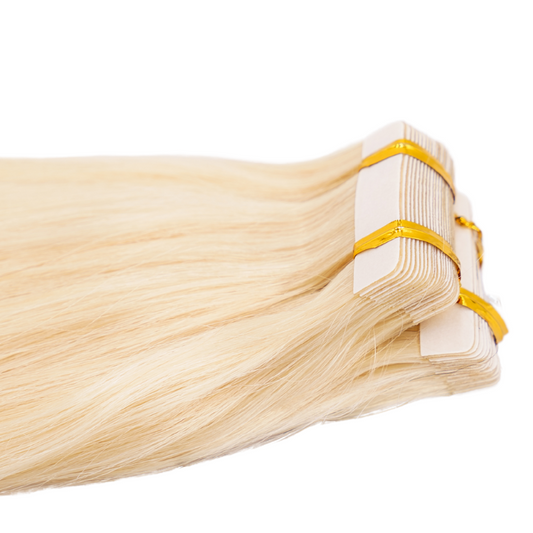
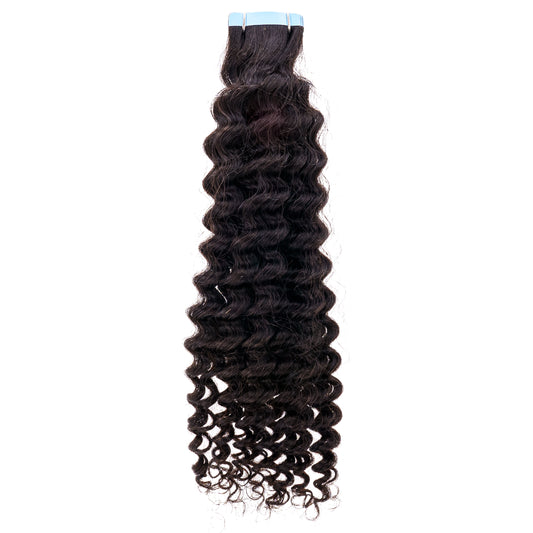
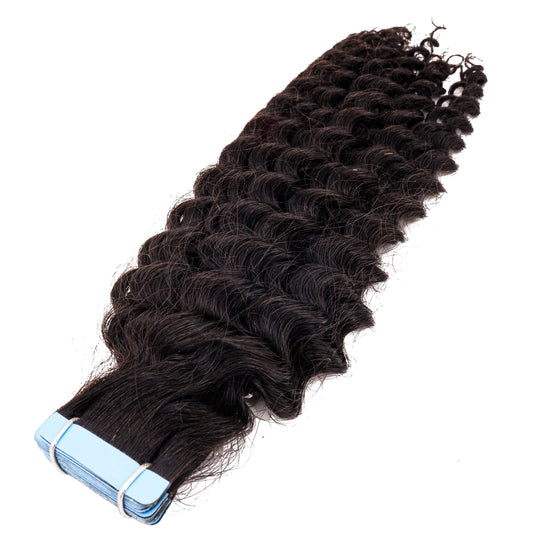
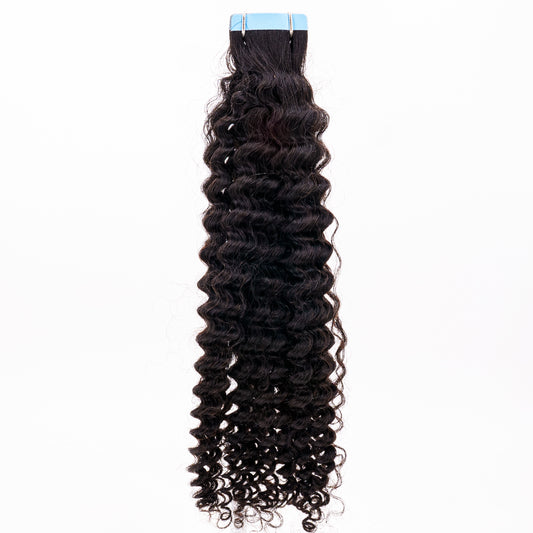
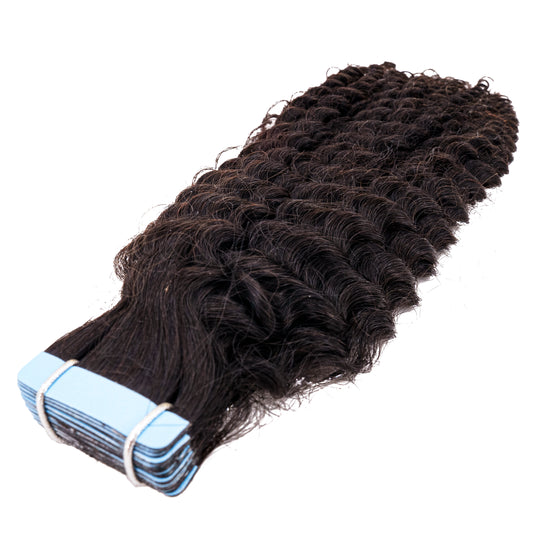
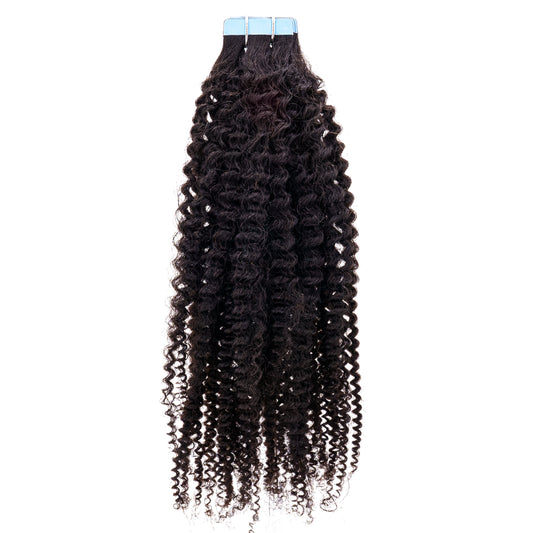
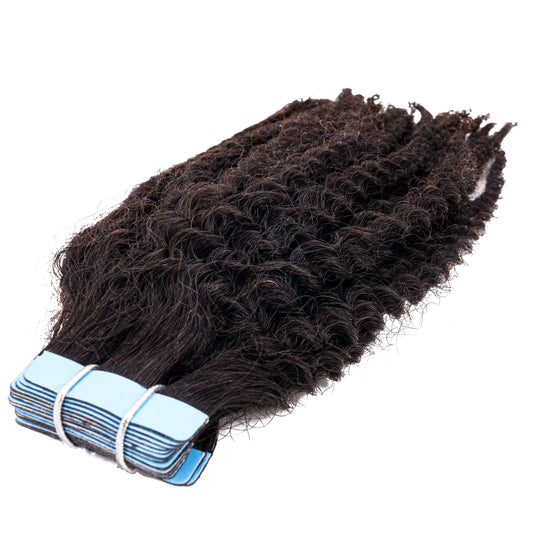
Most packs come with 40 pieces of extensions. Like this Kinky Straight Tape-in here.
Those 40 pieces are enough to create 20 “sandwiches,” or bonds (more on that later).
I do recommend between 1 to 2 bundles of these 40 pieces to install these extensions depending upon the fullness of the look you are trying to execute.
Each “bundle” is 20” in length, and they weigh 100 grams total.
You can usually get 2 to 3 “packs” in one package from Private Label Extensions so be sure to pay attention to the grams noted on the packing when you are ordering.
One-piece, inside of the tape extension bundle has a piece of double-sided tape where you would typically sew the weft.
One side of the tape is stuck to the weft and to apply the tape in extension, you should peel the piece of paper off so that the sticky side of the extension is left exposed.
This is the side that you attach to the root of your natural hair.
You need two pieces to attach to each side of the section you are bonding to create the “sandwich” referred to earlier.
How to Apply for Tape-In Hair Extensions
You want to work with immaculate and straight hair if the tape-ins you are using is straight. Be sure not to over-moisturize your roots during the straightening process.
First, measure the section of your hair you are applying the “sandwich” to, against the extension.
The hair you are sectioning from your head should be the same width and length at the extension piece.
Place the extension underneath the section of hair you have grabbed, if you want to keep the maintenance down on this install be sure to get the taped weft as close to your root as possible.
HINT: You will know you need to reapply your tape-ins in a few weeks once it begins to slide down your hair shaft. Replacement Double-Side Tape could help you with that.
Press down on the natural root that you have placed on top of the extension.
Now grab another piece of extension and “sandwich” that piece on top of your natural hair that has the tape-in applied to the bottom of it. Press down on that top extension.
A helpful tool that you might appreciate during this process is the Pro Tape-In Applicator.
That's it!
If you're creating the illusion of highlights, this would be a good time to change colors and alternate colors.
An optional step would be to take a Flat Iron or heat tool and enclose the section of the root that you have applied your “sandwich” to for a brief second. Doing this will bond the adhesive to your root and secure the tape in.

Tape-In Placement
Placement with tape-ins will differ only slightly from how you would map out a traditional sew-in.
Remember, you are not dealing with a conventional weft that is flexible and continuous.
You are using pieces of weft that are about 2 inches, so you should measure where you want each piece to go to plan and execute your look efficiently.
First, You want to map out where your existing hairline is and leave a good inch around your hairline that you will leave free of extension.
This will help you want to wear your hair up. That what you will not see any tape poking through.
Think of this step like you would a minimal leave out sew-in. Then, starting from the bottom, you can begin to apply the tape-ins.
You will pretty much start with two hair extensions pieces.
(This will vary depending on head size, but for the most part, you will begin with two pieces at the nape of your neck).
After applying that row, you want to leave one row of hair (1 centimeter in width) out on top of the extensions before you apply the next row of tape-ins on top. And Repeat.
As you proceed with applying the tape in you, want to layout the extensions like bricks.
This method is to ensure that you never have a distinctive row of gaps in your hair.
Always brick-lay the extensions on top of the previous row of extensions to get a seamless result.

Back
When doing the back section, you do not want to do the sides.
A section from the crown to the bottom of the ear and apply for the extensions straight across, then work on the sides separately.
You may want to experiment with placements on the sides of your head.
Sides
Some of you may choose to apply the tape-ins at a 45-degree angle instead of applying horizontally. An application method like this helps if you are going to be pulling your hair up.
You can get more tape-ins installs this way and have a flatter application.
Top
Apply tape-ins on the top of your head according to how you want your part.
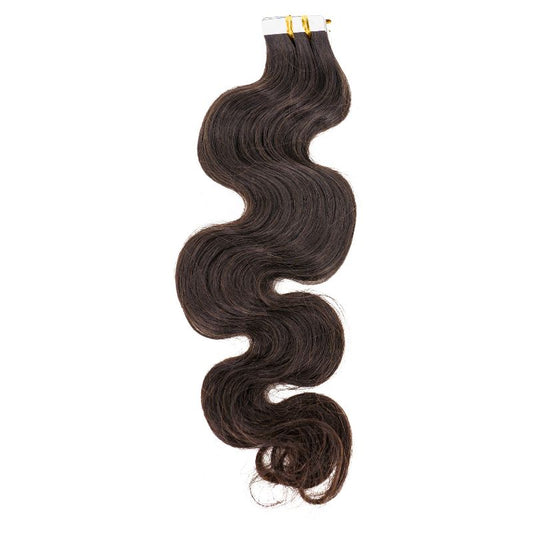
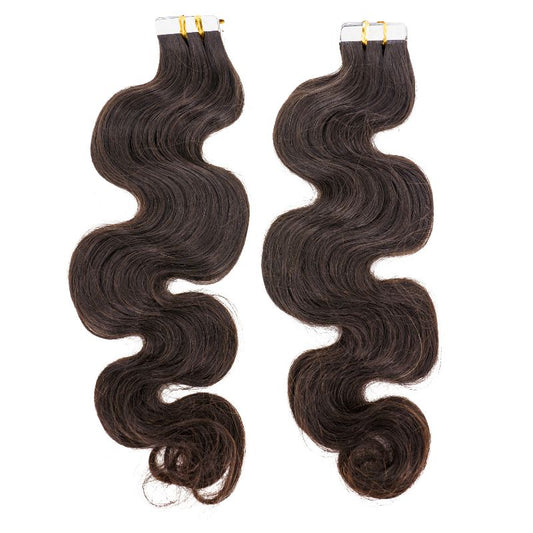
This process is for any hairstyle not necessary the straight style as the Kinky Curly Tape-in Extensions might look better on you.
HINT: Do not bend the tape-in too much you do not want to act as if you have the same flexibility as you would with a sew-in weft.
Once you have your tape-ins installed, you should cut and style them to blend with your natural hair. Be sure to stay away from water for at least 48 hours after applying tape-ins so that they can seal properly.

Quality is always essential for the longevity of your extensions so the better the hair quality, the longer it will last in your hair!
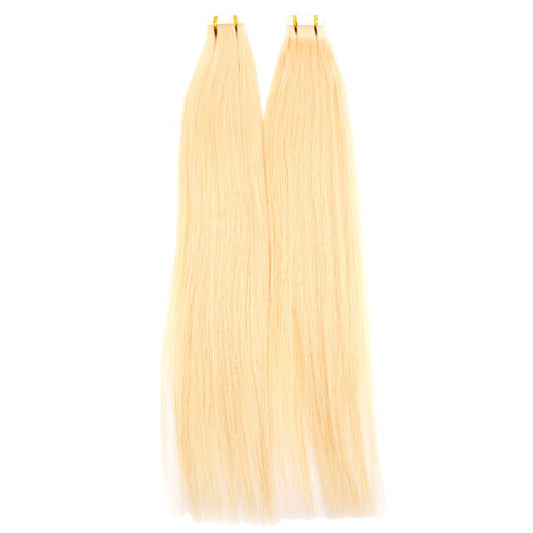
Private Label Extensions offers 100% human hair extensions in various colors for you to purchase.

1 comment
This post provides a clear and detailed guide on how to apply tape-in extensions for a natural and seamless look. The tips on preparation, placement, and maintenance are especially helpful. Thanks for the valuable information!