1260 Memorial Drive
Atlanta, Georgia 30316
404-458-1330
Clip-In vs. Tape-In Extensions: A Convenient Hair Battle
Mikey MoranWhen it comes to hair extensions, the sole purpose of us wearing them is versatility.
Am I right, or am I right? These days there are alternatives to wearing extensions beyond wigs, quick weaves, and sew-ins.
Thankfully there are some alternatives to wearing tension related extensions.
Tape-ins extensions and clip-in extensions and are this alternatives!
Here at Private Label Extensions, we offer both clip-in and tape-in extensions.💪🏾
They allow your hair to breathe in between installs. They will also give you more direct access to your scalp.

About Clip-Ins & Tape-Ins
People all over the world aren't strangers to clip-ins, but they seem to be coming back in style since this new era of YouTube DIYs. Clip-ins are just wefted hair with wig clips attached.
You can purchase them already made or make them yourself.
If you are anything like me, I love to save a good coin. I have made my own clip-in extensions with leftover hair of mine.
All you need is high quality hair extensions or any hair you prefer and add clips to the base of the weft and then voila!
Tape-ins, you may wonder; what are those right?
Tape-in extensions are the newest alternative extension technique.
They are extensions with polyurethane tape at the weft. Now, I know you read that and thought, "what in the world?".
Believe it or not, many hairdressers have taken this technique and ran with it. Their clients request it and are happily pleased with the results.
The newest craze in versatility is clip-in extensions and tape-in extensions, the two sound similar but they are different, and I will share with you how.
Full disclaimer: I am not here to advocate for either one, but I do hope to educate you about the differences. Once you read and do your research, you can decide which works best for you!

How Are They Made
Let's take a closer look at how to make tape-in and clip-in extensions.
Tape-Ins
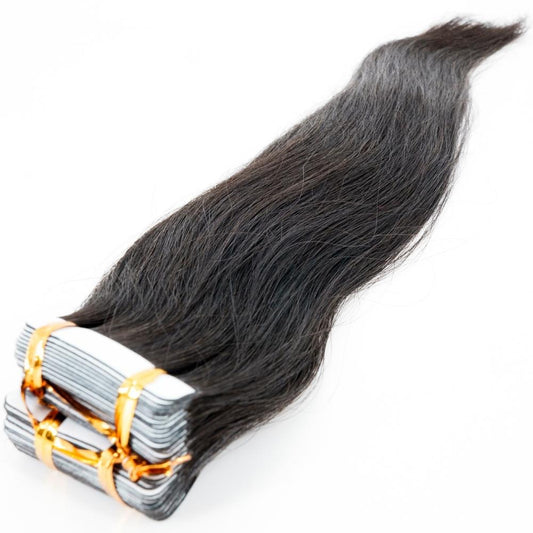
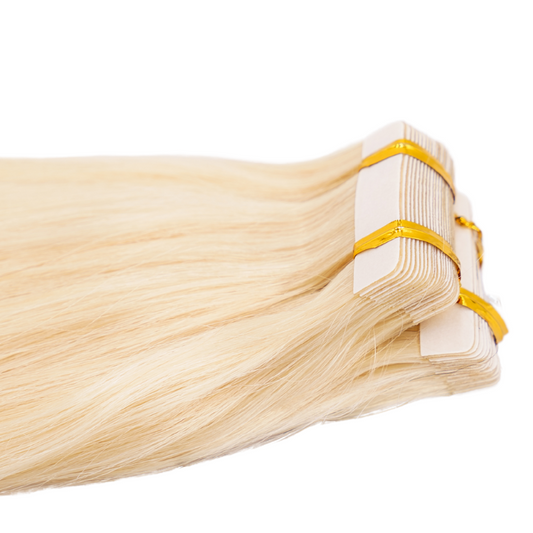
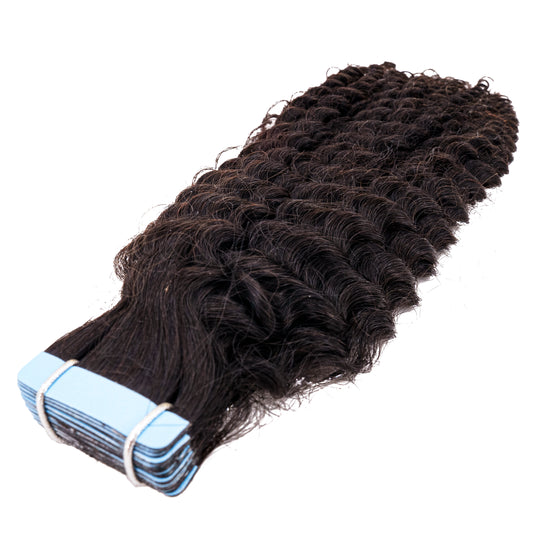
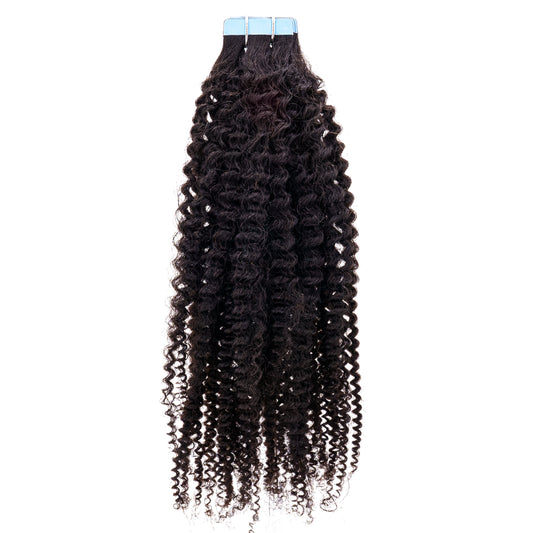
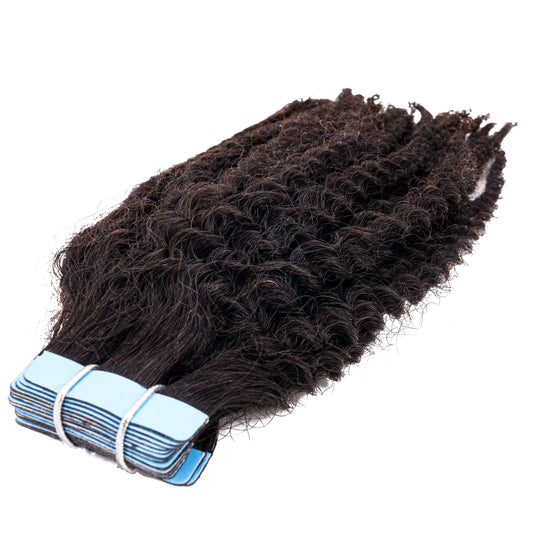
Tape-in extensions come with strips of tape that's attached to the top of the weft. The strips are polyurethane panels of clear tape.
Which are a super grade adhesive. That can either be Double-Sided Tape or Single-Sided Tape and is melted into the base of the wefts.
Usually, these extensions are made of high-quality virgin hair. You can purchase these to match your exact hair texture.
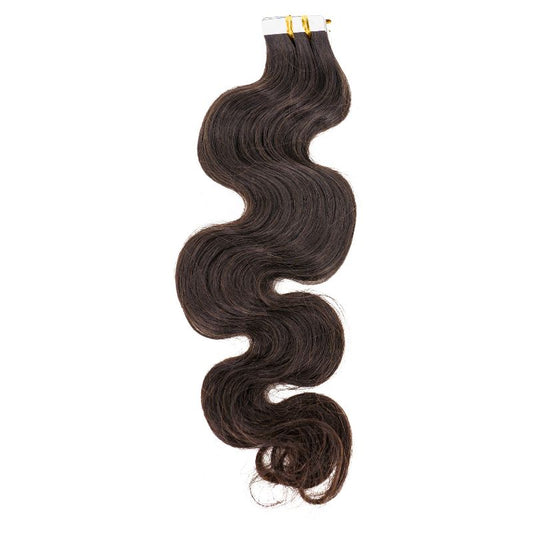
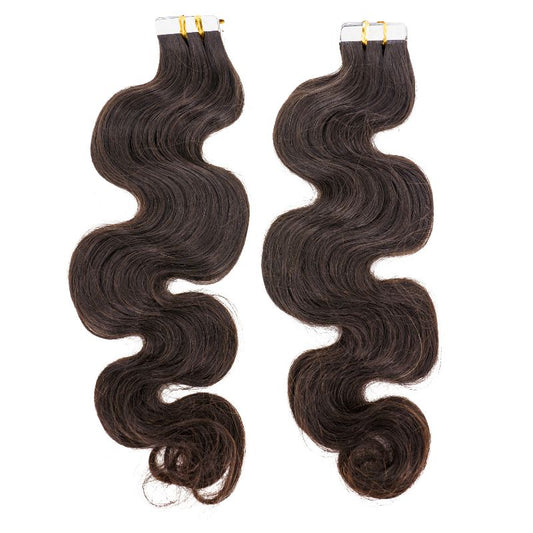
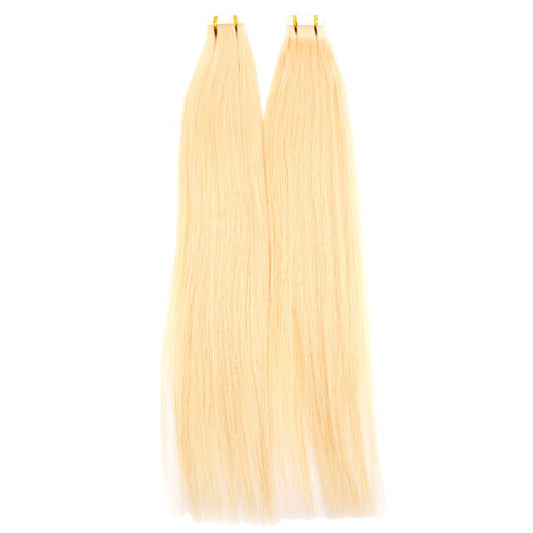
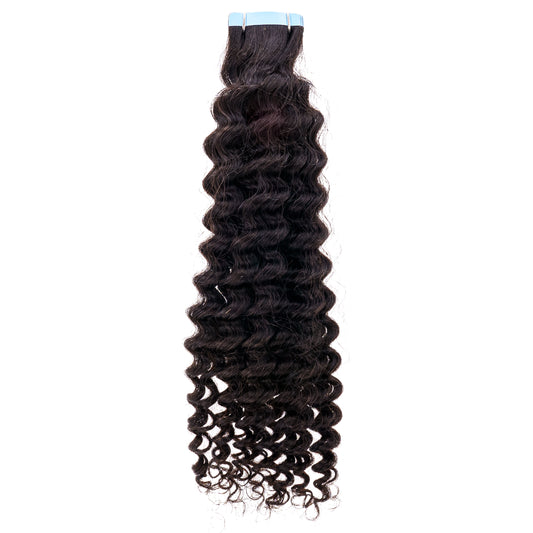
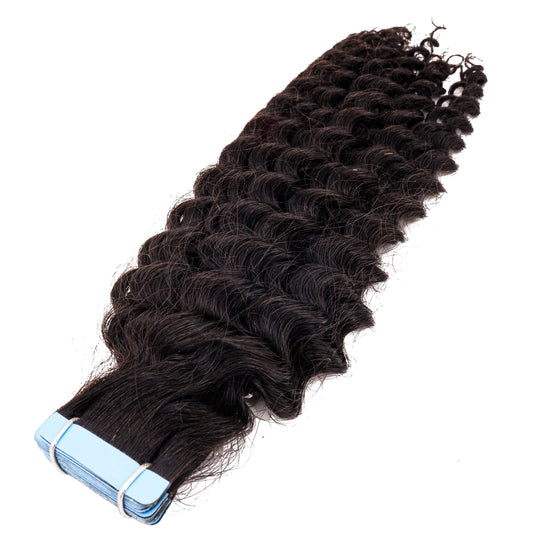
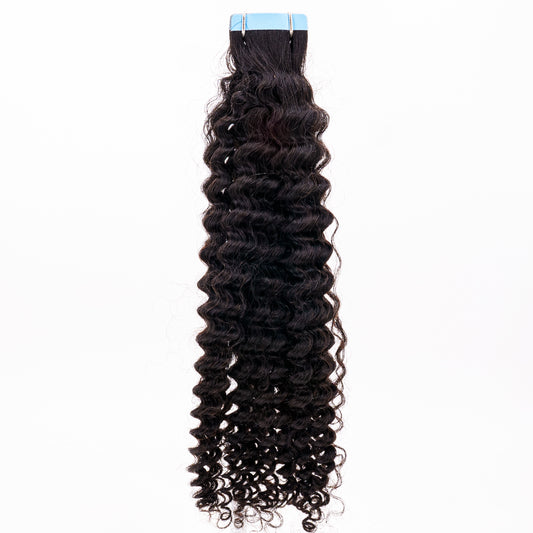
Private Label offers tape ins in raw straight, afro kinky curly, kinky straight, blonde straight (#613) , raw body wave, and kinky coily and kinky curly.
Clip-Ins
Clip-in extensions can be made with any hair. Wig clips attached to the base of the weft that allows you to clip them into your hair.
As you can see, you can make clip-in extensions yourself without spending too much money.
On the other hand, tape-in extensions must be done by a hair professional to ensure proper install and removal.
But you can learn to how to attach clip-ins yourself.

Installation
With getting any technique of hair extensions, the installation can make all the difference in how one's hair looks.
A lousy application means bulky, loose, lumpy, and just outright ugly.
For you ladies who are tender headed or dread the braid down process, no worries.
With both clip-ins and tape-in extensions, there is no need for your hair to be braided.
Of course, if you would like to have a small braid or two in place for the extensions, that's fine too if you're into bulk braiding hair.
Work and spend smarter ladies not harder.
Let's go into the detailed steps of how clip-in and tape-ins are installed.

Tape-In Installation
-
- Section hair where the extensions will go.
- Remove the backside of the tape.
- Carefully place the backside of the tape under a small section of your hair.
- Make sure that it's as close to the scalp as possible.
- Smooth down hair onto the taped extension.
- Remove the top seal of the tape.
- Take another small piece of taped extension and place it on top of the previous piece.
A Pro Tape-In Applicator can help you with that.
Tape-ins should be done by a professional which will cost you money which varies amongst stylists.
But you can learn how to apply tape-ins at home.
A tape-in installation can take up to 1 to 2 hours. Because there is a powerful adhesive applied. This application should not be rushed; for your sake.
Clip-In Installation
- Part your hair with a rat tail comb to achieve the desired style.
- Take your longer clip-ins and install them from back to front.
- Simply clip the hair in between two pieces of your natural hair.
- Comb or brush to make sure wefts are not visible.
Clip-ins compared to tape-ins do not take as long to install.
They also do not take as much care and steadiness of the hands either.
They can be done by yourself or by someone else.
Now installing some clip-ins can take anywhere from 10-30 minutes. It may take you longer if you aren't sure what style you want or if you are using a lot of small clip-ins.

Which One Is Easier on the Pockets?
As a weave and wig lover, I know how expensive extensions and the installation can be. I feel your pain ladies, 100%. Doing anything DIY will obviously be way more cost-efficient.
Clip-ins are the cheaper route because you can install them all by your lonesome.
The only additional money you will spend with them is the hair, the $5 wig clips, and the $1 needle and thread.
With tape-in extensions, you have to purchase the hair extensions, find a hair stylist, potentially pay a deposit for your appointment and pay for the service.
So while you will pay more to get tape-in extensions you are also exerting more energy going through the entire process.
I can't say because I have not tried the tape-in technique. While both of these super convenient technique's prices mainly depend on the hair brand you choose; tape-ins will for sure run your pockets dry faster than clip-ins will.

Pros and Cons
Almost everything will have bad and good things about it. On the bright side, having pros and cons will help you narrow down your choice.
Pros and cons can be subjective based on person to person.
If enough people agree however there can be some truth to it.
Pros of Tape-In Extensions
- No heat/tools required for installation
- The method takes less time than traditional sew-ins
- Reusable extensions
- Installation can last 2-3 weeks
- Gives volume to hair
- Always made with real human hair
- Simple installation
- Extensions can last 1-3 years with proper care
- Extensions can be dyed, bleached and permed
- Essentially this type of extension is high quality
Pros of Clip-in Extensions
- Removable
- Temporary
- Can be dyed and bleached if made with human hair bundles
- Installation doesn't take long
- NO damage to hair
- Comfortable to wear
- Adjustable once applied
- Greater versatility
- DIY - no salon needed
- Cost-efficient

The Cons
Take the bad with the good; the cons can be subjective as mentioned earlier. Everyone's experience with these clip-ins or tape-ins will be different.
Just like everyone's reasons for getting either of the two will be different.
From looking at the pros, you can already tell some of the differences between the two.
Okay, okay, I've stalled enough. Let's rip the band-aid off and took a look at the cons.

Cons of Tape-In Extensions
- Can cause damage to real hair
- Cannot wash your hair for at least 2-3 days after installation - the tape needs time to set to your hair
- Have to use an Alcohol Removal Solvent to remove
- Semi-permanent - not removable once installed
- Cost of the extensions and installation can be expensive
- No DIY
- Cannot apply oils or oil-based products
- Excessive sweating will cause them to slip out
- Not as versatile
- Not ideal for anyone with thinning hair
Cons of Clip-In Extensions
- Can irritate a sensitive scalp
- If not made correctly, clips can slip off the weft
- Depending on placement, they shouldn't be worn while asleep
- The DIY process can be time-consuming for first-timers
- Not always the best quality if purchasing
- Cannot be worn for long periods of time - natural hair as it grows will become thick and get tangled in the combs- NOT CUTE
- Not ideal for people with thin hair - wefts will be visible or create tension on the scalp
- Clip-ins can fall out if not applied correctly
- Can be bulky if not applied successfully - we want natural-looking extensions!
- Not for the lazy

Maintenance
Maintenance, I know you guys see this word so much while reading about hair extensions. Hair maintenance is the core of great hair, I promise!
Now let's face it, you've heard that a thousand times and still manage to mess up the hair you worked hard for right?
Hair extensions maintenance like natural hair maintenance is trial and error. So don't feel bad.
With these two alternative extension techniques, you do not need to do anything differently than you would with your sew-ins, wigs, or quick weaves.
Always use a great Adhesive Care Shampoo and Tape-In Conditioner combo that is of course sulfate free! Never use a rat tail comb to detangle extensions, ever.
That is asking for shedding galore which eventually can turn into tangles that grow into a matted mess.
Using any silicone or oil-based products at the root while wearing tape-ins will cause issues.
Those products will break down the adhesive. Which wastes the money you spent and will have you dishing out more to get your hair done again.
There is a lot of talk in the hair world about other ways to wear hair extensions, and you've just learned about two new ones.
Now whether you choose clip-ins or tape-ins, always do your research and your Googles to make sure you make the right decision for you and your lifestyle.
Youtube is also a great platform to check reviews on these hair extension types and so forth.
What are your thoughts on clip-in versus tape-in extensions? Which do you prefer or would like to try? Let us know by leaving a comment.👇🏿

1 comment
Great comparison, Mikey! This really helps clarify the differences between clip-ins and tape-ins. I’m leaning towards trying clip-ins first since they seem more budget-friendly and easier to DIY. Thanks for the detailed breakdown!