


1260 Memorial Drive
Atlanta, Georgia 30316
404-458-1330
How to Prepare for a Flawless Sew-In Installation
Mikey MoranThere are three things women get excited about after a long work week Friday, happy hour, and the day she pampers herself with a sew in.
We might even throw in a little Gucci or Private Label as icing on top!
The highlight of my day will always be getting my hair done. I enjoy entering the salon, receiving kind welcomes, and sweet gestures upon my arrival.
There's nothing like winding down and getting catered to after an exhausting and long work week.

I delight in getting my hair styled in different ways but, the most painful but rewarding experience is the sew-in.
Today we will discuss the sew-in process, sew in install, types of sew ins, sew-in hair extensions and so much more.
Leave a comment at the bottom with any questions you may have!📢📢

What Is Sew-In?
A sew-in is a style in which tracks are sewn onto your braided hair in order to sew on extensions.
There are many different types of sew in weaves yet the basic foundation for them remains similar starting off with braided hair.
Quick weaves, tape-ins are other ways to add extensions to your look but they are not considered sew-ins.
For a sew-in, you would start off with cornrow braids and then you would sew in tracks of human hair bundles into the braids.
When it comes to sew-ins a needle and thread are used to attach the wefts of the hair extensions to your braids.
Depending on the type of style you want you may start off with a different type of braid pattern for your sew-in.

Beauty Is Pain
When I was younger, my mom would straighten my hair using a stovetop hot comb.
As she would run those hot bristles through my hair, I would cringe and yell ouch repeatedly; her favorite line was "beauty is a pain." As much as I hated that statement the older, I grew it began to make perfect sense.
Well, that particular statement of ladies is how I survive my monthly sew-in installation.
Treating Your Hair Pre Sew Ins Installation
I usually let my hair breathe for a good 3 to 5 days before getting an install.
A weave break is a period that women remove their hair extensions to allow their hair down usually wearing it in its a natural state. Despite how much we love extensions ladies it's essential to care for your hair in between hairstyles by conditioning, keeping it hydrated, and treated.
If you're a beauty on a budget my recommended products to use are Cantu, they have a huge variety of inexpensive hair care products. My personal favorite is the Shea Butter Leave-In Conditioning Treatment and repair cream.
- After washing your hair wrap it up in a towel around your head turban style until its damp.
- Then after your hair is dampened part it in fours, starting from the middle of your forehead ending towards the back of your neck, now that you've parted the center you can now do another part beginning from one ear to the other.
- It is now time to apply the leave-in conditioner in each section of your head lathering just enough to hydrate your hair. It's your choice whether or not you want to cover your head with a plastic shower cap or let it be.
- The Cantu leave-in conditioner will nourish, moisturize, and detangle your hair all at once.
- You can now style your natural hair based on your liken before getting your hair sewed in.

Before Your Sew-In
So it's now been approximately a week, you have a hair appointment tomorrow, and you're ready to get slayed.
I know the feeling girlfriend so here are the keys.
First is to consider the condition of your scalp, and are you tendered headed?
Is your scalp sensitive? Do your ends need to be clipped?
All of these threads play a considerable role when getting your hair styled.
There's nothing like a bomb weave but the condition of your natural hair is equally important. If you are tender headed it's best to bring along some pain medicine to reduce the pain. Take painkillers before getting your hair braided can help out a lot.
If your scalp is super sensitive make sure to notify your stylist so that they can take it easy on you. It will be best to get your hair deep conditioned and to sit under the dryer to let all of the moisture lock-in.
Now that your hair is washed and conditioned, you can now wine down and relax because its time to get stitched.
Should your hairstylist shampoo your hair? Watch this video about that debate!

Preparing for Your Installation
Yes, honey, it's the moment you've been waiting for, time to get your hair laid. Be sure to let your stylist know precisely how you want your hair styled.
Try to be very specific as possible when explaining how you want your hair styled.
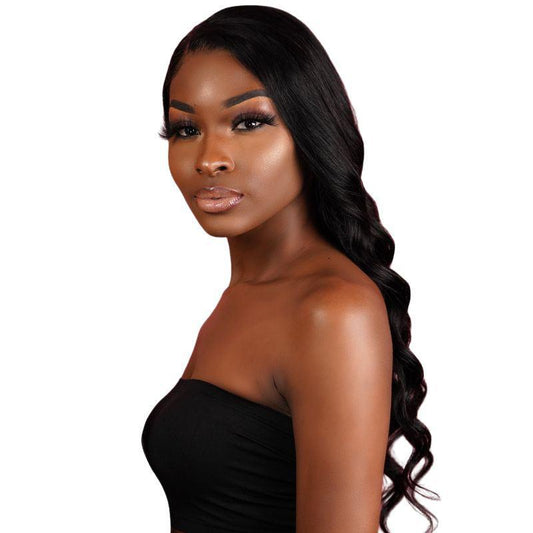
To obtain the best results show your stylist a photo so they can see what you wish to get.
You are ready to get started at this point.
Try to be as patient as possible. This could be a 2-5 hour process depending on the style you choose.

The Braid Down
Getting your hair braided can be a little painful so be prepared.
The Bee Hive is the most rewarding way to get your hair braided. The Bee Hive supports the foundation for your hair helping it grow and keeping it intact under your sew-in.
Have you heard about the hair net? No, it's not the one chefs, waiters, and cooks wear.
The hair net is a thin mesh protective barrier that's sewn on top of the braided foundation of a weave. It's between the hair and the extensions weft making it very similar to a wig cap. Although it may seem like a bit much, it's quite simple. There are netting caps infused with oils to prevent your hair from itching.
Talk to your stylist about this method to see if it's best for you.
Last but surely not least, you are now ready for your hair to be installed.
Luckily you are almost done. At this point, your hairstylist should have the needles threaded and ready.
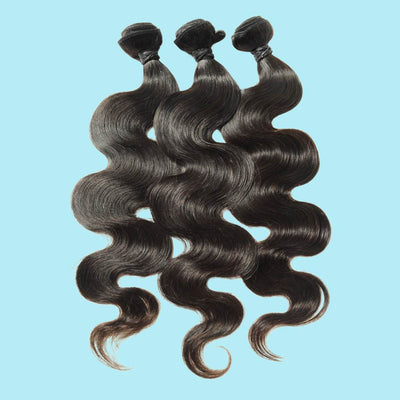
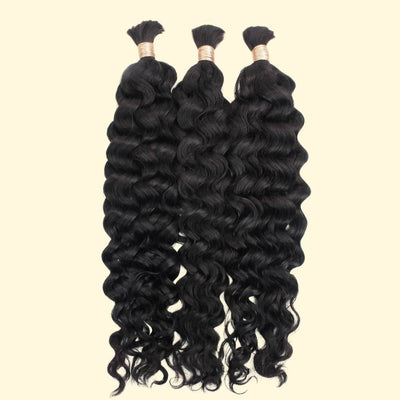
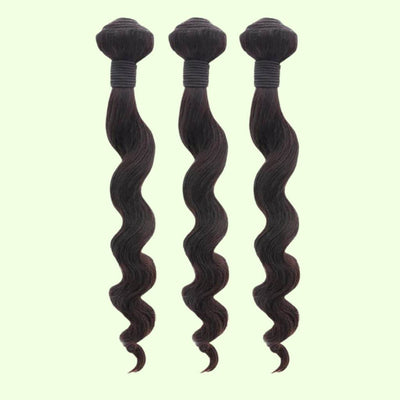
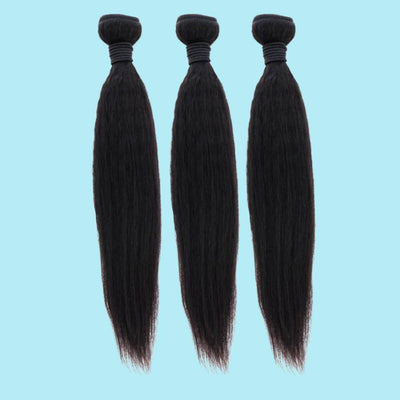
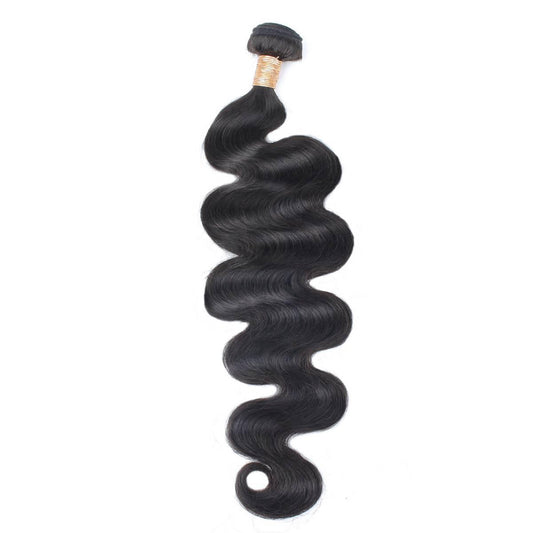
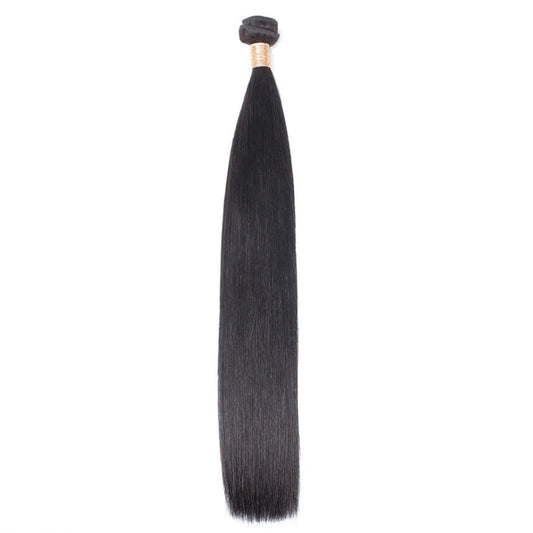
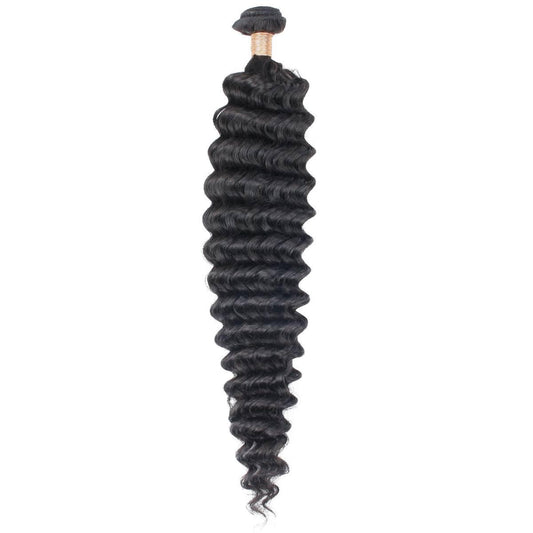
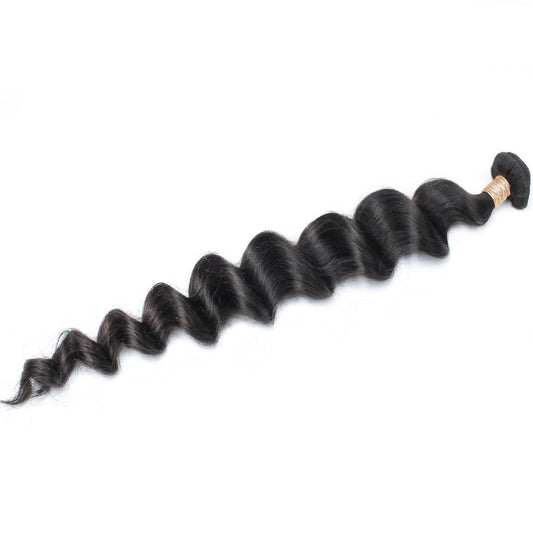
Quick Tip: Grab some human hair bundles from Private Label.
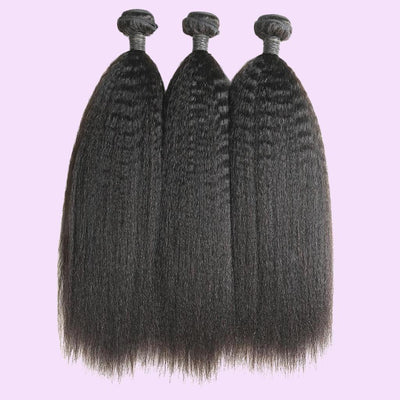
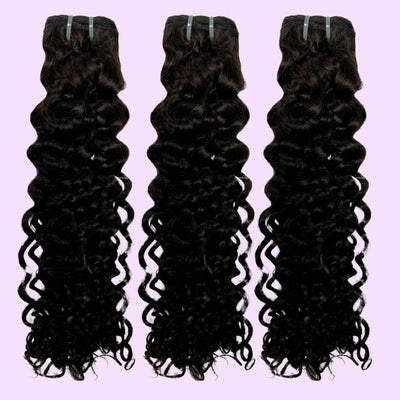
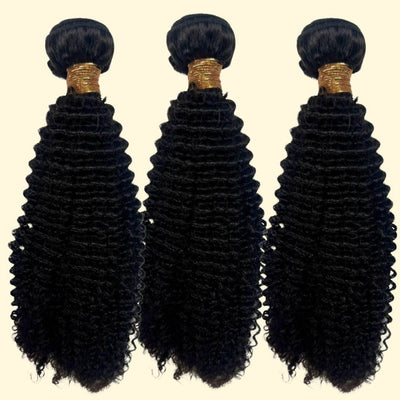
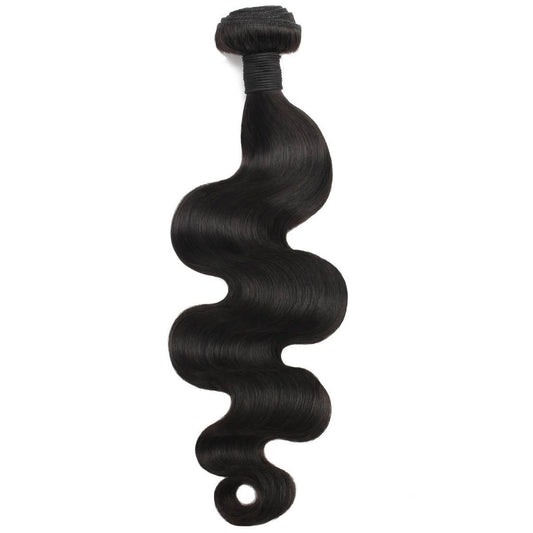
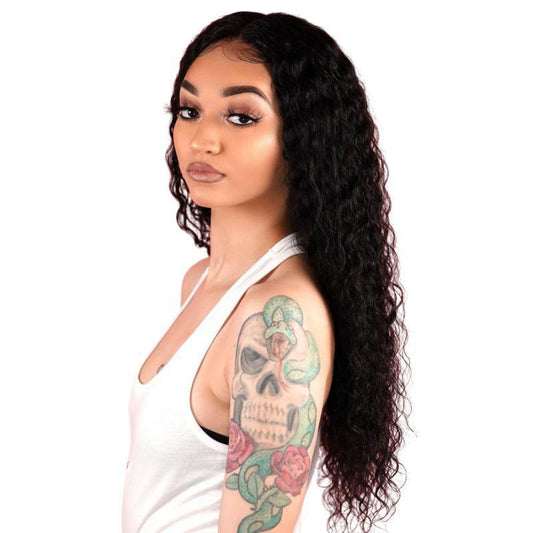
We have all the popular textures including body wave, deep wave, loose wave, kinky curly and more virgin hair or raw hair bundles.
This part may be irritating, but its apart of the process so just chill out your almost finished.
Once your hair is all sewn in next up is the styling part.

Top 3 Mistakes People Make When Getting Sew Ins
We asked professional hairstylists about some of the common mistakes people make when getting sew ins. There are many different types of sew ins and techniques so stay up to date with your hair care.
Here are the top three that came up repeatedly.
Skipping the Deep Conditioning Treatment
Many people neglect deep conditioning their hair before a sew-in.
This step is essential for ensuring that natural hair is hydrated, strong, and ready to withstand the braids' tension and the extensions' weight.
Solution: Always deep condition your hair before a sew-in. Use a high-quality, moisturizing deep conditioner and leave it on for at least 20-30 minutes.
This conditioning will help to nourish and strengthen your hair, reducing the risk of breakage and dryness while wearing the sew-in.
Improper Braiding Pattern
The braiding pattern is the foundation of a good sew-in. A common mistake is braiding the hair too loosely, tightly, or in a pattern that doesn’t suit the desired sew-in style.
Incorrect braiding can lead to an unnatural look and cause tension on the scalp, leading to pain and potential hair loss because of a tight sew-in.
Solution: Choose a braiding pattern that aligns with the style you want to achieve with your sew-in. The braids should be neat and secure but not so tight that they cause discomfort or damage to your scalp and edges. If you need more clarification, consult a professional stylist to get the correct pattern for your desired look.
Neglecting Scalp Care
Proper scalp care before installing a sew-in can lead to itching, flaking, and overall discomfort.
Many people forget to cleanse and moisturize their scalp, which is essential for maintaining a healthy environment for both natural hair and extensions.
Solution: Cleanse your scalp thoroughly before braiding your hair. Use a gentle shampoo to remove any build-up, and follow up with a light, non-greasy moisturizer to keep the scalp hydrated.
During the sew-in, continue to care for your scalp using products designed to nourish and soothe, preventing dryness and irritation.
By avoiding these common mistakes, you can ensure that your hair is well-prepared for a sew-in, leading to a long-lasting style while maintaining the health of your natural hair.

Styling Your Weave
Most likely you've already informed your stylist on the hairstyle you desire so you should be good.
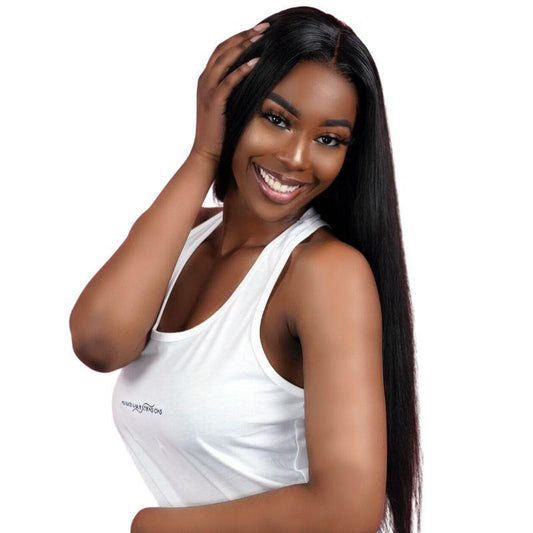
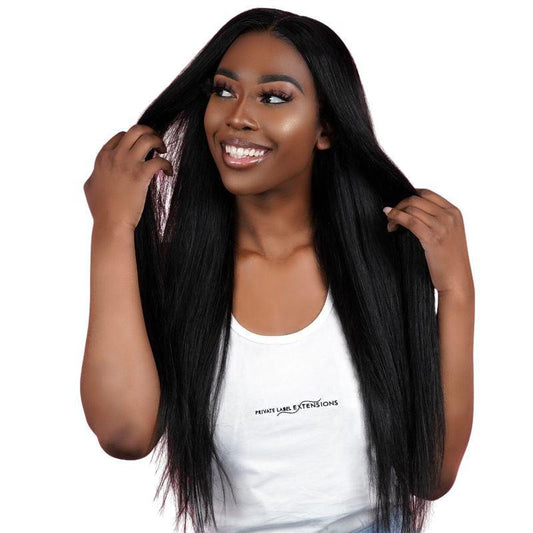
Now that your weave's cut, sprayed, and laid you should feel like the prettiest girl in the world.👑
If you need assistance in taking care of your extensions check out my How to Make Hair Extensions Last article as there's plenty of tips on how to make your hair extensions last.
2 comments
Wow, this article really covers everything you need to know about preparing for a flawless sew-in installation! From prepping your natural hair with conditioning treatments to choosing the right braiding pattern and discussing common mistakes to avoid, it’s a comprehensive guide. The tips on scalp care and communicating clearly with your stylist are especially helpful. Can’t wait to try out these tips for my next sew-in!
Great tips! Do you have any advice on how to maintain the sew-in after it’s installed?