1260 Memorial Drive
Atlanta, Georgia 30316
404-458-1330
Best Sew-In Weave Techniques You Should Know
Mikey MoranOver time, sew-ins have easily evolved into the most dynamic, versatile method of installing sew-in hair extensions.
This sew in process has helped women effortlessly enhance and transform their looks.
Sew-ins installation consist of adding hair extensions at the hair weft or hair tracks by using a thread and a needle.🧵
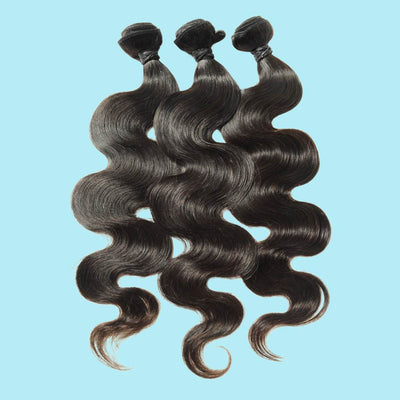
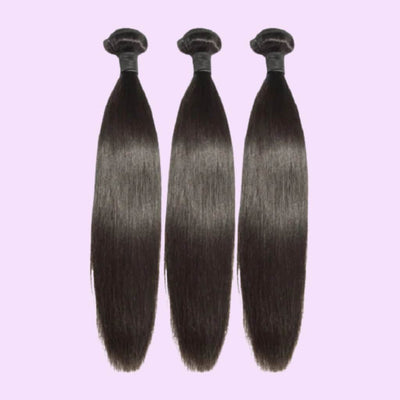
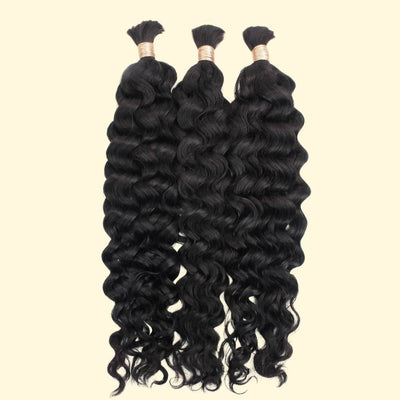
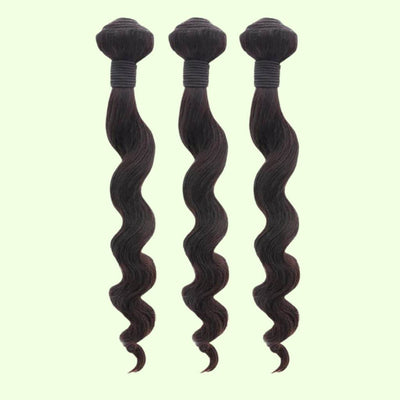
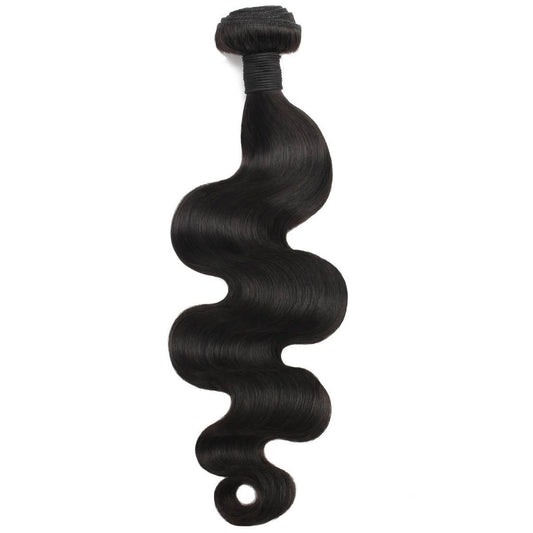
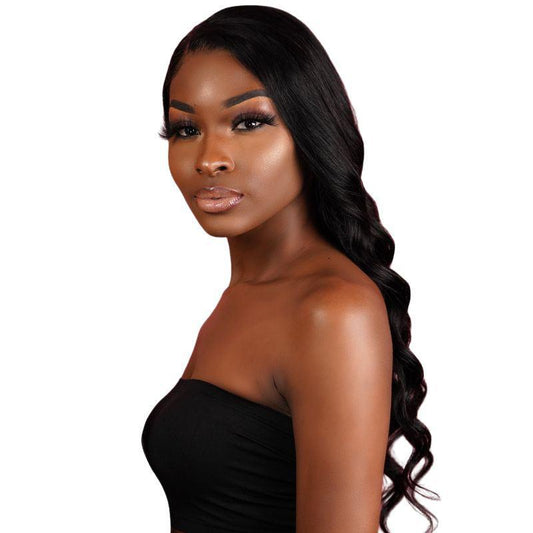
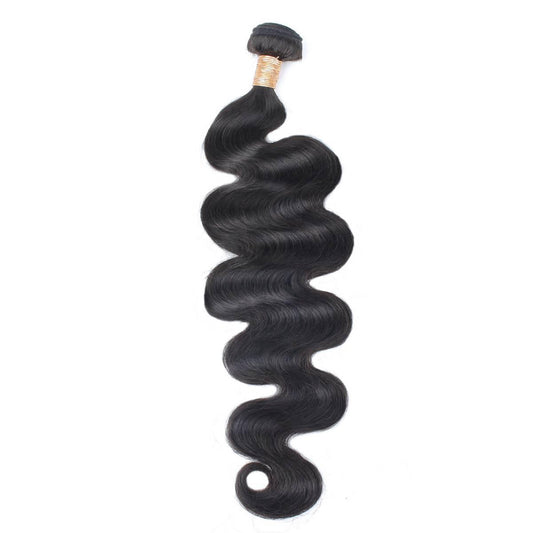
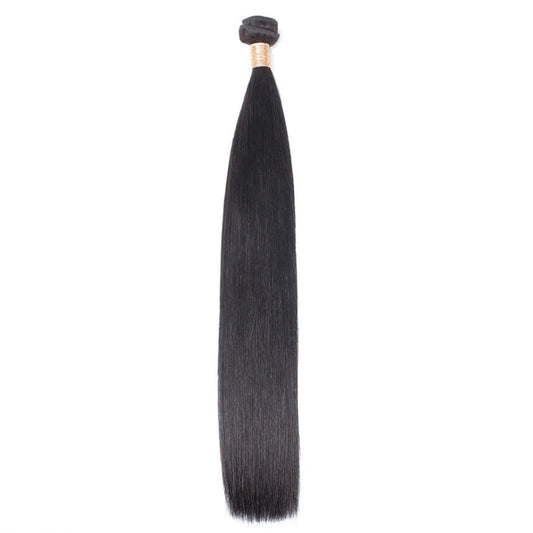
When you have decided that sew-ins are the best installation method for you, it is important to also consider what type of hair you will have installed.
Preparing in every way is important to the success and duration of sew-ins.⏳

What You Will Learn about Sew-Ins
- Sew-in Intro
- Sew-in Supplies
- Hair Prep for Install
- Stitching Techniques
- Full Sew-in Technique
- Vixen Sew-in Technique
- Partial Sew-in Technique
- Invisible Part Sew-in
- Discussion
You’ll Never Have a Terrible Install Using One of These Sew-In Techniques
Everybody is talking about securing the bag but what about securing your weave or secure the sew-in?
I’m all for paying for quality human hair extensions such as those at Private Label Extensions.
But I always wear them properly to get the most out of them and to give you a flawless look.
You shouldn’t have tracks showing, leave-out not blending in well with your bundles, or a sew-in looking like it’s about to levitate off of your head because the foundation is horrible.
Remember, before you think about going to secure that bag make sure your sew-in is on point! With a flawless install, you’ll have the deal sealed as soon as you enter the room!
There’s no need for you to look less than perfect for the holidays. Here’s what you’ll need to complete your sew-in from start to finish.

What Do You Need for a Sew-In?
- A Rat-Tail Comb (to create neat parts)
- A Wide-Tooth Comb (to comb hair neatly)
- Oil for scalp Black Nylon Thread
- Small Rubber Bands
- Hook Needle
- Duckbill Clips
- Weaving Net
- Wig Cap (depending on the technique used)
- Flat Iron
- Three bundles of hair (shampooed, deep-conditioned, and dried)
- 1 Pack of Synthetic Braid Hair (optional)
Prep Your Hair Before Weave Install
You should never install a sew-in without prepping your hair first and choosing the best sew in technique for the ultimate installation.
Just think about it!
Your hair is going to be under an install for an extended period. Could you imagine the smell or damage your hair and scalp will have if you don’t prepare it properly?
- Shampoo and condition your hair with a product that has an oil like Argan Oil.
- I am absolutely in love with the Organix line of hair care products because the company has a variety of products perfect for your specific hair type and needs.
- I also like Kim Kimble’s hair care line because it’s ideal for relaxed hair as well as natural styles.
- To get started, shampoo and condition your hair. It’s your choice of how you dry it.
- The technique you use to dry your hair is your choice but if you allow your hair to air-dry or sit under a hairdryer make sure you add moisture back into your hair.
- A great moisturizer is vital to prevent dryness while you’re rocking your sew-in.
- As you are applying your moisturizer, pay particular attention to your ends and edges.
Don’t go overboard with the product because a little goes a long way.
Also you can check out our hair care products collection.

Sew-In Stitch Techniques
If you want your sew in hair to last using the right stitching technique is essential.
Choose either one of these stitch types to secure your wefts to your braids/net and prevent sliding:
- The overcast stitch requires you to take your needle through the weft and pulling it throws.
- This stitch is the easiest and most used method for sew-ins. Pull the thread tight enough to ensure you don’t have slack.
- The double lock stitch is the same as the overcast stitch, but this time you will loop your thread two times.
- The double lock stitch is the best stitch for maximum security of your install especially if you want to keep it in for a few months.
- The lock stitch method is the same as the overcast stitch.
- When you pull the thread through the weft, you will take your needle and stick it through the loop. Pull snug to prevent slipping of tracks.
Full Sew-In Technique
If you want your sew-in to last longer and be the envy of everybody in your office, you have to make sure your braiding techniques are on point.
Now, they don’t need to be as fly as Allen Iverson’s braids but almost! A good foundation will make sure your sew-in is flawless!
How to Sew In a Weave:
- Start by leaving out a small section of hair around the sides and back to blend for a more natural look.
- Create two perimeter braids (each one going to the temple of your head).
- Braid them both toward the back of your head.
- Create one braid (make sure to leave some hair out) that is going to go across the back nape area of the head.
- This braid will be your anchor braid for your back wefts.
- Separate hair into three sections and slide down about a quarter of an inch to half an inch before you start to your braid.
- Braiding this way helps to reduce tension on your scalp.
- Braid the rest of your hair and keep your braids small and neat.
- Small braids provide you with a flat and smooth look when your sew-in is finished and helps it to last longer.
- These braids should be braided straight to the back.

Sewing Into The Braids
- Take the braids and start to sew them down by placing your remaining loose braids in between other cornrows to ensure you get a flat base.
- Make sure you knot your thread a couple of times to make sure it’s secure. Take your threaded needle underneath all three braids.
- Loop your thread twice and pull straight through. Create a knot and continue the stitching process until you secure the entire braid.
- Continue the process above for each braid. Apply oil to your scalp but don’t saturate the hair or scalp.
- Remember! A little goes a long way! Take the braids and start to sew them down.
- Place your remaining loose braids in between other cornrows to ensure you get a flat base.
- Make sure you knot your thread a couple of times to make sure it’s secure.
Installing the Closure
If you’re installing a human hair closure extension, align closure with the part in the head. Leave about a ¼ of the closure in front of the hairline.
- Put your first stitch through the closure and then stitch into the braid and through the closure and pull the thread through.
- Loop it through the thread and bring it to the edge of the closure to secure a knot.
- You’ll need help with the other side.
- Have someone hold the closure down as you secure the opposite side. Repeat the same process as before.
- Don’t pull too tight because you want to protect your edges. Stitch the closure along the perimeter and the braid.
- Don’t leave large gaps between stitches because you don’t want any bunching. Stitch closure down going toward the back of the head. Always stitch the sides first and then the back.
- Begin sewing your bundles by doubling the wefts.
- Start at the back of the head. Stick the needle through the wefts through the bottom braid and then through the weft again.
- Complete 5-7 stitches and then knot them.
- You don’t have to go through the weft with every stitch. Maybe every 3-5 stitches.
Make sure you go through the wefts when you get to the edge of the head and knot the thread.

Part the Closure
In the part, anchor the front of the closure to the braid.
Use single wefts at the top of the head to reduce bulk.
Using a net helps to maintain your braided style for longer, provides fullness in areas where you may suffer from alopecia, to prevent damage to your natural hair, and helps those with short hair.
You can choose to use a net to reinforce your foundation if you have significant gaps between your braids, hair is short, or if your hair is thin.
Vixen Sew-In Technique
(No more than three bundles at no more than 20 inches) This vixen sew-in weave technique is perfect for versatility.
It allows you to pull your hair up into beautiful ponytails styles and different styles.
Refer to the Prep Your Hair section above before beginning your install.
You want to make sure you protect your natural hair to prevent damage.
Leave some hair out for the perimeter (to cover tracks).
Find the middle of your head and part down the middle. Leave about 2cm (½ fingertip) on the outside of each part.
Braiding for a Vixen Sew-In
- Braid the center hair that’s left out into a braid, so it’s not braided in with any of your future base braids.
- Now, Part hair from ear to ear and leave about 2cm (½ fingertip) on the outside of each part.
- Braid the center hair out into a braid, so it’s not braided in with any of your base braids.
- Start braiding each section into a beehive braid (small circular singular braid).
- Keep parts and sections small and tight to ensure a flat and flawless finished look.
- Braid all four sections in the beehive braid. Use needle and nylon thread to secure the loose end of each braid by placing the braid in between the parts to make sure your foundation to be nice and flat.
- Loop the thread and tie a knot twice to ensure it’s secure. At this point, you can use your weaving net (if you choose to) and secure the net to the perimeters of each braided section.
- You should have four beehive net covered sections at this point.
- Starting in the back with your first section, sew your track under the bottom braid.
- Continue sewing your tracks one on top of the other until you finish with the section.
Repeat this process for the other three sections

Partial Sew-In
A partial sew-in style is perfect if you want flexibility in styling your hair in different ways.
Most would consider it is similar to a quick weave style. You can get a lot of wear out of your partial sew-in.
- With a partial sew-in, you have more ability to allow your hair extensions to blend naturally with your hair.
- Updo’s are the ultimate hairstyle to rock when you get a partial sew-in.
- Refer to the ‘Prep Your Hair’ section above before beginning your install.
You want to make sure you protect your natural hair to prevent damage. Leave some hair out around the entire perimeter of your head.
- Braid this hair, so it doesn’t get mixed in with your foundation braids.
- Also, braid a section of the hair at the crown of your head because this will be your hair left out after you’ve completed your partial sew-in. Braid the back of your nape area.
- This braid will make sure your back braids anchor your sew-in firmly. Now, take the ends of your braids and lay them in between the parts. Sew each braid in the same as you would for the full sew-in.
- Once you finish the braiding the rest of your hair in either a beehive pattern or straight back (this is entirely your choice), prepare your weaving net.
How to Sew-In Weave
While keeping your net flat and neat, make sure you cover the entire head with the net.
- Begin sewing your net on the side of your deep part. Stitch the top of the net, next will be the sides, and the back is last.
- You’re sewing your net to the braided foundation making sure you avoid braiding to your perimeter and center braids because remember, this is your leave out and essential to the partial sew-in.
- At the back, stretch your weaving net first and then sew the net to your braid to makes sure there’s no buckling.
- Next, trim the excess net off. Now you can begin sewing your bundles in until you get to the top using the fold-over method.
- Unbraid of your leave out and perimeter braids. Style into your desired look and you now have a partial sew-in.

Invisible Part Sew-In
- An invisible part sew-in gives you a flawless look without having any noticeable tracks to distract from your look.
- Refer to the Prep Your Hair section above before beginning your install. You want to make sure you protect your natural hair to prevent damage.
- Braid your hair in a braid pattern where your hair has a deep side part. Begin your braid on each side in a semi-circular pattern.
- In the back, secure the braids with a rubber band and sew them in between a part. Take your wig cap and stretch it over your entire head.
- The cap should cover your perimeter braids. Make sure the cap extends past your perimeter braids.
Also check summer braids style.
Get Your Wig Cap Ready
- Begin sewing your wig cap to the perimeter braid. Feed your needle through the cap, under the perimeter braid, and then through the cap.
- Use the double lock stitch to secure the wig cap to the braid. Continue braiding around the perimeter braid until you come back to the front of the hairline. Now, start sewing the wig cap around the base area of your invisible braid.
- Continue sewing until your last stitch meets with your perimeter braid. Use a double lock stitch twice, and you’ve secured the wig around the invisible part.
- Cut your thread, off and now cut the wig cap along the invisible part. Leave a little of the wig cap, so you don’t snip any of your double lock stitches.
- Trim off the rest wig cap around your hairline.
- Measure them to get the proper length, so they meet at the beginnings of your perimeter braid.
- Make sure to overextend just a little bit to make sure your length is just right. Cut your extension.
- Measure your track at the beginning of the base. Take the tracks and wrap around the base of your invisible part base.
- Make sure you overextend here as well. Cut your extension.

How to Sew-In Weave
- Sew in your first measured track by placing your track in line with your perimeter braid.
- Your track should lay smoothly in line with your braid, and the weft should face toward the back of your head.
- Go through your braid, underneath your extension, and pull the needle through the weft.
- Make sure you use your double lock stitch method while you sew in the entire track. Secure your ends with a double lock stitch twice.
- Trim off any excess weft when you have completed the top of your head. Repeat this method for the invisible part section.
- Now for the rest of your head, you can sew in your tracks by using the fold-over method to eliminating cutting your wefts.
- To fill in the area left near your part.
- Take your track and measure from the end of your invisible part braid and just before the weft along the invisible part.
- Cut that weft and pull your needle through the weft. Use a double lock stitch the thread and cut any excess thread.
- Without cutting the double thread stitch on the other end of the weft. Place the track on the braid.
- Take the needle through the braid and the weft. Create your knot to make sure the weft is secure.
- Repeat this step once more. For the rest of the weft use a single loop to attach the weft to the braid.
- At the end of the weft, double lock stitch twice to ensure the weft is secure on both ends. Cut the thread. Continue this process to cover the entire area.

Finishing up the Invisible Part Sew-In
- The last part is to create your closure for the invisible part.
- Take your hair extension and measure the space left at the top of the head.
- Take your needle and thread, go through the weft, and create your double lock stitch.
- Now, create a second stitch. Roll your extension until it forms a circle.
- Roll it once make a single knot, roll again, make a knot, and continue until you completely see the entire hair track.
- Make sure you pull your needle through all the wefts as you are stitching.
- At the end pull the thread through the weft and, then, underneath all the wefts.
- Secure the wefts with two double lock stitches.
- Pull the thread tight and cut the thread.
- At this point, flip your closure over and spread the hair evenly around it.
- Use your flat iron to flatten the hair. Now, take your threaded needle through a few loops on the closure.
- Pull the thread through and knot with a double lock stitch. At this point, you have your needle and thread connected to your closure.
- Grab a rubber band and secure the loose hair.
- Take the side of the closure with the loose string and place it in the exposed area at the crown of your head.
- Take your needle and take it through a piece of a track previously seen along your invisible part.
- Pull it through and stitch it down. Pull-on the thread to get a snug feeling, but you don’t want it too tight.
Continue this same process around the entire closure. Your last step is to cut the thread to finish off your invisible part sew-in.

Favorite Sew-In Techniques
Aside from quick weaves, the sew-in process is a complicated method that can take time, but it is definitely the more lasting hair experience that makes the most of your bundles.
You should stick to these step-by-step methods to do it for yourself or your friends.
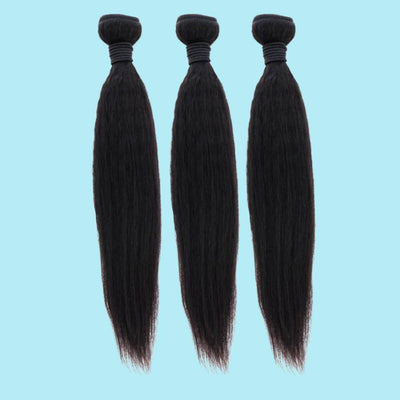
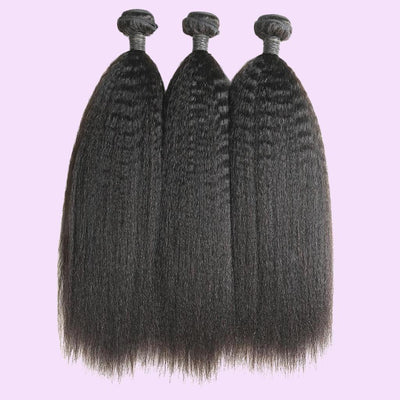
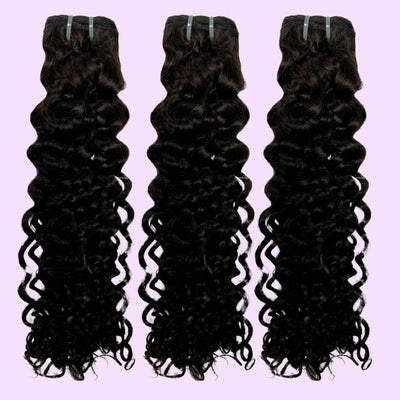
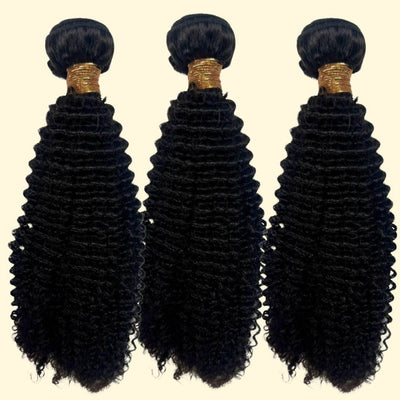
Visit our Atlanta Hair Store and buy matching hair bundles with your natural hair texture!







1 comment
Awesome article! Can you recommend any specific brands for the nylon thread and needles used in sew-ins?