1260 Memorial Drive
Atlanta, Georgia 30316
404-458-1330
What Is Closure Sew-In and How to Install One Effortlessly
Mikey MoranDid you ever wear a closure sew in?
You might be missing out on this capturing installation. So, today, we're going to tell the secret to it.
Lace closures are beautiful hair pieces offering narrower coverage but many parting options. If they're made of human hair, you will keep this style for a long time without irritation or any problems.😤
Sew-ins can reduce the hustle of changing your style every month. They help your hair grow, and they look natural and undetectable.
Let's dig into this to know what closure sew in is about!🍵

Understanding Closure Sew-Ins
It’s essential to understand the basics of closure sew-ins before discussing how to install one or offering pro tips.
Here’s a quick overview covering all you should know:
What Is a Lace Closure?
Before we begin, let’s review the basic terms we need to understand, starting with the most important one: What is a lace closure?
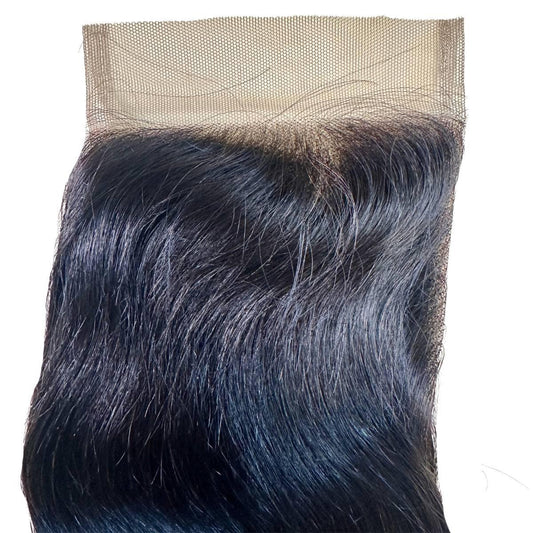
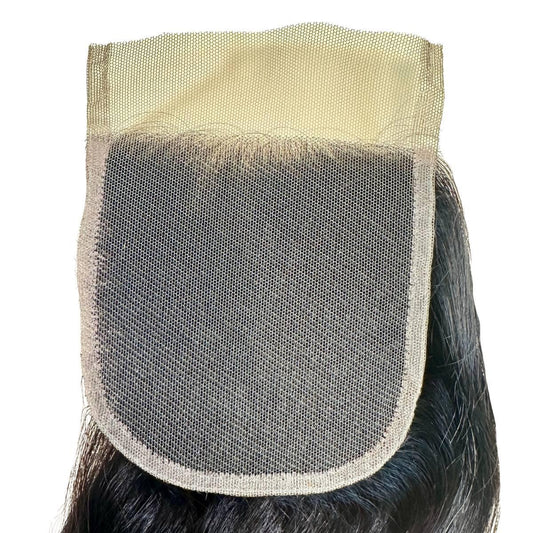
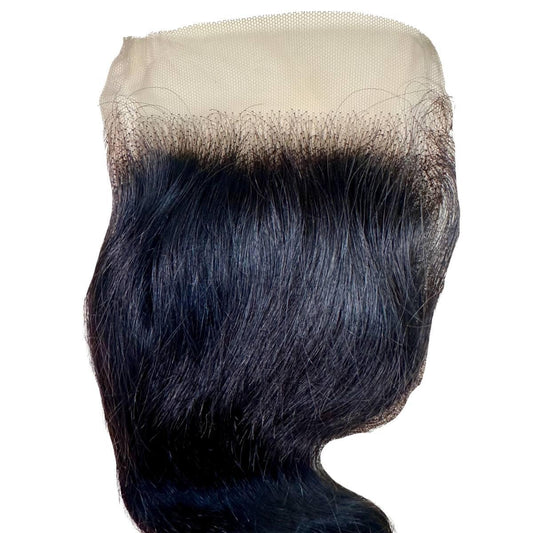
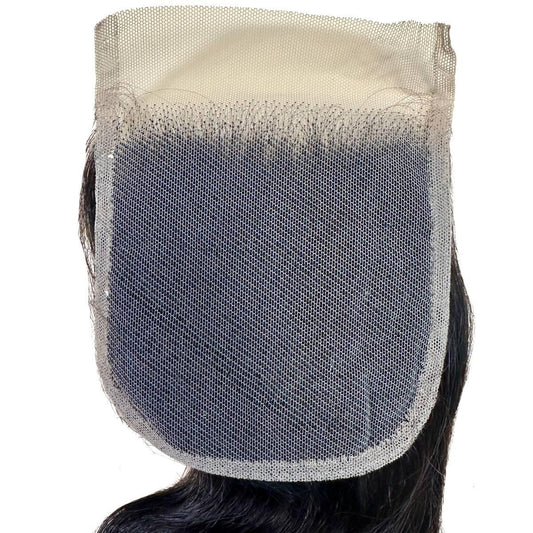
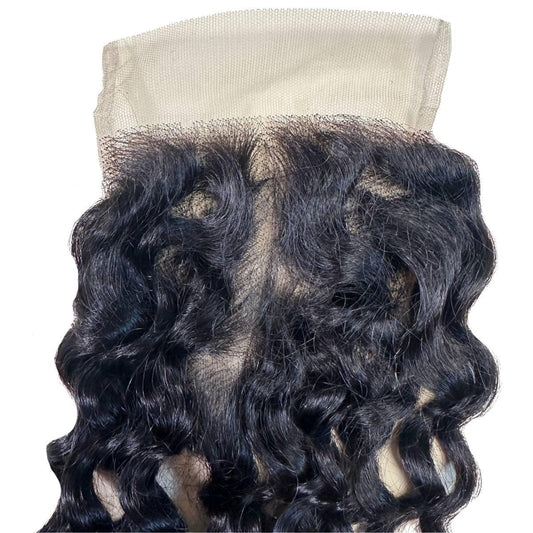
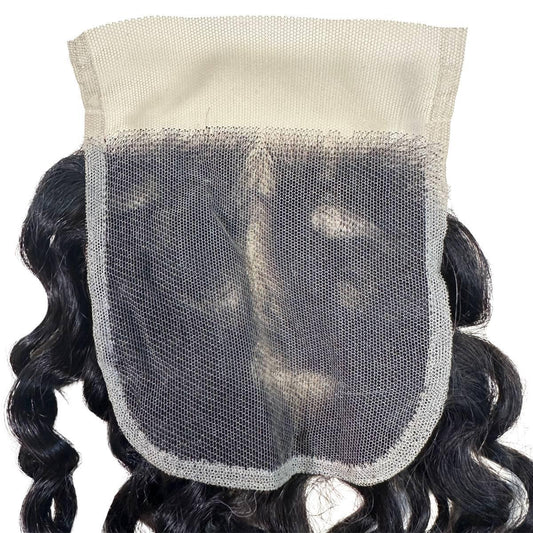
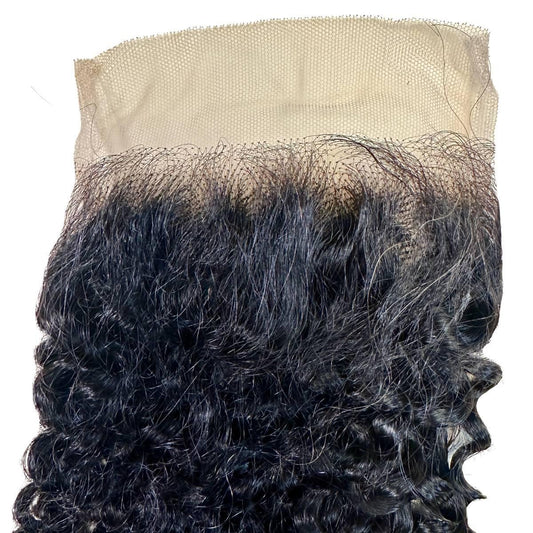
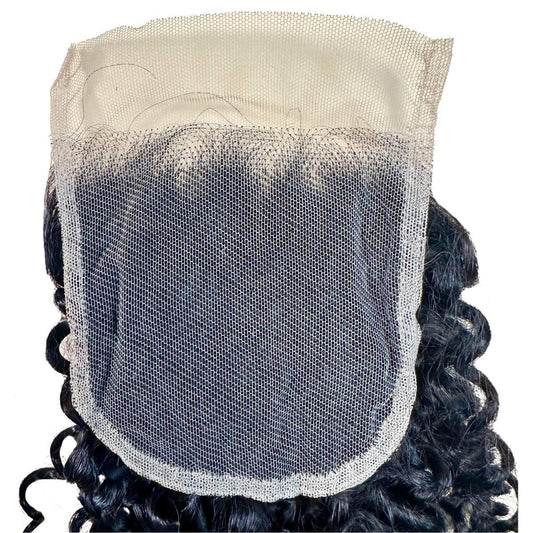
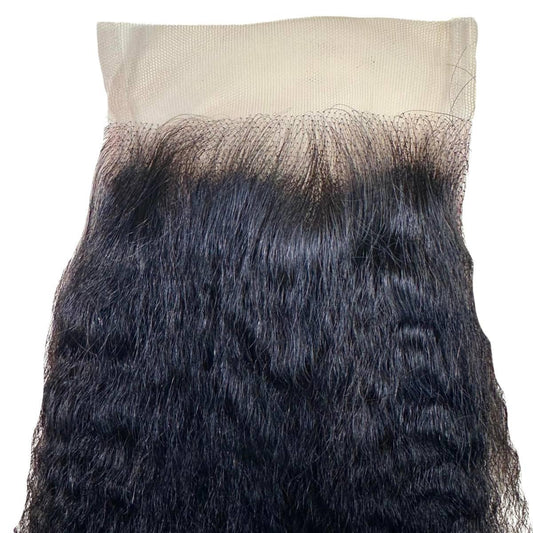
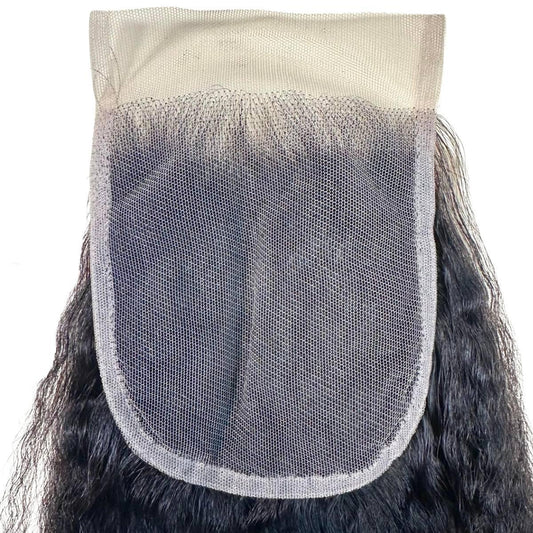
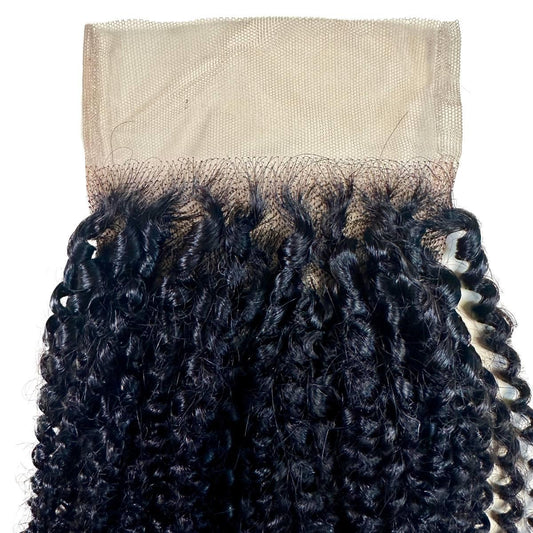
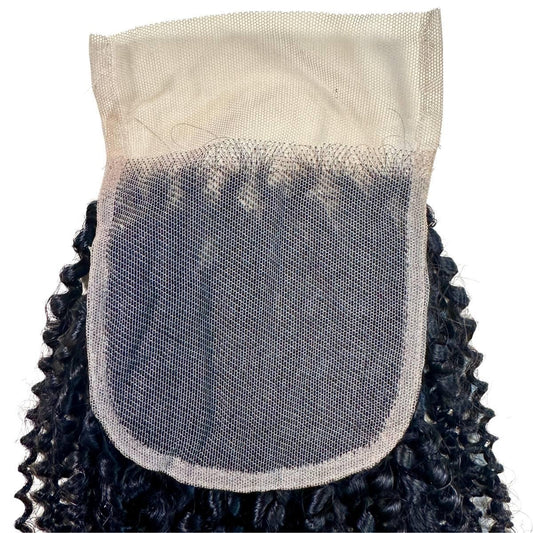
It sounds super fancy, but it’s simply a thin piece of lace material placed at the crown of the head to serve as a barrier between the sew-in tracks and your natural hair.
Human hairs are ventilated into the honeycomb lace design and knotted by a hair technician. This is done over and over until the density and hairline of the lace closure is completed.
They also help protect tiny baby hairs from damage and give sew-ins the appearance of a natural-looking style.

Types and Common Sizes
The two main closure types are lace and silk base.
Interestingly, silk-base closures offer a more realistic look. However, one downside is that they are thicker than the lace base and might not be the best pick for everyone. Lace closures, on the other hand, are more popular because they are versatile and flexible and would easily fit just about any head.
They’re not as thick as the silk base, which means there’s less heat in your head, and the lace closure won’t trap products and cause build-up.
Now, let’s talk closure sizes. Well, it depends on the style you’re going for, but here’s the summary - traditionally, closures go from temple to temple. You’ve got your standard sizes like 4x4 inches closures, but nowadays, you can find all sorts of variations, even a 6x6 closures and 7x7 closure.
Here’s why size matters: A longer closure lets you part your hair further back, while a wider one gives you more flexibility to part it off to the side. So, before purchasing, take some measurements to determine where that closure will land on your head. Trust us, it makes all the difference.
Benefits
Closure sew-ins are a good bet if you’re looking for something functional and chic. They also have several benefits.
- It is a protective style that helps protect your natural hair from excessive styling and heat damage.
- Secondly, closure sew-ins are super low-maintenance. Once your hair extensions are installed, you don’t have to fret about your hair for weeks.
- Closure sew-ins also look very natural, so if you worry about your extensions looking fake or unnatural, you should try them.

How to Install a Closure Sew-In
Tools/Materials Needed
Now that we’re clear on why you should get closure sew-ins, what do you need for a sew-in install? First, you’d need your hair extensions.
Then, you’d need a pair of scissors for trimming and cutting, thread and curved needles for sewing, and your lace closure piece.
Prepping Your Natural Hair
Remember that closure sew-ins are supposed to be a great way to protect your natural hair. So, it’s all about ensuring that your hair beneath the weave is healthy and thriving.
The most critical first step to getting any hairstyle done is ensuring that the scalp and hair are clean. To do this, wash it with a sulfate-free shampoo, condition it to detangle and keep it soft, and finally rinse and dry it.
When all this is done, the next step is to braid your natural hair in whatever pattern you see fit. Remember that your sew-in will follow whatever braid pattern you’ve created, so be sure to use the right one for the style of your choice.

Customizing the Closure
You might have seen several YouTube and TikTok videos where the beauty girlies teach you how to pluck and tint lace closures. It might seem like a strange habit, but trust us, this is as important as selecting the right hair extensions. This is because plucking removes the wig look from your lace closures and gives them a more natural-looking finish.
The technique is pretty straightforward, but you’ve got to be careful. Use tweezers to extract some hair strands to lower the hair density in the front section. Remember not to overpluck; try as much as possible to ensure you don’t damage the lace closure.
Then there’s lace tinting, a technique for matching the closure to your natural skin tone. To tint your lace, simply use a really good lace tint spray, like the Private Label range of lace tint sprays, to match the closure to your skin tone so it stays looking natural and even. Just be careful not to go overboard with it.
Step-by-Step Guide to Installing the Closure
Now that we’ve covered everything you need to know about the prep stage, here’s a guide to installing your closure sew-in:
- To begin, trim off the excess lace around the perimeter of the lace closure. If you’re unsure how much to cut off, leave a centimeter of lace around the closure's two sides and the back.
- Once done, position the closure over your part, pinning one side to your hairline. Then, sew the right side with a second needle and thick thread. You’d want to create a horizontal part behind the closure’s front edge, then sew down the front from left to right, then back to left.
- Stitch along each side towards the back, starting from the left. When you’re done, clip the hair out of the way and twist it into a loose bun, securing it with a clip. Then you’ll go ahead with the rest of your sew-in as usual, after which you’ll straighten and style.

Common Issues with Closure Sew-Ins and Pro Tips That Work
Now, let’s get into some issues you could run into:
Closure Doesn’t Match the Sew-In
You’d want your closure to blend seamlessly with the rest of the sew-in because if it doesn’t, it takes away from the “naturalness” of the style. It can be challenging to find that match, but it’s not impossible.
All you need to do is ensure that the texture of your closure matches the rest of the weave. And if you don’t find what you’d like, you can chop off some of your extensions and create your lace closure. It sounds hectic, but it’s pretty easy to get done.
Improper Placement of the Closure
Choosing the right closure size is undoubtedly important. If you get a size too small or big, it might not turn out the way you like. Plus, you’ve got to be careful with the placement. If it’s too far back or forward, it can cause unevenness, and that’s not a pretty look.
Closure Appears to Be Lifting
Lifting can occur due to inadequate sewing or wrong sizing. To combat this, adjust the closure with additional stitches for extra security.

Closure Sew In Overview
Well, there you have it, folks. Closure sew-ins are quickly becoming the ‘it’ hairstyle of the season for good reasons. From giving a chic, natural look to being a protective hairstyle, they definitely should be at the top of your list.
All you need to do is choose the right size and type, prep your natural hair, and ensure you don’t have a mismatched closure. If you’re looking for the best closures or hair bundles for a flawless sew-in install, shop the Private Label range of high-quality closures and weaves.
Whether you need transparent lace, HD lace, or raw hair closure in any size or human hair bundles of any texture, length, and color, we’ve got you covered.
You can always check our website to shop and join our long list of happy customers. Remember, you can visit a Private Label Hair Store for additional advice.🏪

